How to create your own server in Rust?
Step-by-step guide to hosting a Rust server on your PC.
Server installation
First of all, you need to download the server. You can do this by clicking on the link on the official Facepunch website. At the very bottom of the page, click on the line quick start zip here. After that, the archive with the server will start downloading.
Create a folder on the disk with 10 GB of free space, unpack the archive and run the update file. As soon as the server components load, the сommand prompt will close.
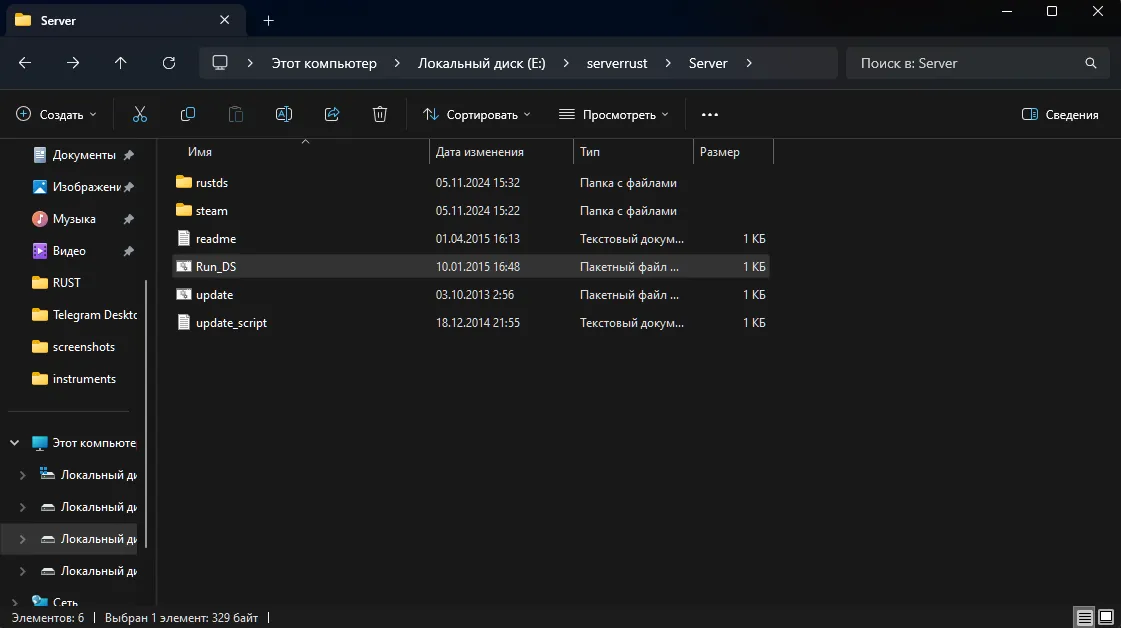
Once the server finishes updating, the rustds folder will appear. Run the Run_DS file and wait for the server to configure and start. Click «Allow» on all pop-up windows.
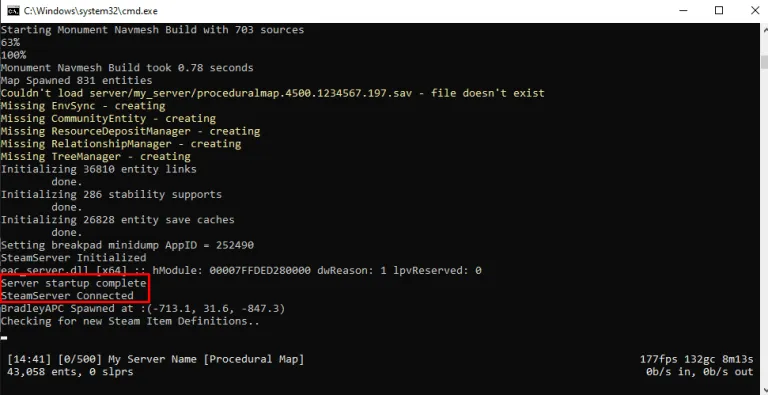
After the configuration is complete, you can launch the game, open the console (F1), and enter the command «connect 127.0.0.1:28015» — Enter.
Server configuration
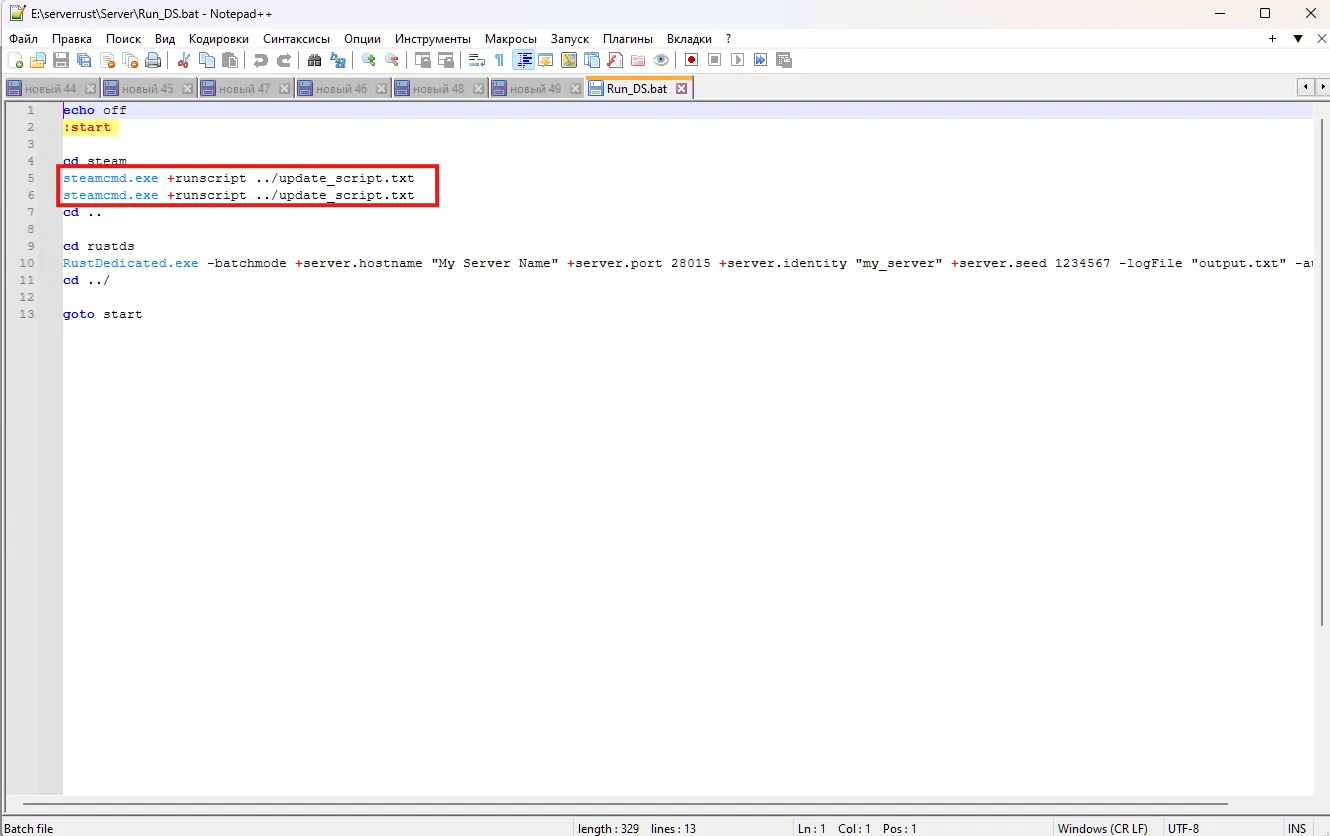
To configure the server, we need to edit the Run_DS file that we launched. Open it with any text editor. This file contains the basic parameters of the server; we need to delete a couple of lines from here (highlighted in red).
Changing the basic settings is done by modifying a line of code.
Detailed server parameter configuration
Initially, our BAT file contains the following code:
echo off :start cd rustds RustDedicated.exe -batchmode ^+server.hostname "My Server Name" ^+server.port 28015 ^+server.identity "my_server" ^+server.worldsize 2400 ^+server.seed 20200806 -logFile "output.txt" -autoupdate cd ../ goto start
By changing the parameters in this file, we can configure the server as we need. First of all, let's look at each of them separately:
• echo off - This command disables the display of the results of executing all other commands in the console. It is necessary only for convenience, so as not to spam the console.
• :start - Marks the start of the loop execution.
• RustDedicated.exe -batchmode ^+server.hostname «My Server Name» ^+server.port 28015 ^+server.identity «my_server» ^+server.worldsize 2400 ^+server.seed 20200806 -logFile «output.txt» -autoupdate - The main server launch line, here the main parameters are specified (additional ones can be added if necessary):
⦁ -batchmode - Disables the server's graphical interface, eliminating manual intervention.
⦁ +server.port 28015 - The port for connecting to the server.
⦁ +server.level «Procedural map» - Selects the type of server map. In Rust, there are only four maps: Procedural map (Standard), Barren, HapisIsland, and SavasIsland.
⦁ +server.seed 1234 - Map seed used for generating a procedural map or Barren (used in conjunction with server.worldsize). Valid values range from 0 to 2,147,483,647.
⦁ +server.worldsize 4000 - Size of your map (used together with server.seed). Valid values range from 1000 to 6000.
⦁ +server.maxplayers 10 - Maximum number of players on the server.
⦁ +server.hostname «My Server Name» - Server name. It is displayed in the game server list and in the server information.
⦁ +server.description «Server Description» - Description in the in-game server information.
⦁ +server.url «http://yourwebsite.com» - The link to your website. It is displayed in the server information.
⦁ +server.headerimage «http://yourwebsite.com/logo.jpg» - Link to the logo used when connecting to the server — a JPG picture 512 x 256 pixels in size.
⦁ +server.identity «server1» - Directory where all server files will be stored.
⦁ +rcon.port 28016 - Connection port through the remote console.
⦁ +rcon.password 1234 - Password required to access through the remote console (Rcon). Do not use spaces or special characters.
⦁ +rcon.web 1 - Uses websocket connection type for rcon (recommended).
⦁ goto start - Loop transition to the «start» line.
Change the parameters we need, restart the server, and it's fully ready for use.
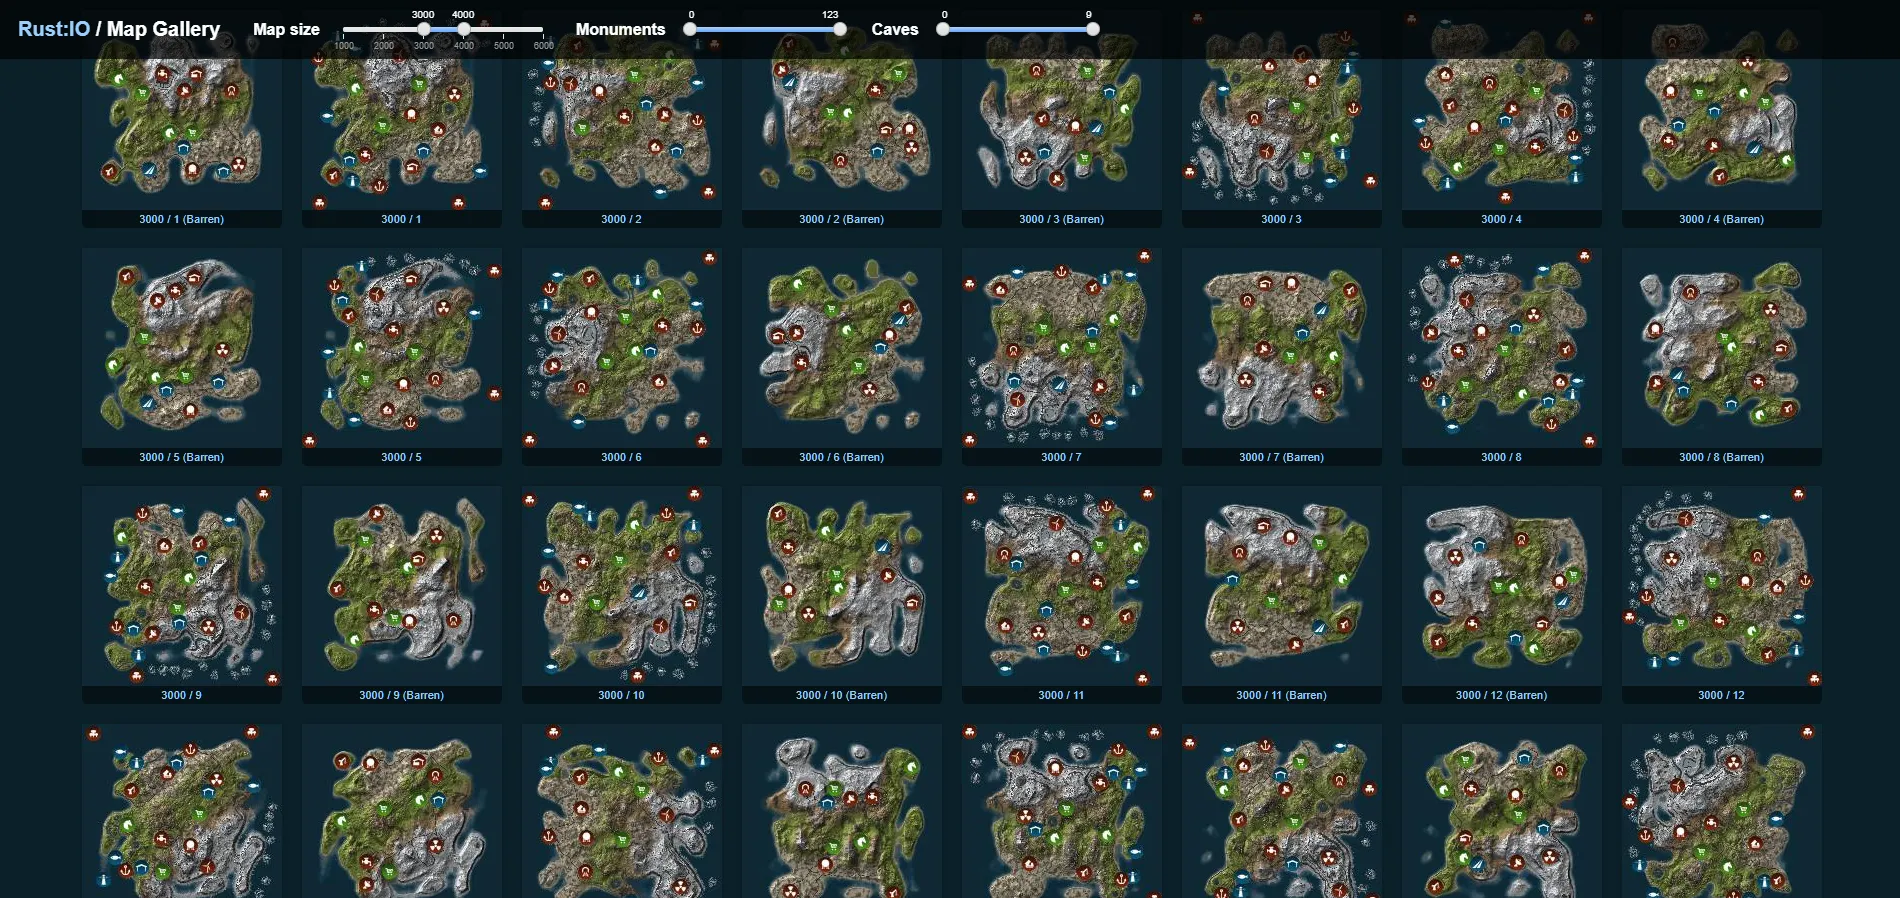
Choosing a Map for Your Server
For convenience, you can use a service that allows you to view pre-made maps with various seeds. There, you can easily select a map using a simple interface.
In this example, the number 2400 is the size of the map (server.worldsize), and 20200806 is its seed (server.seed). But the base file does not contain a map size parameter, so we need to add it. All parameters are written through a «space» and «+». If you encounter errors, you can add a checkmark «^» before the pluses. Thus, we get the following text.
echo off :start cd rustds RustDedicated.exe -batchmode ^+server.hostname "My Server Name" ^+server.port 28015 ^+server.identity "my_server" ^+server.worldsize 2400 ^+server.seed 12345678 -logFile "output.txt" -autoupdate cd ../ goto start
We save, close and run the file again. The server is running and now you can connect to it.
Grant administrator or moderator rights.
After loading the server, you may have a question: «How do I make myself an administrator?» The answer to this is quite simple. To do this, we minimize the game and open our server console. In the last lines of the command line (if you connected recently), we find the message about your connection and, having copied your Steam_ID from there, write the following command.
ownerid Steam_ID
In this example, the STEAM_ID is taken not from the server connection string, but from the forced disconnect string.

After entering the command, the line «Added owner …» should appear, indicating success.
The same principle applies to granting moderator rights, with only a difference in the command: moderatorid Steam_ID