Nuclear Missile Silo
In this guide we will tell you about the monument “Rocket Silo” and what you will need for a successful campaign for valuable resources.
General information about the monument
The missile silo is a coveted spot for all players in the world of Rust. Looting it can grant a substantial amount of essential survival resources. However, one must not forget the dangers it holds, such as NVG scientists who deal significant damage to players, the risk of falling into the silo and dying from the impact, and even the silo hatch itself, which can be lethal if triggered, as it deals considerable damage.
Another major threat is other players who may ambush you at the exit of the missile silo or hide somewhere in the area, waiting for the perfect moment to strike.
So, let’s take a closer look at what we need to be prepared for when descending into this massive pit.
Bots and loot
- Number of bots - 27, including 4 regular patrol scientists and 23 NVG scientists.
- Loot - ~30 normal or military crates, 1 elite crate, 3 barrels with diesel, and a red keycard.
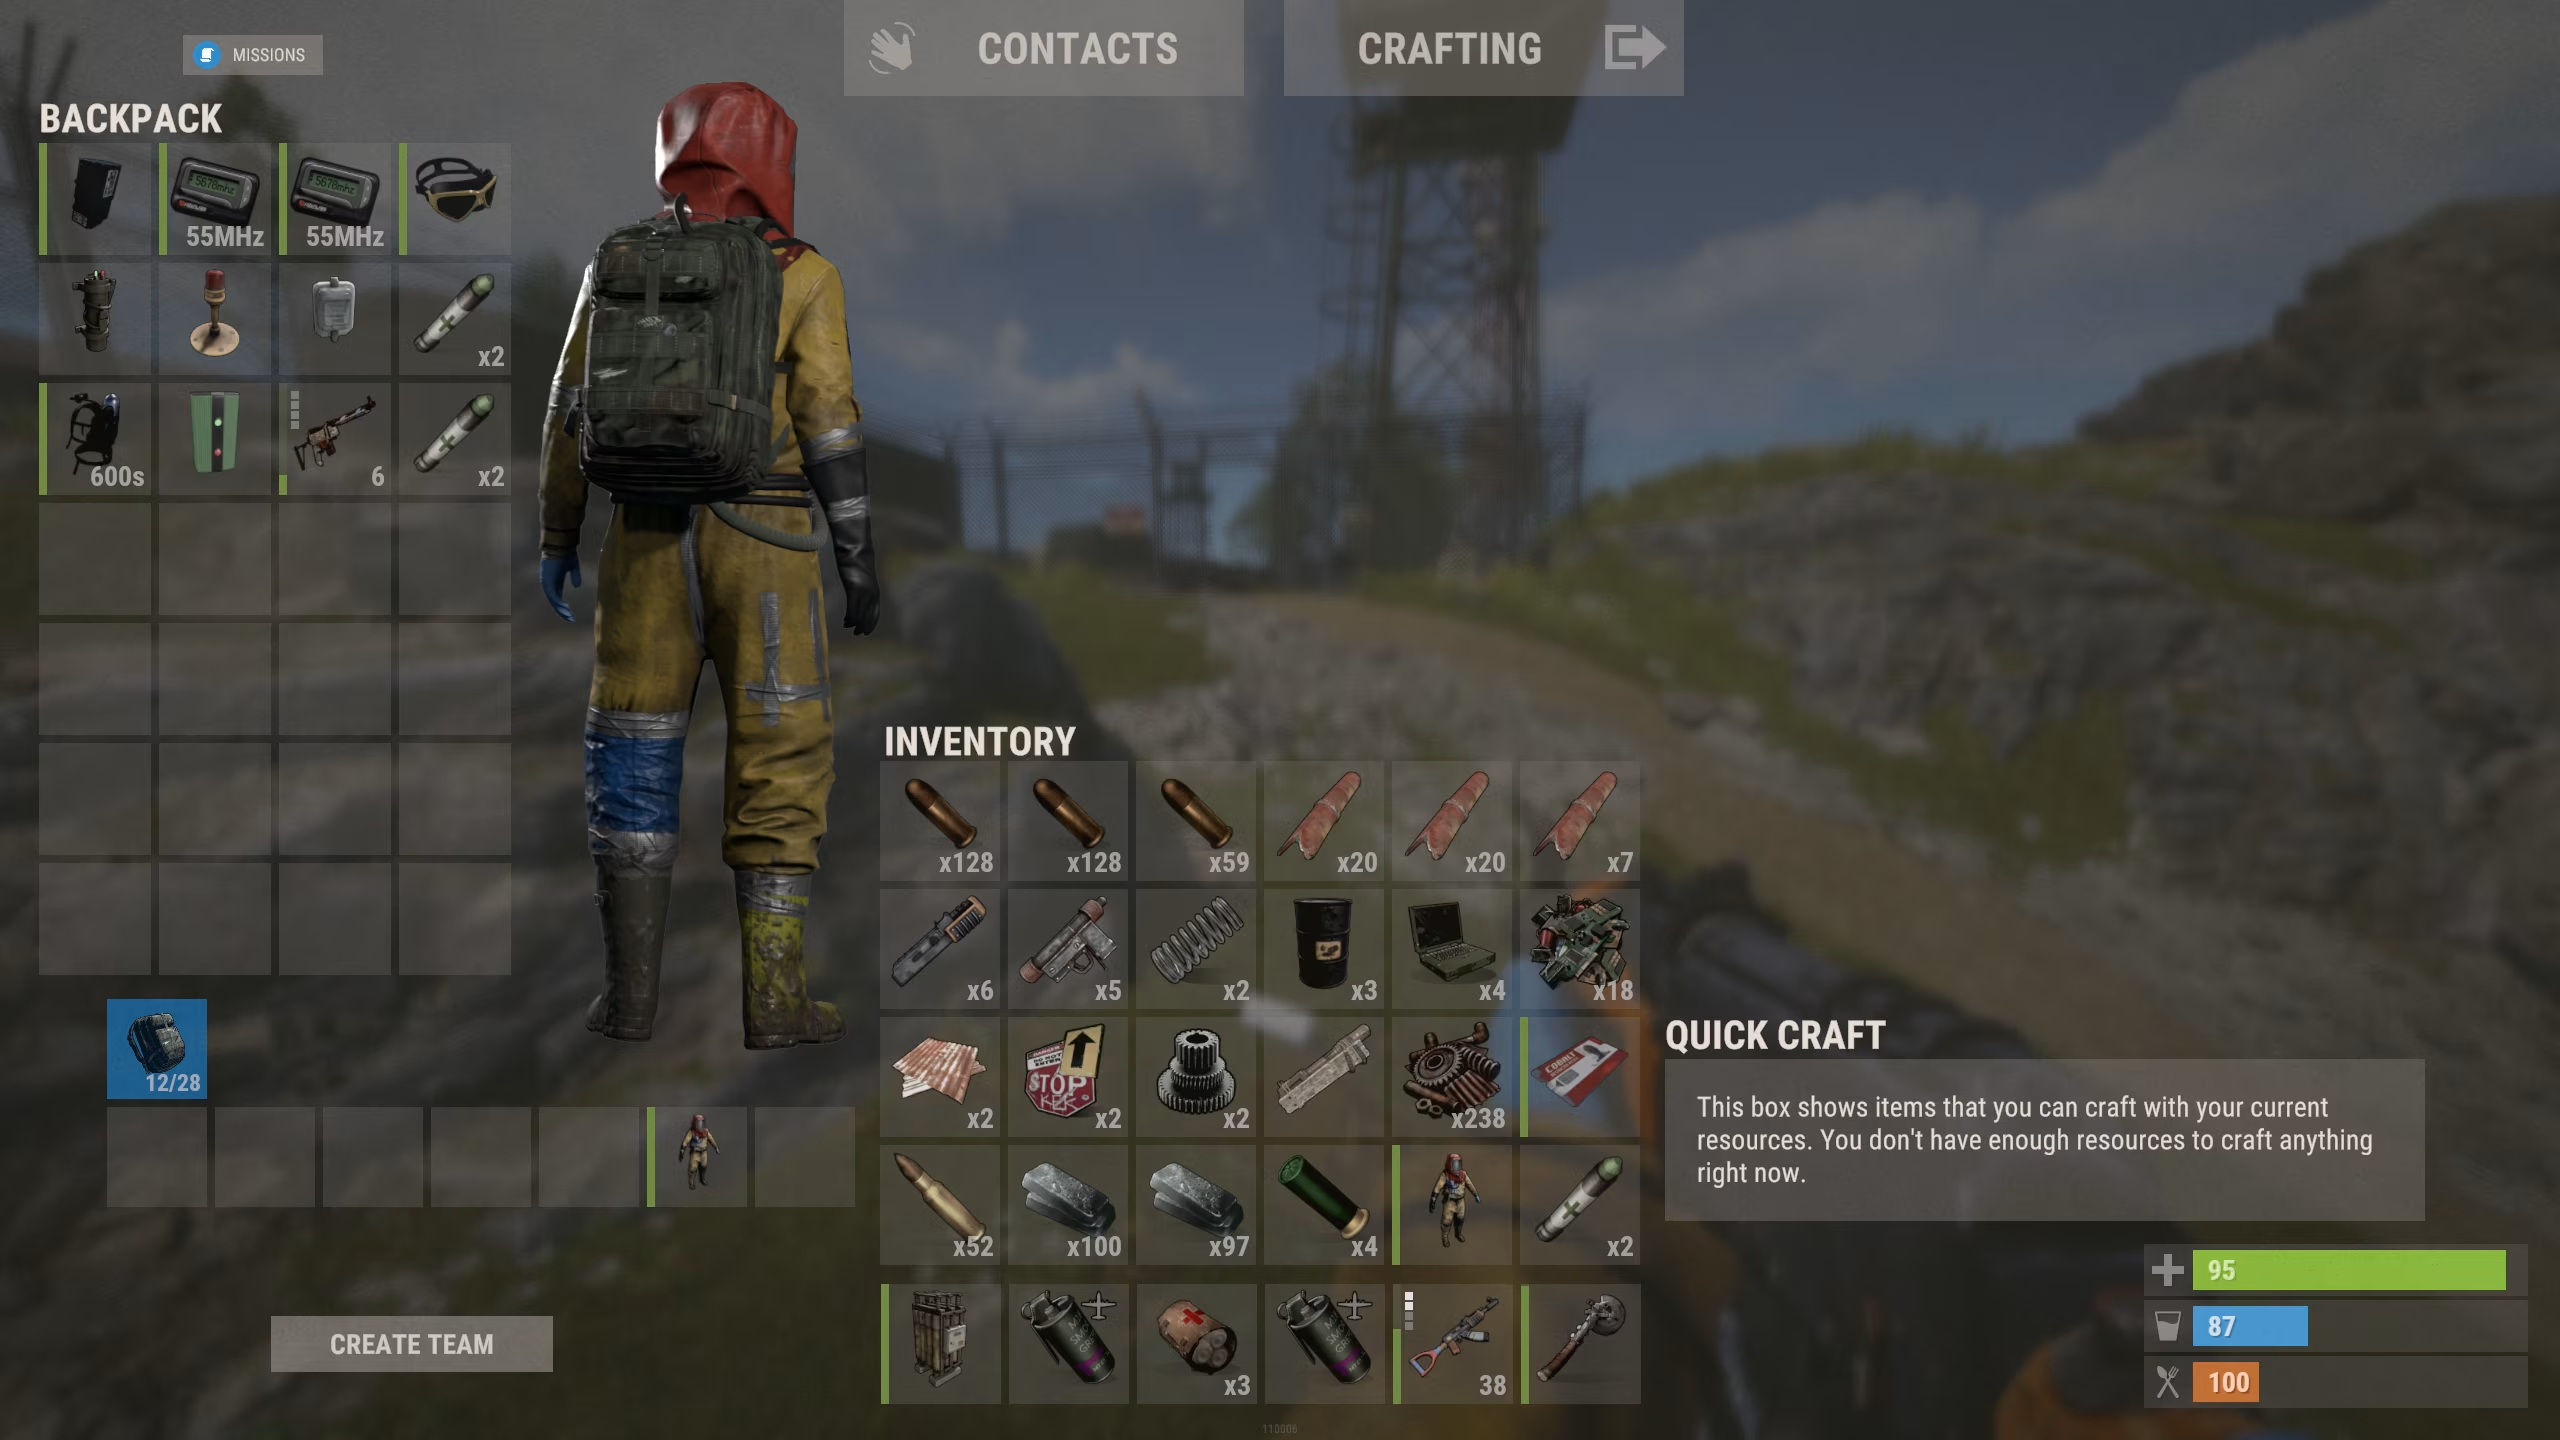
Radiation Protection and Required Items
- Blue Keycard
- Clothing Set: At least >25 radiation protection. A hazmat suit will suffice, but it's better to have at least a Wolf Headdress set, as the bots in the silo are quite strong.
- Weapons: Choose based on your preference and skill level. Some might even manage to loot the silo with just a torch!
- Ammo: If using an AK, bring around 100 rounds for comfortable looting. Keep in mind that scientists frequently drop extra ammo.
- Medkits & Healing Items
Where to Find?
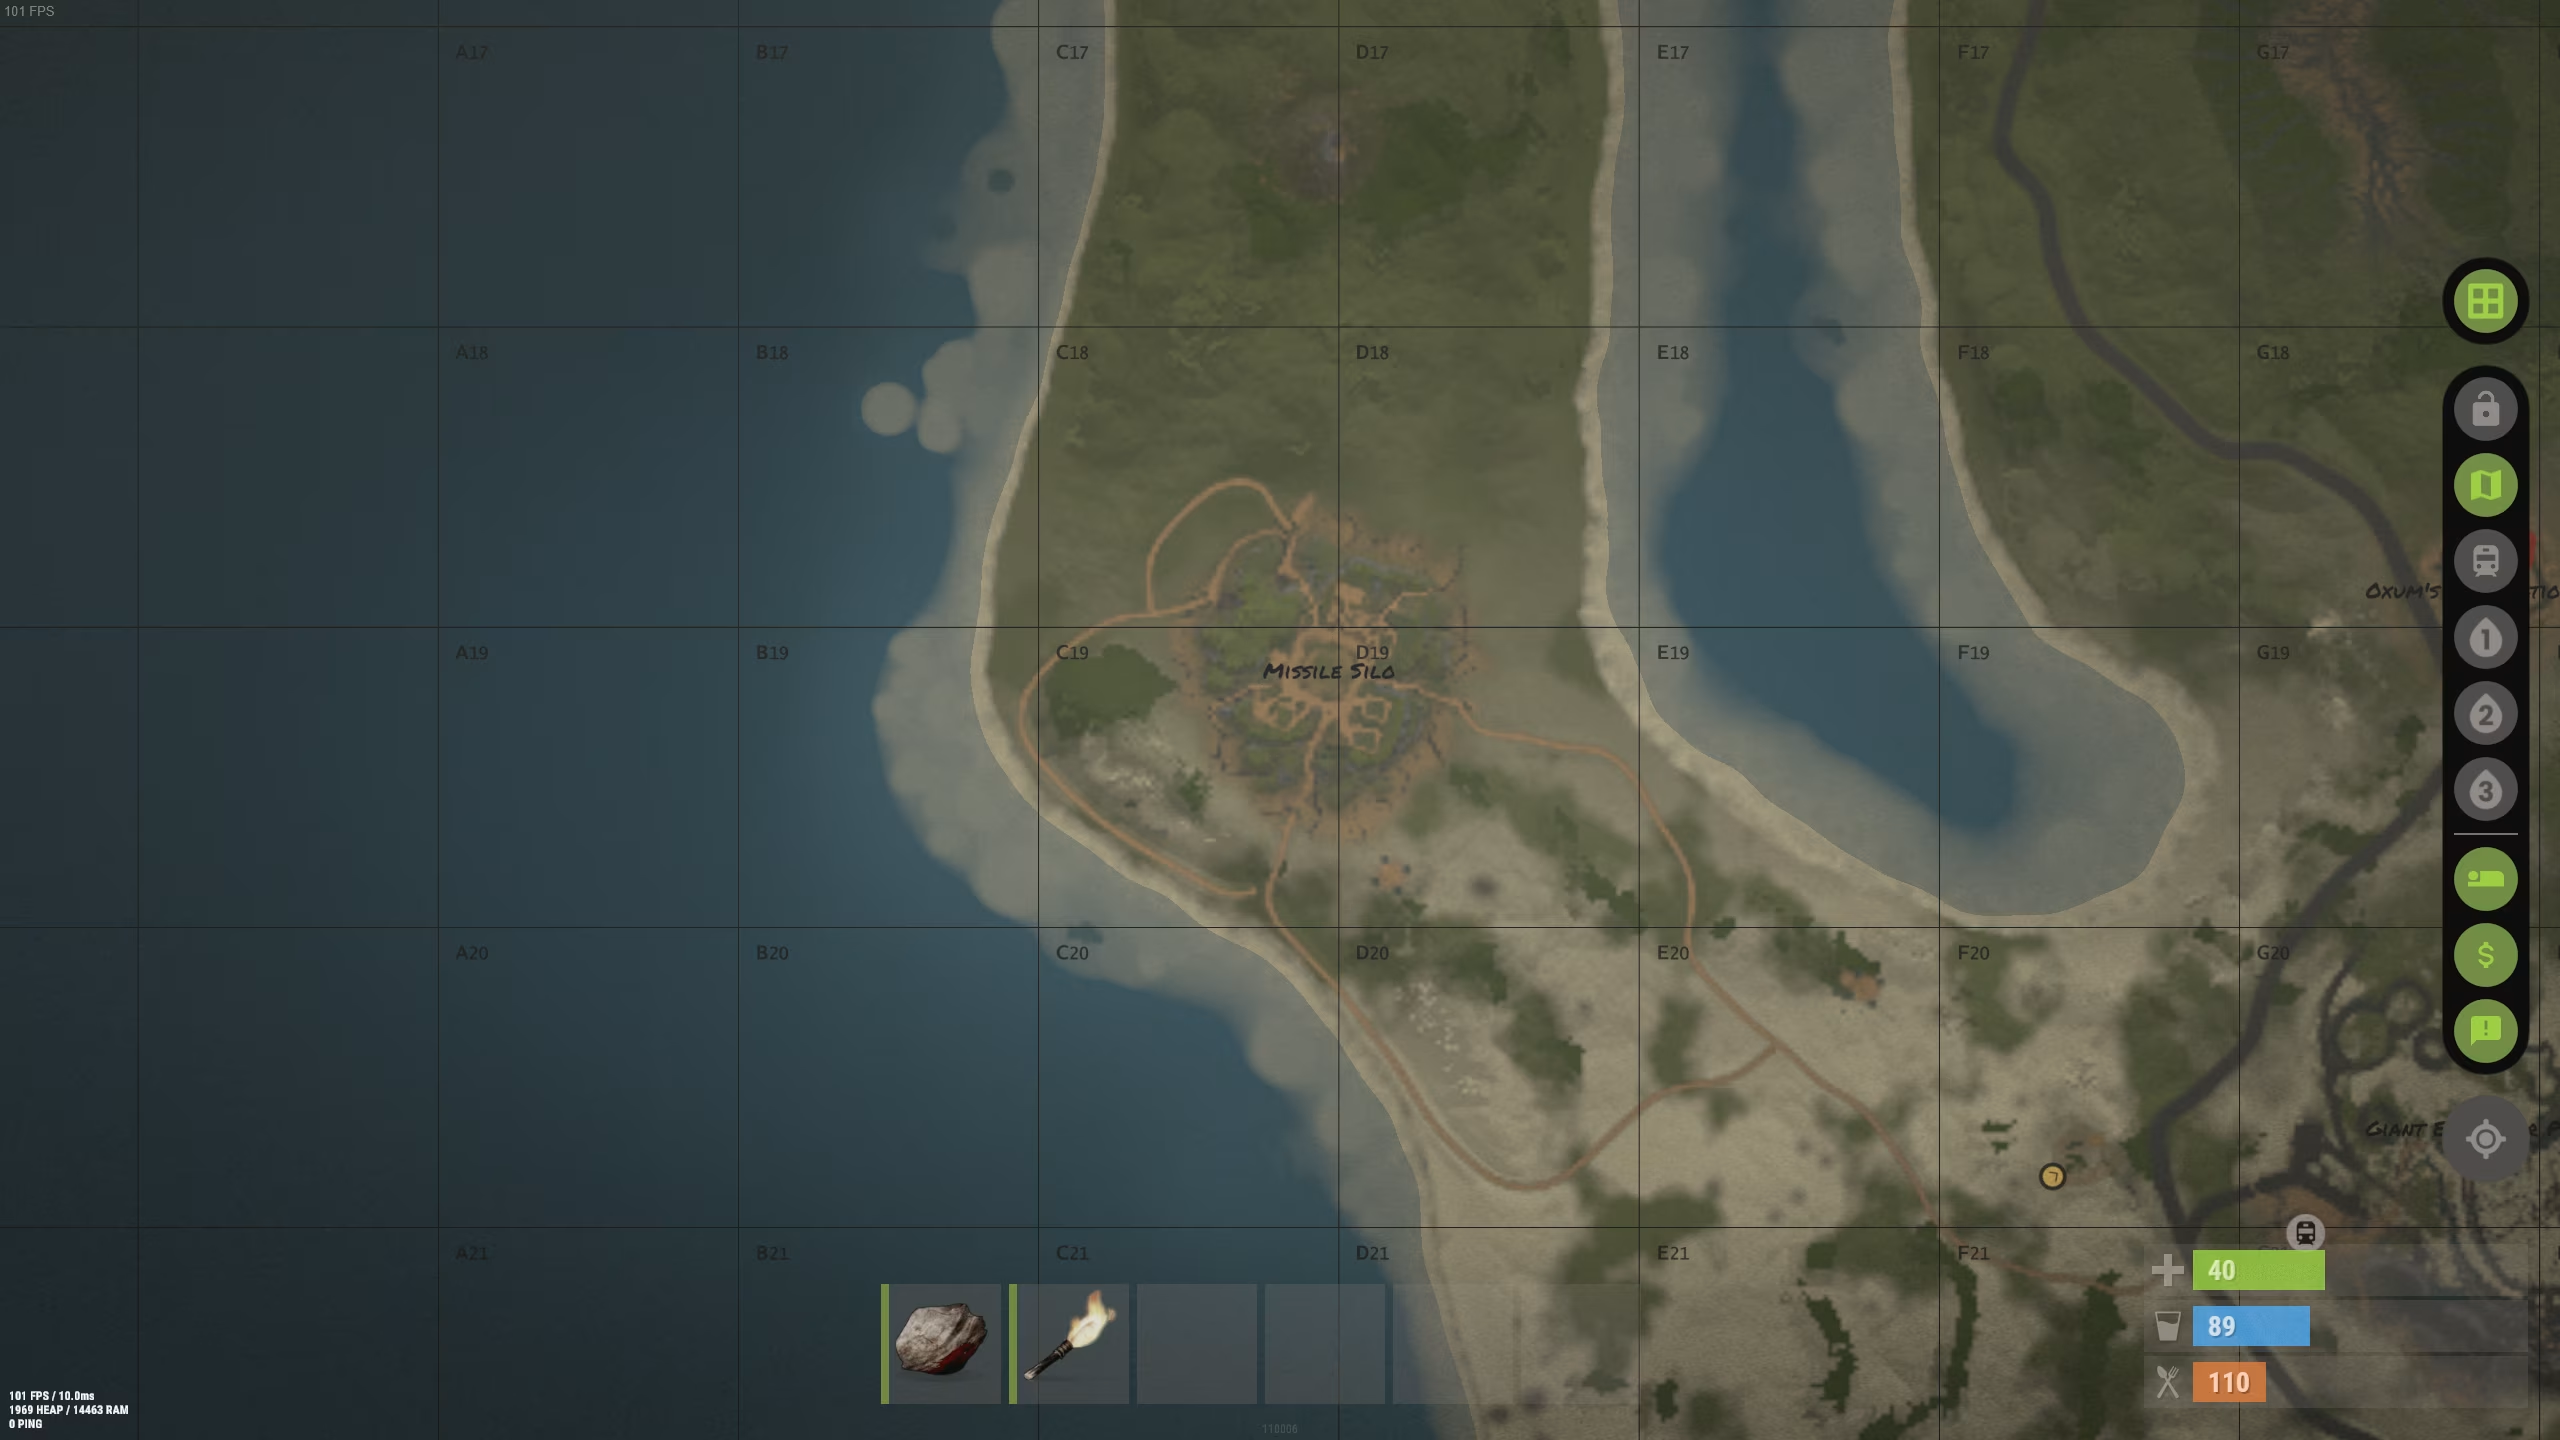
Just open the map and locate the silo. It is usually positioned somewhere on the border between the forest and desert biomes.
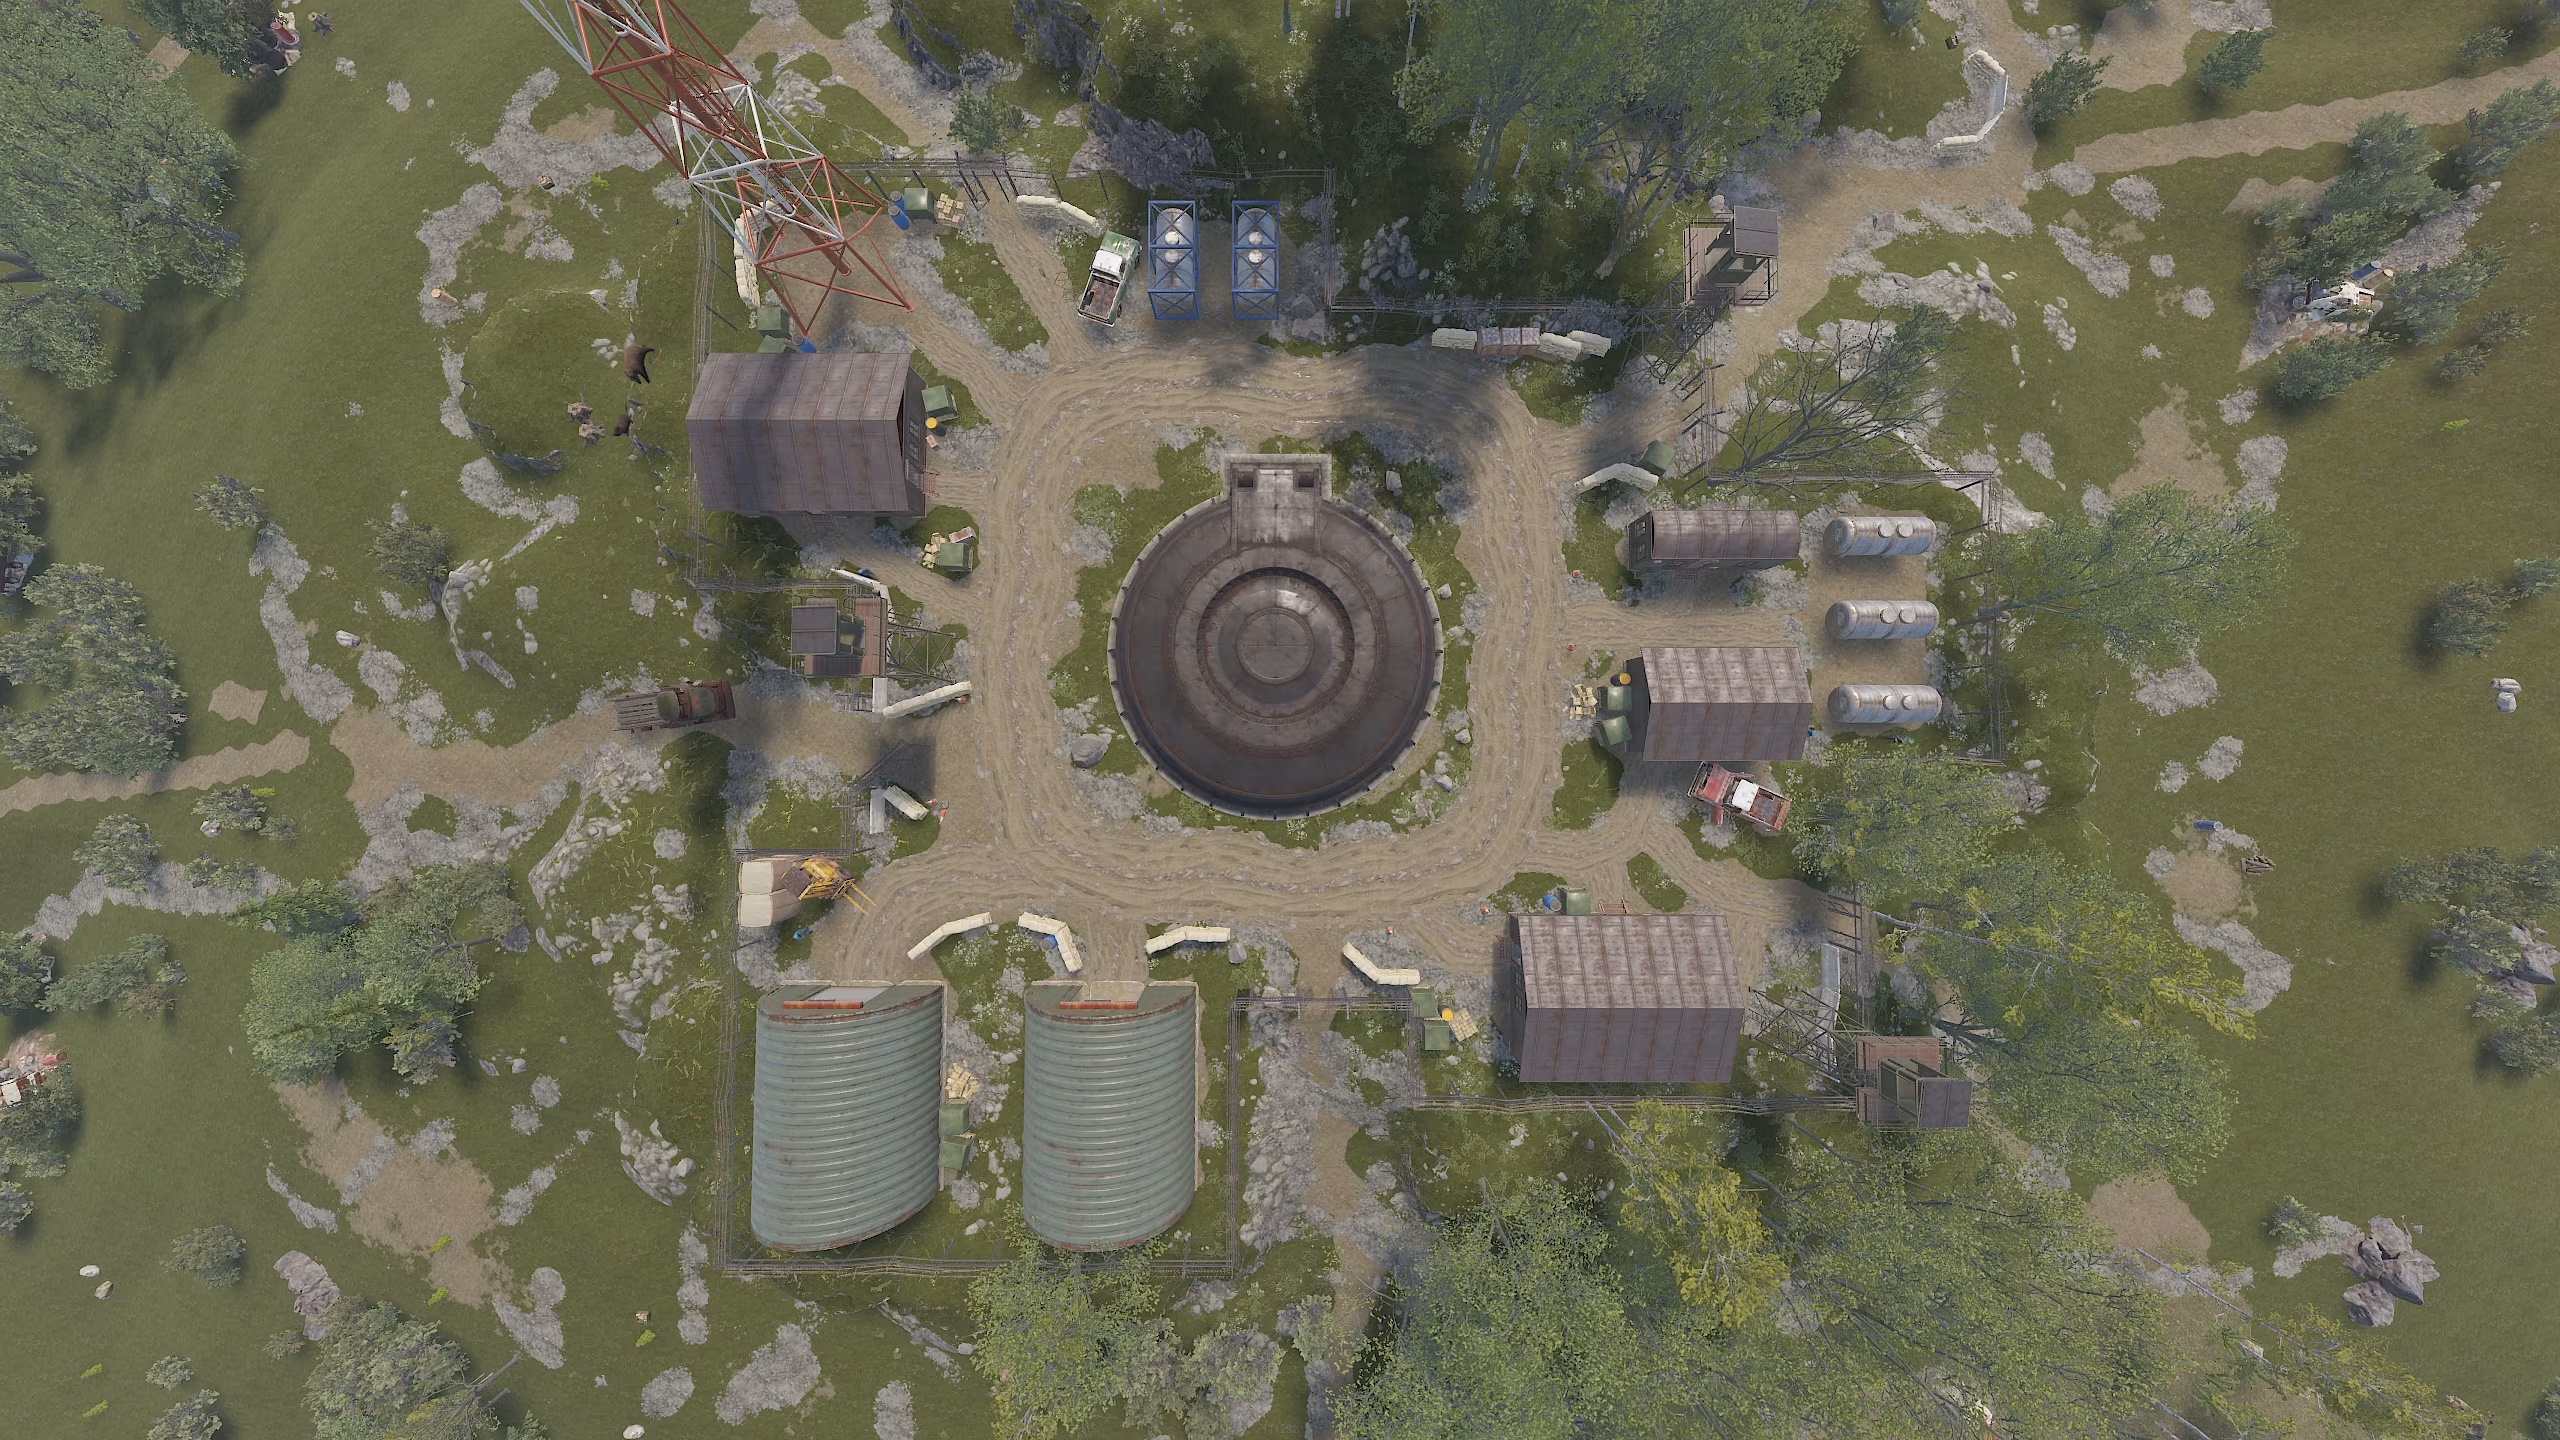
Monument Overview and Structure
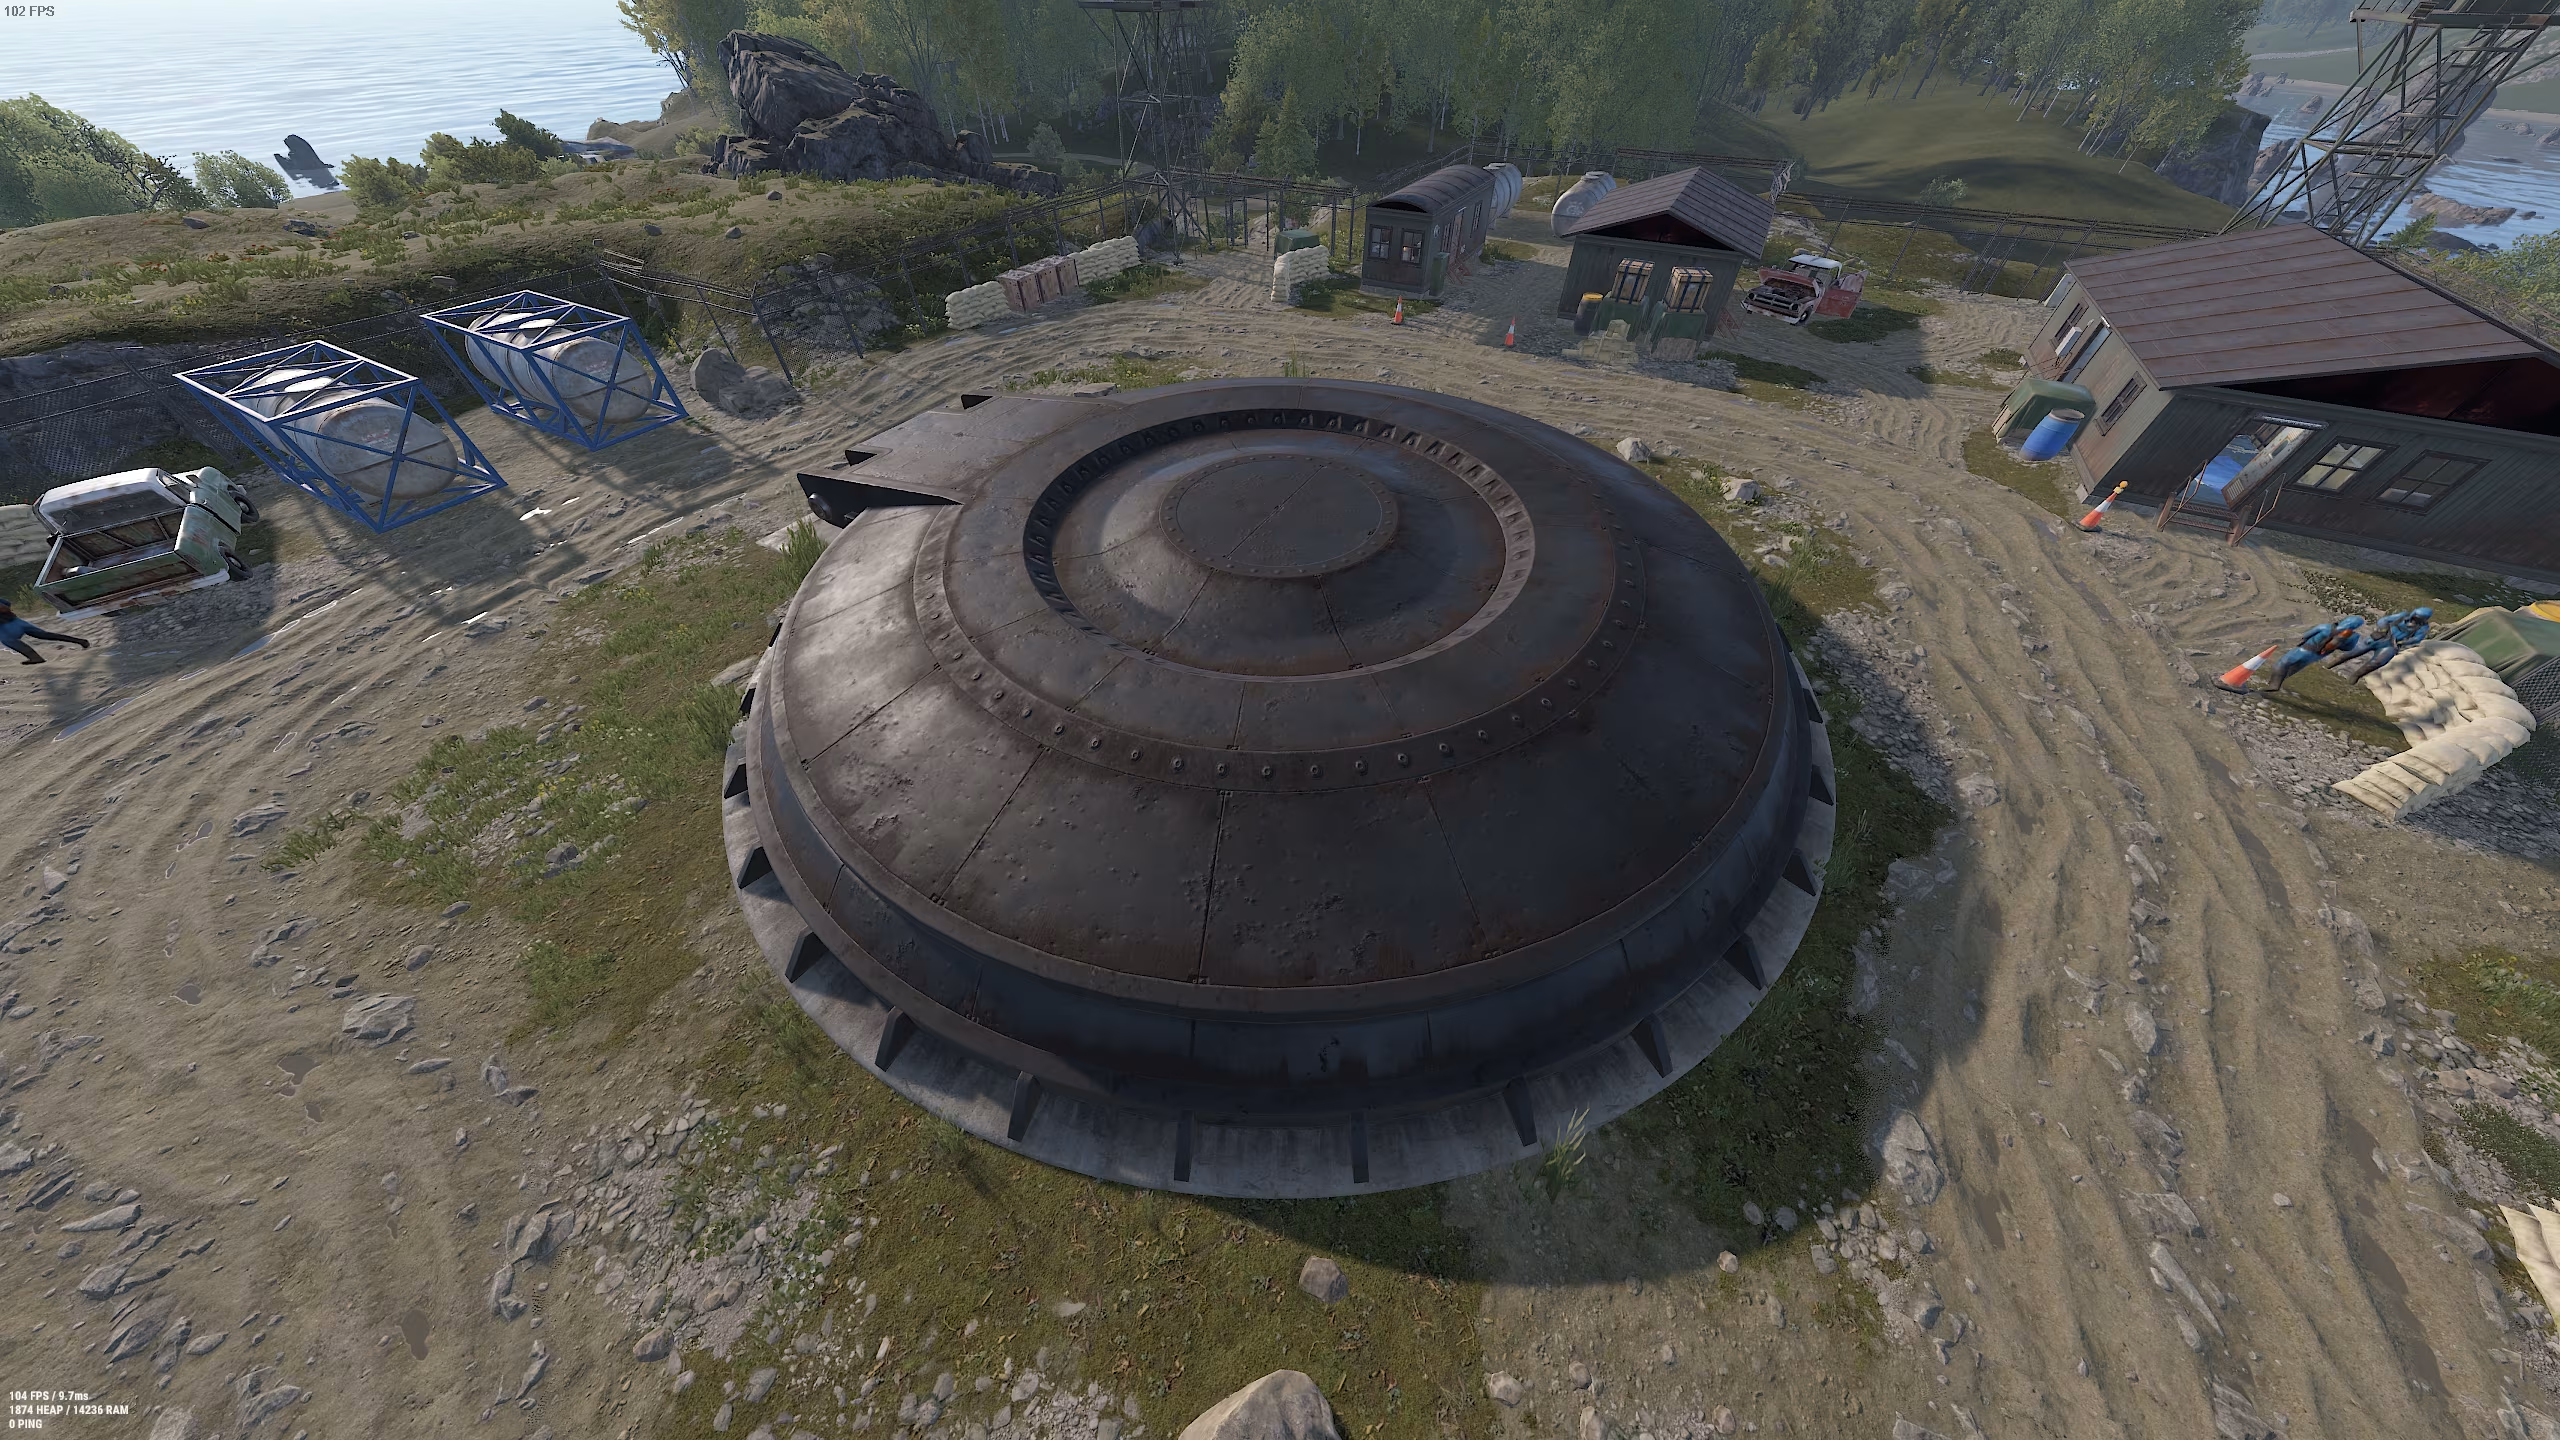
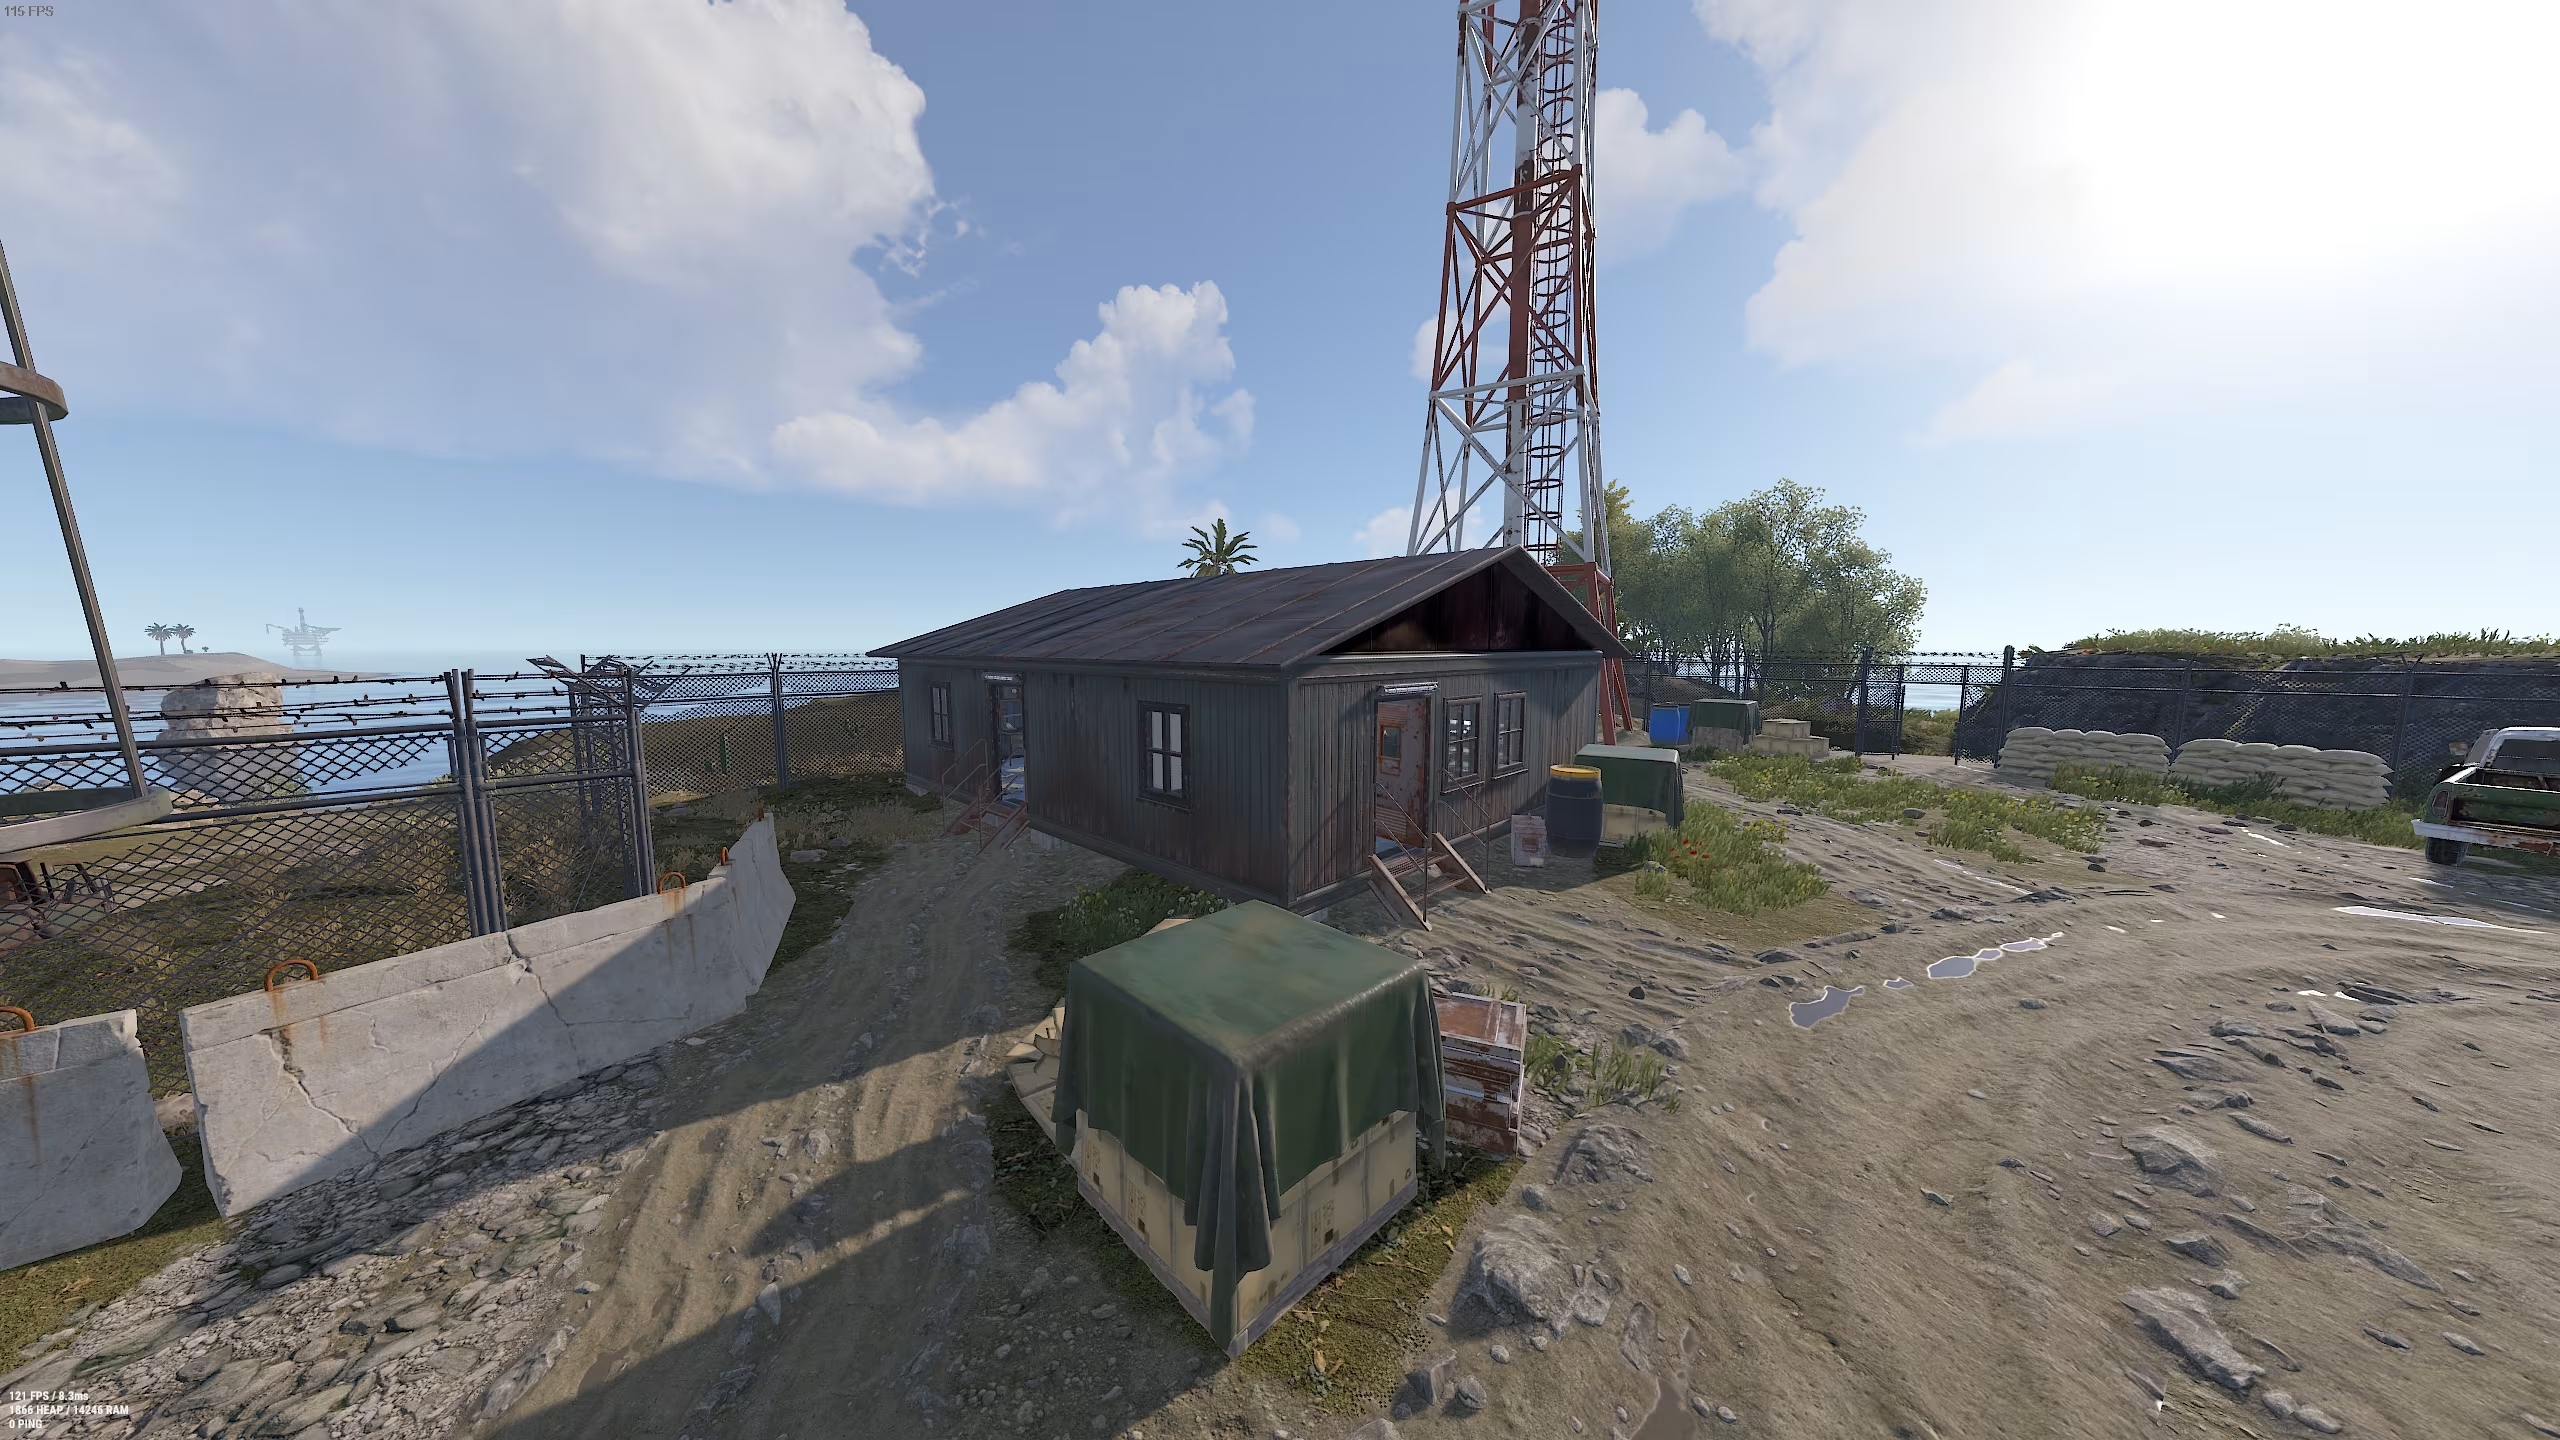
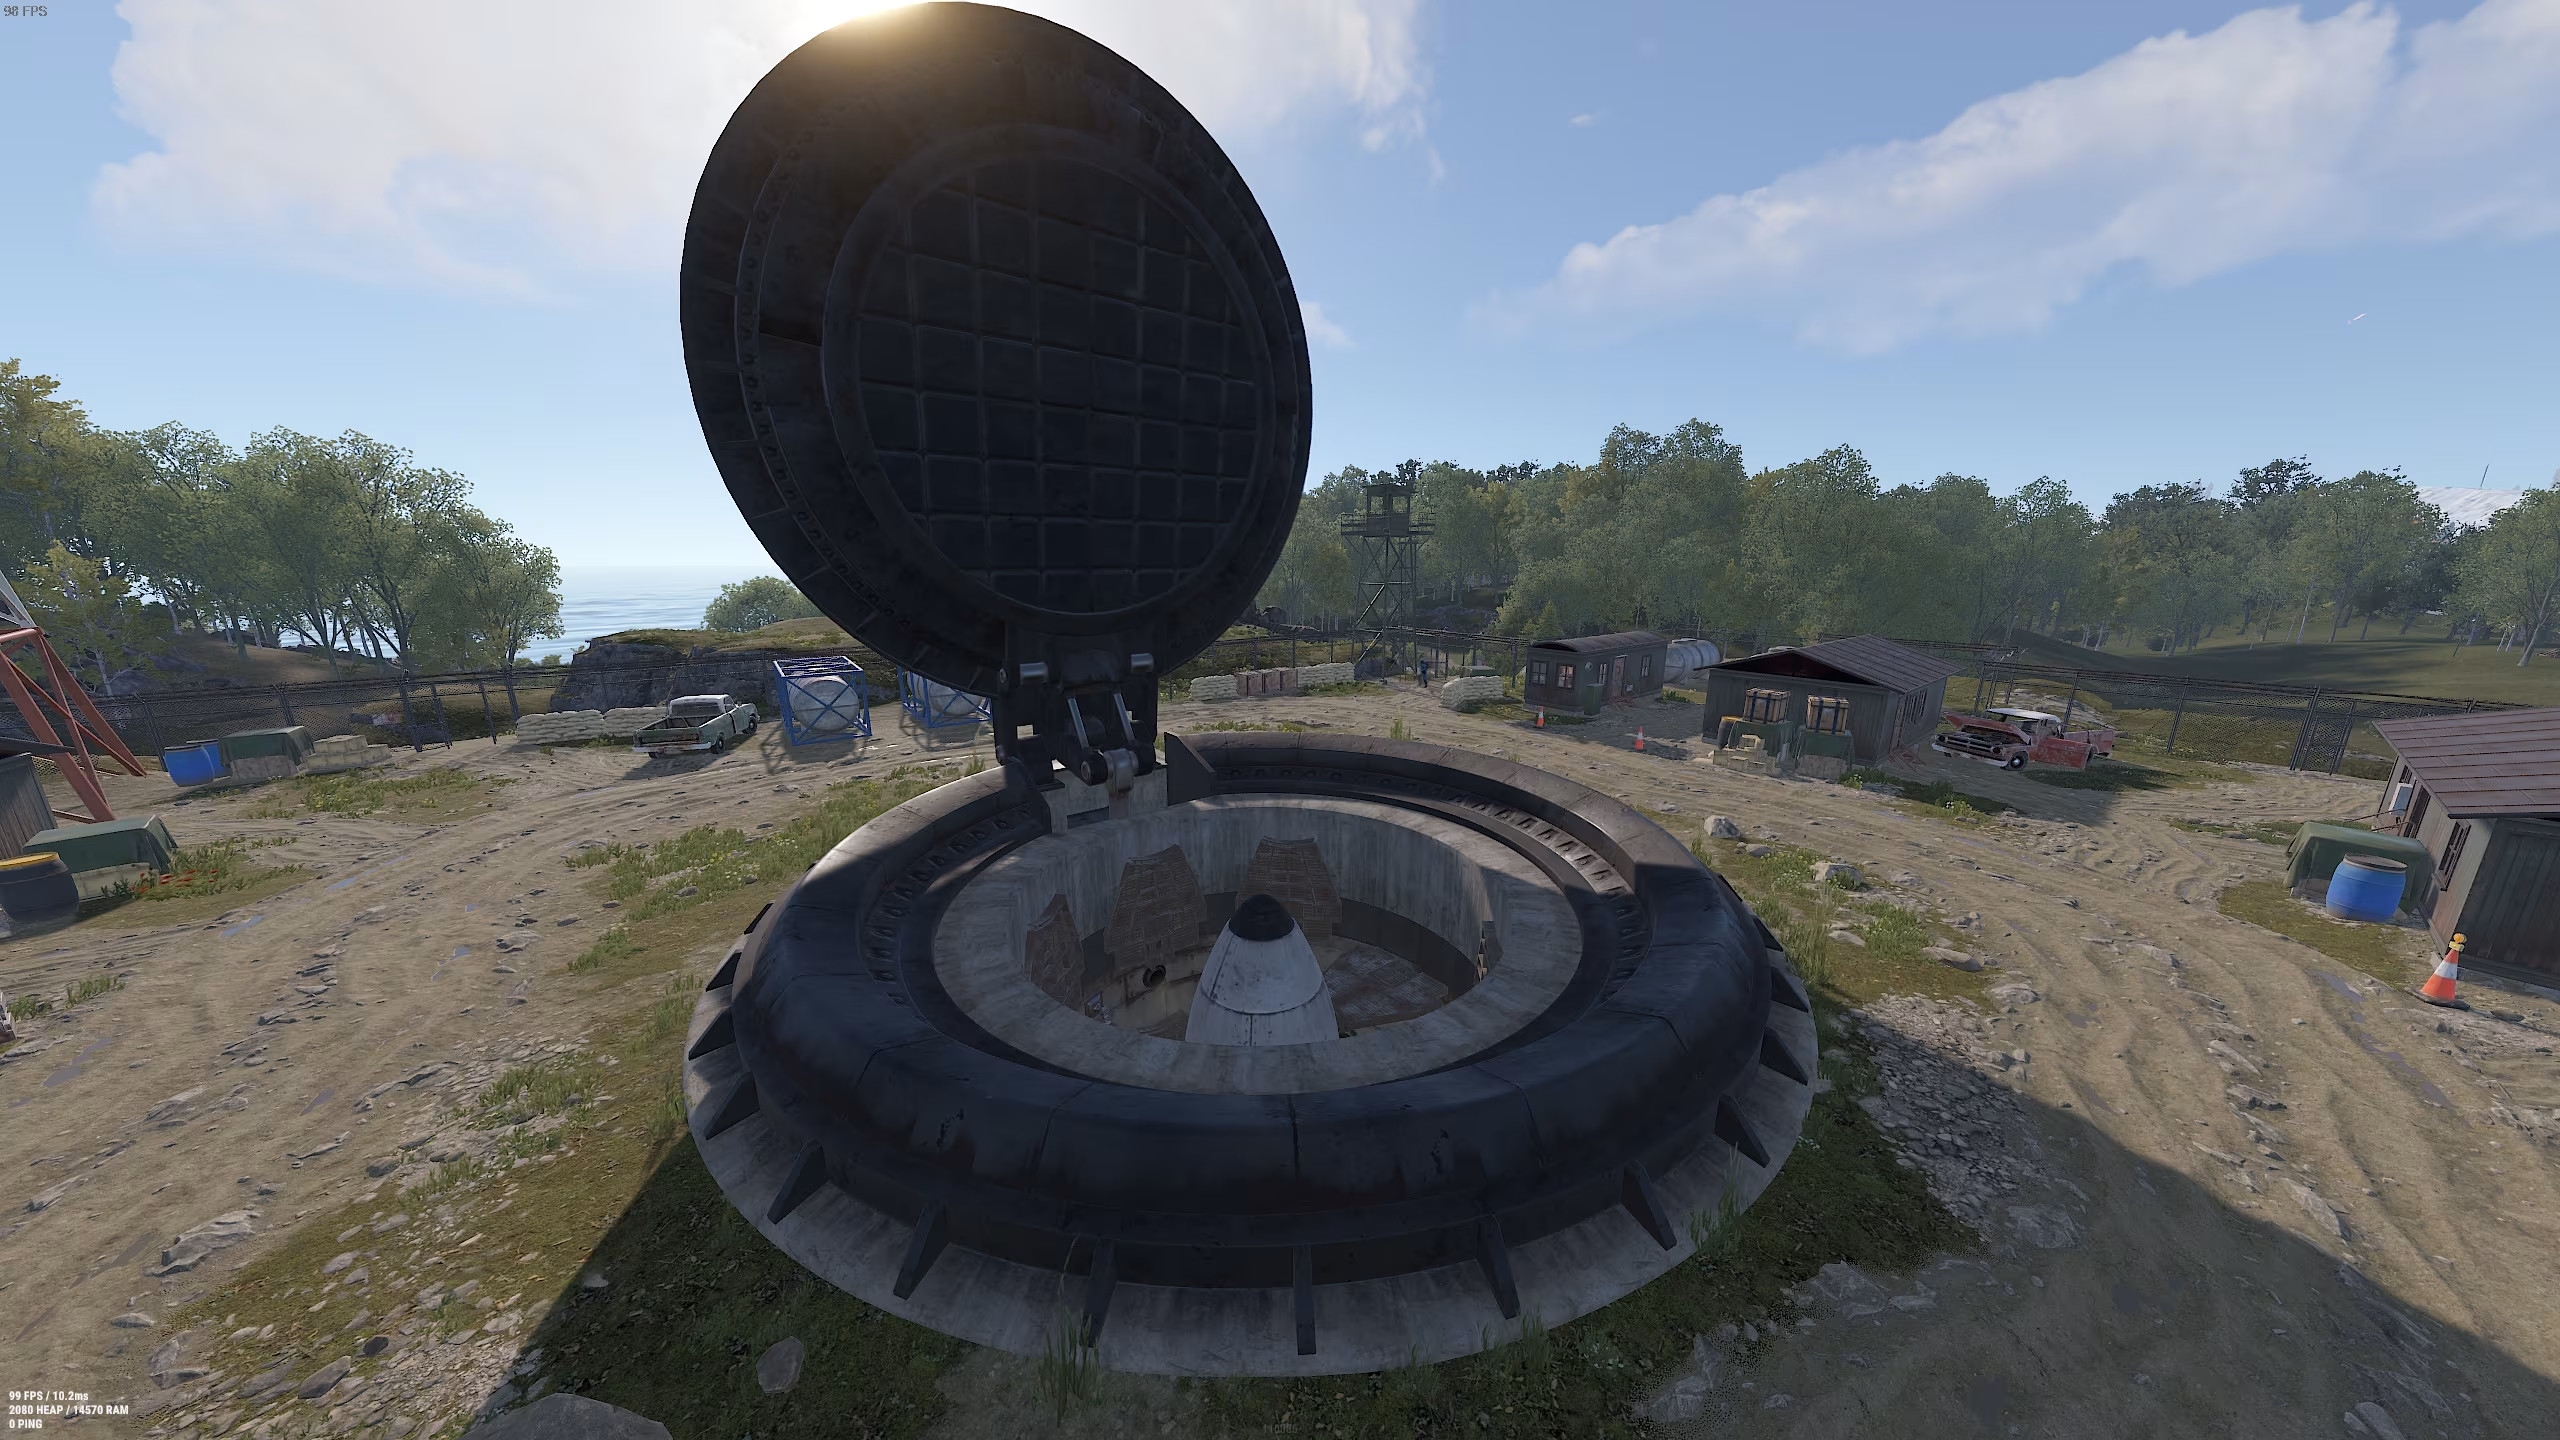
The silo's territory is situated on a small elevation, surrounded by a barbed wire fence and equipped with three guard towers for perimeter surveillance and defense. At the center of the site, there is a large hatch that serves as the entrance to the silo, surrounded by several houses and hangars. Scattered barricades across the area can be useful in case of a firefight. Additionally, in one corner, you can spot a radio tower, which can even be climbed using a ladder—though you’re likely to be noticed quickly up there.
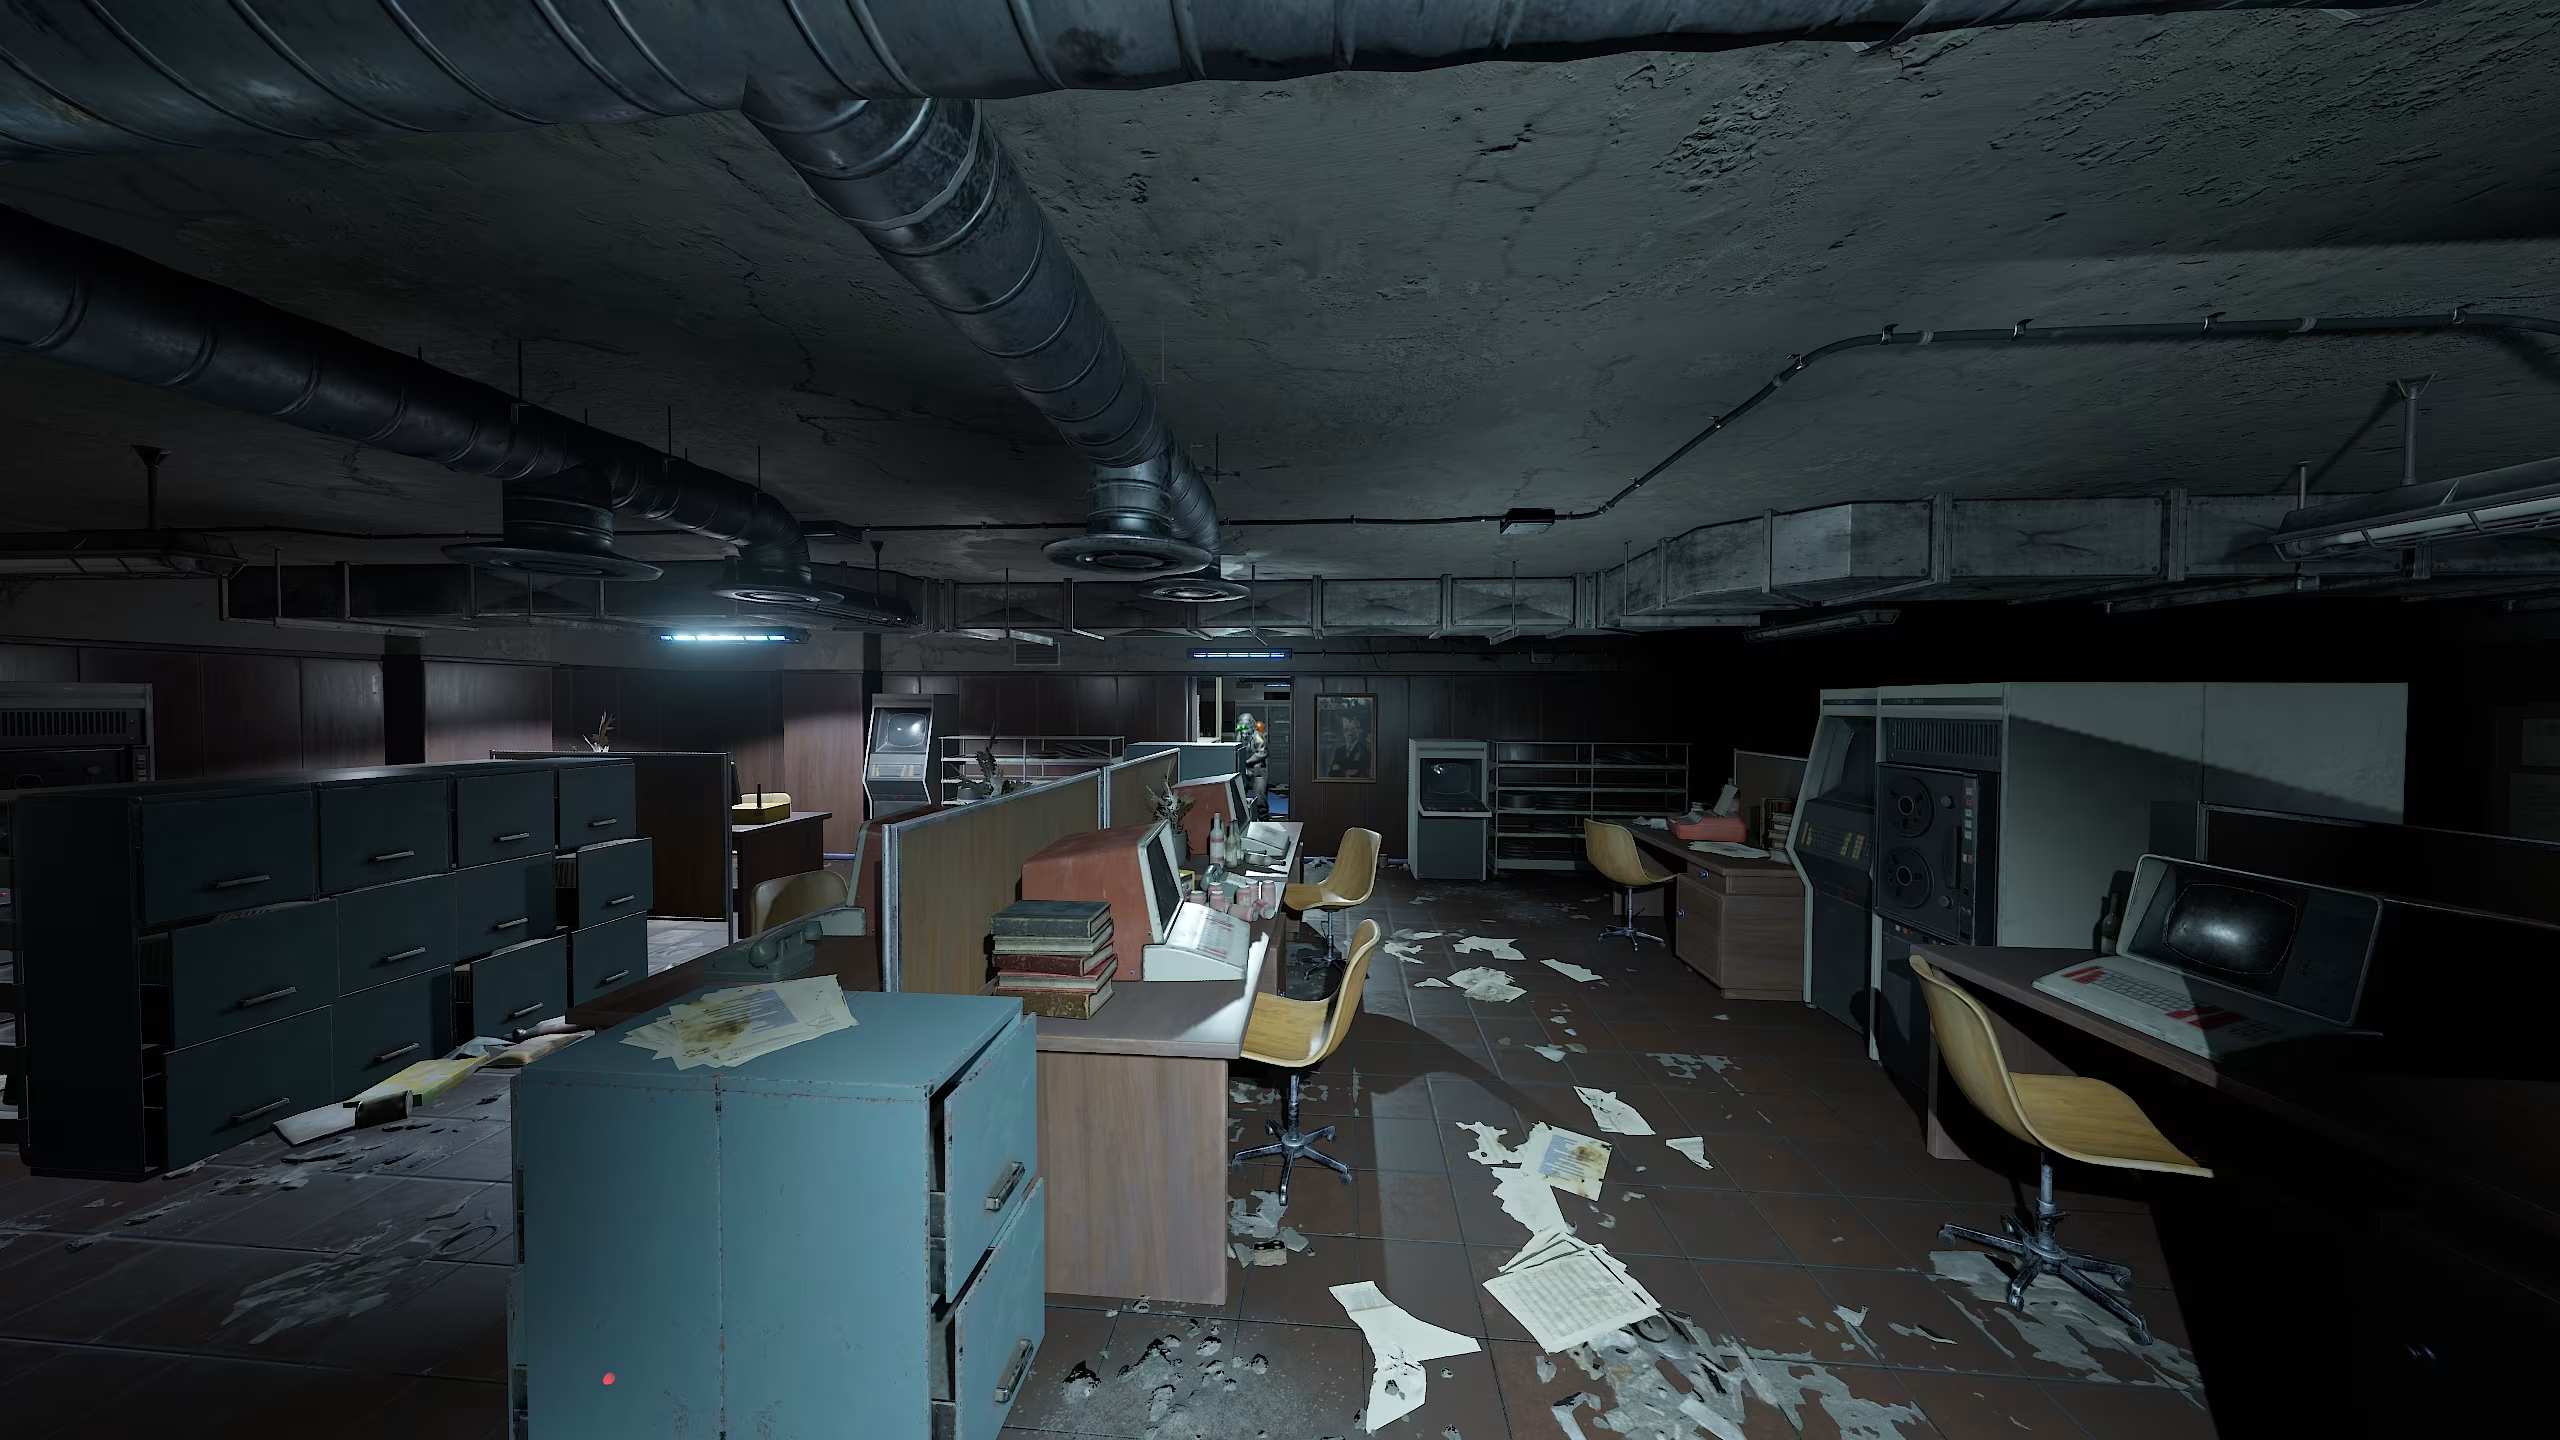
Below ground, there is an entire underground complex with numerous corridors and passages, branching off from the main silo and forming a multi-level system. The silo consists of six levels, ranging from 0 to -5. Inside, you can find living quarters for personnel, office spaces, storage rooms, and even restrooms in case someone needs a break during work.
For easier movement within the silo, elevators are available. However, it’s important to note that the main loot and enemies are located underground, so looting only the surface area is not very rewarding.
How to Loot: Detailed Route
Now that we have covered everything necessary to start clearing the location, let’s go over the route for running through the surface area and unlocking access to the silo.
Surface level
As shown on the map, there are five buildings that need to be looted in order to collect all the surface loot, which consists of 10 crates. These crates can spawn as either regular or military crates.
At the fifth stage, inside the last building, you will need a blue keycard to unlock the hatch leading into the silo.
This area is guarded by four regular scientists, who are fairly easy to eliminate, so they shouldn’t pose a major threat.
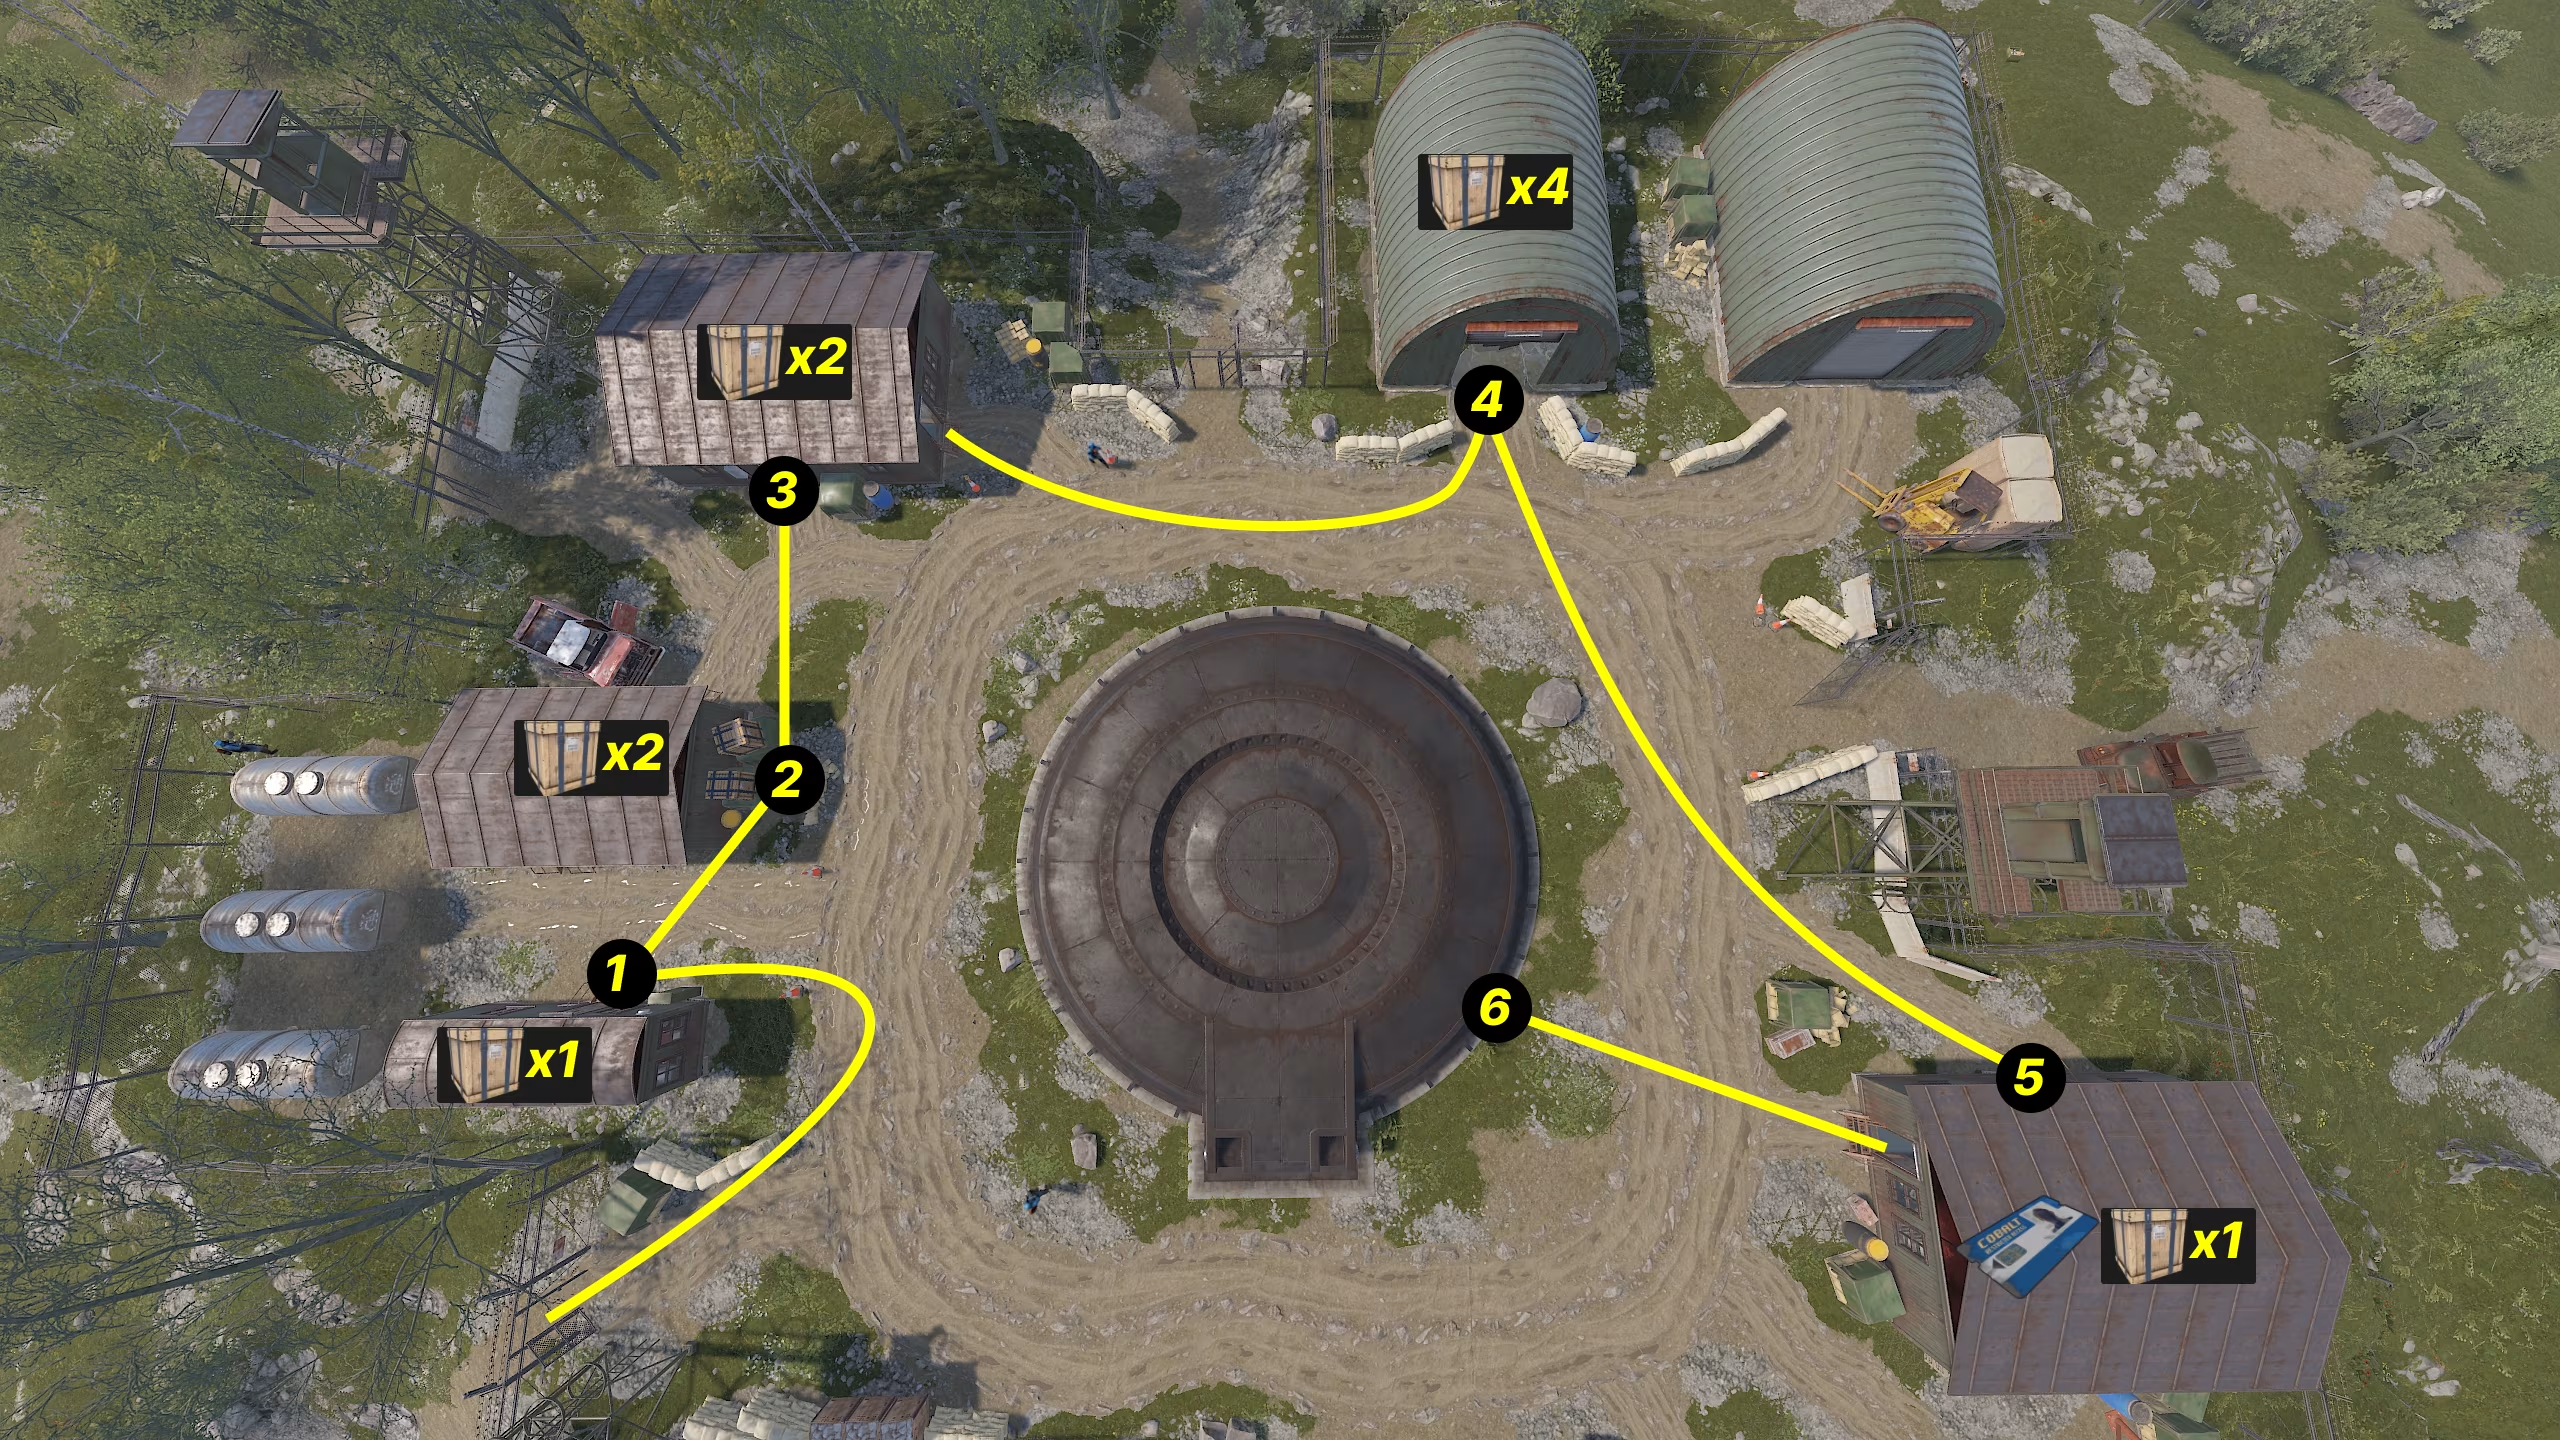
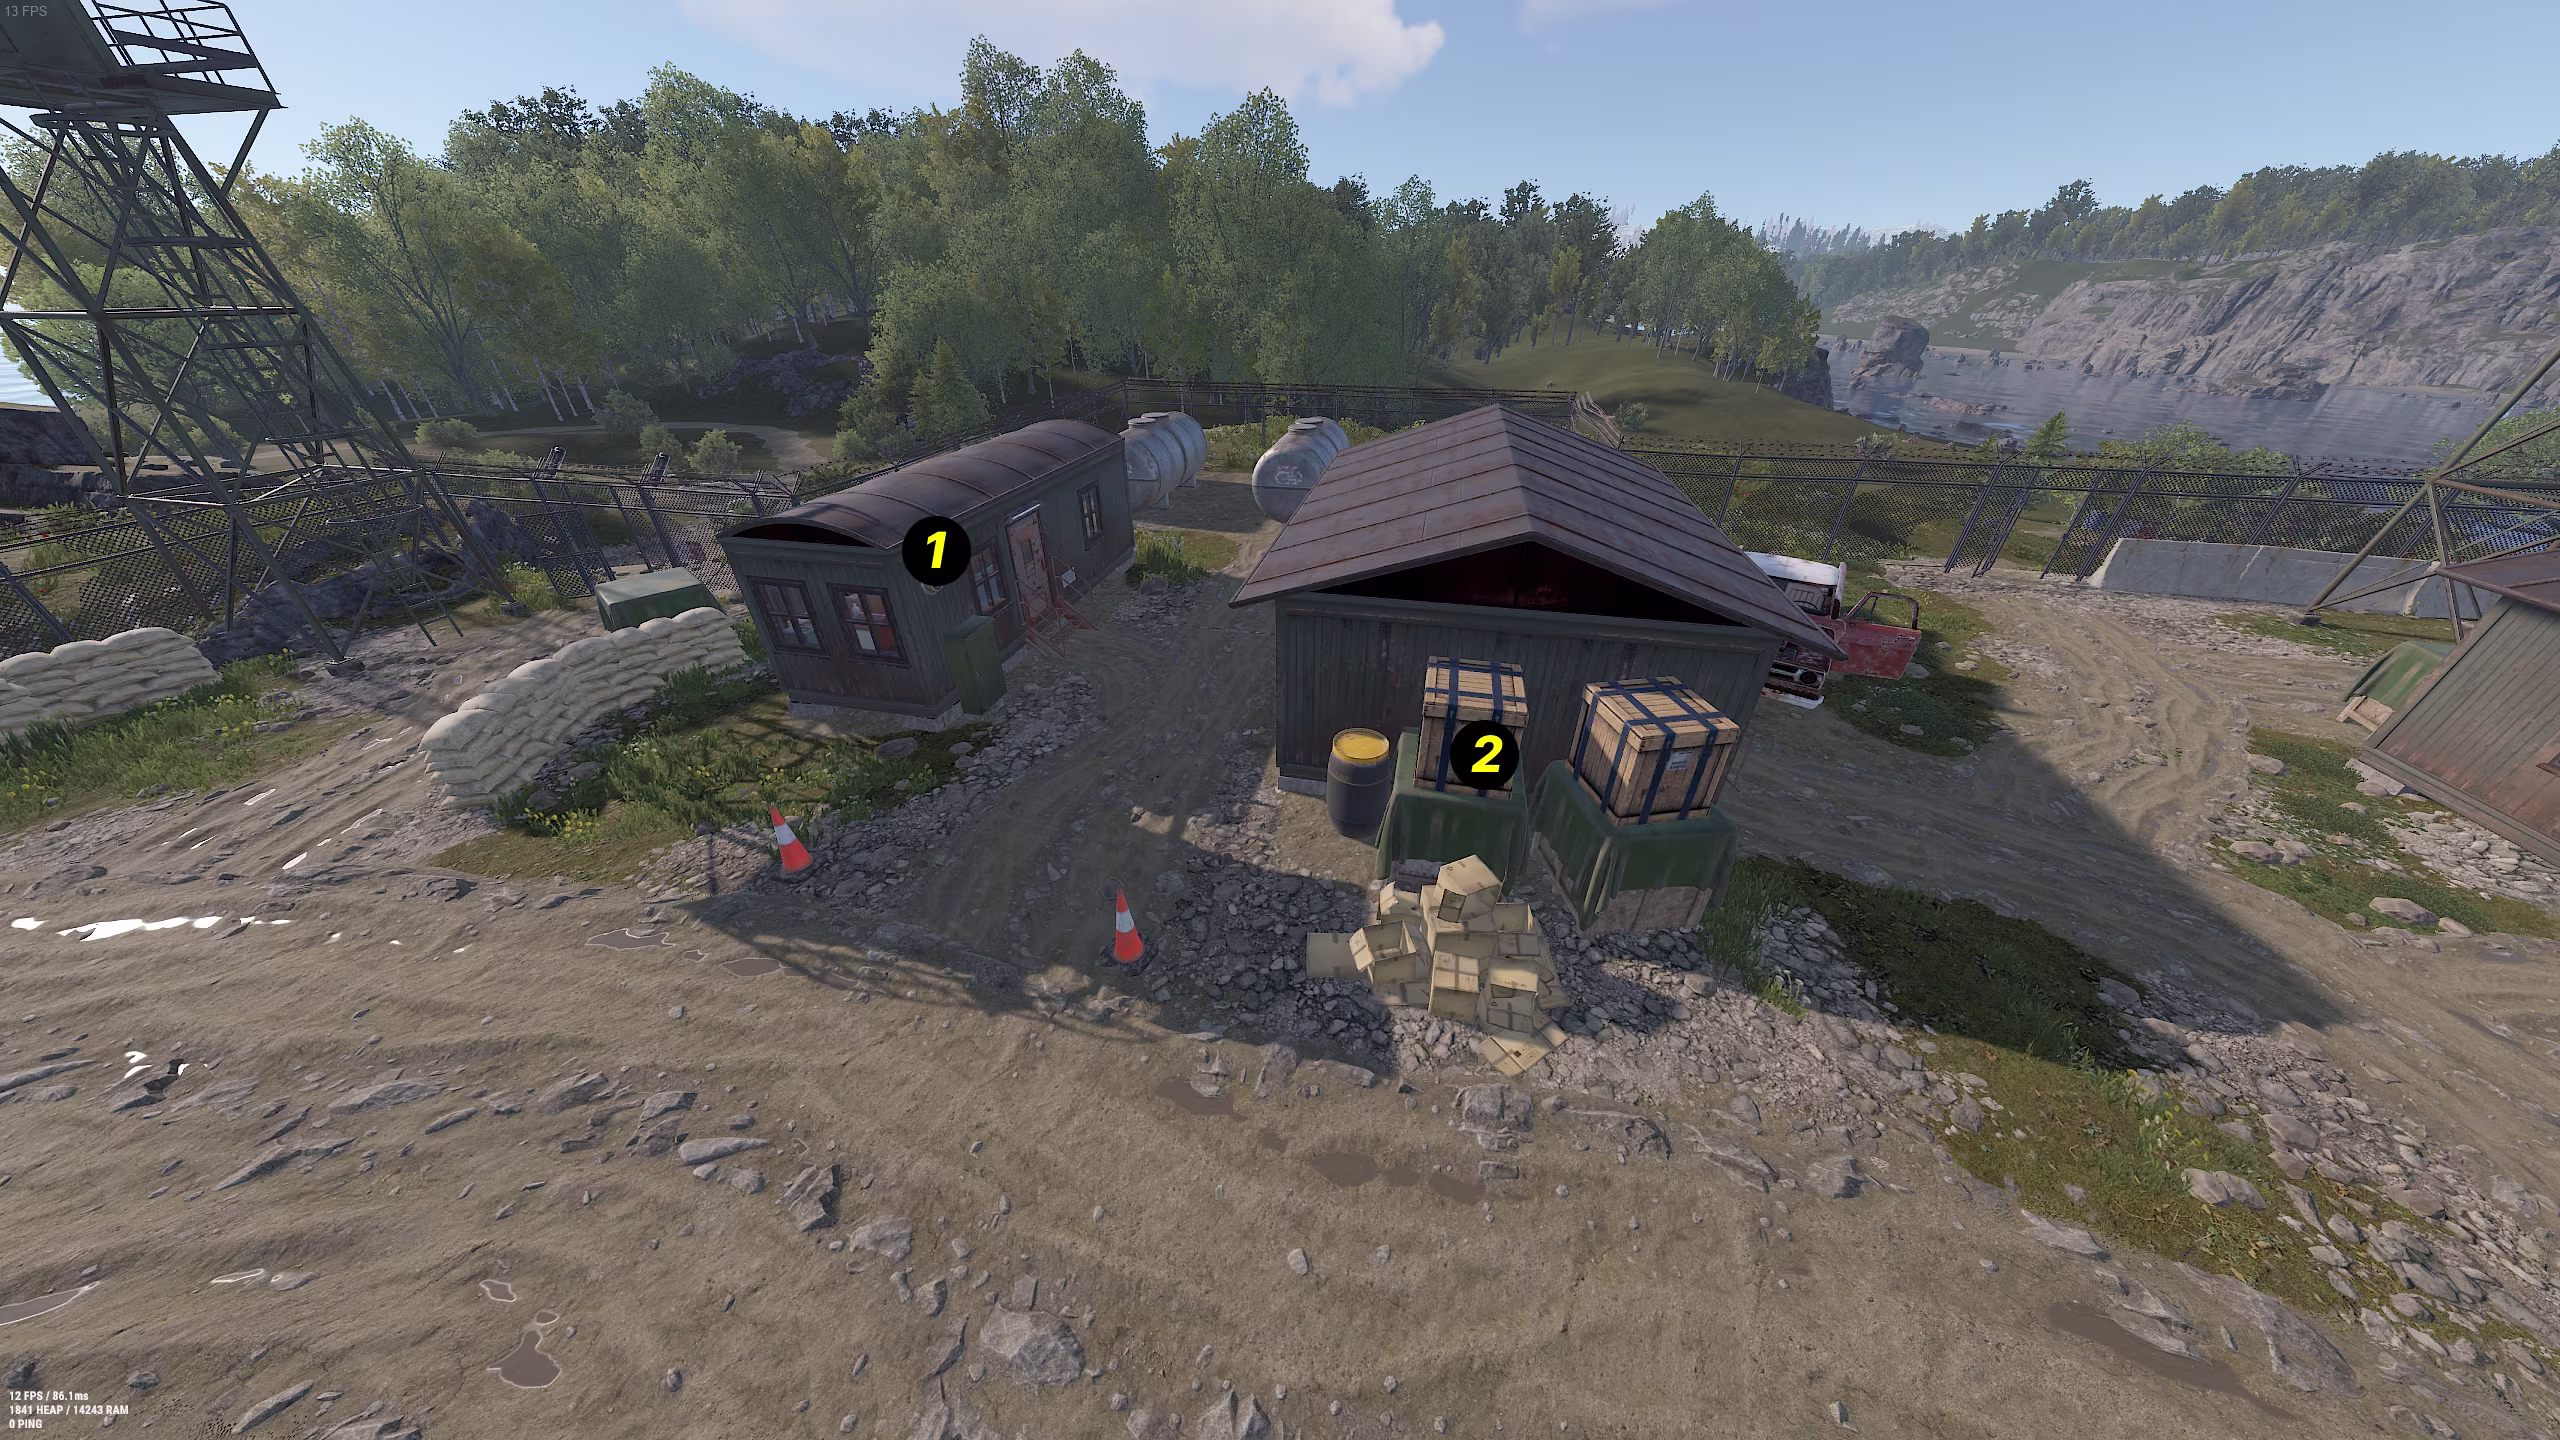
We start our clearance at the first house, located at the entrance of the barbed wire fence. Inside, you will find one crate.
After exiting the first house, you will immediately spot the second house. While you cannot enter it, there are two loot crates placed right next to it.
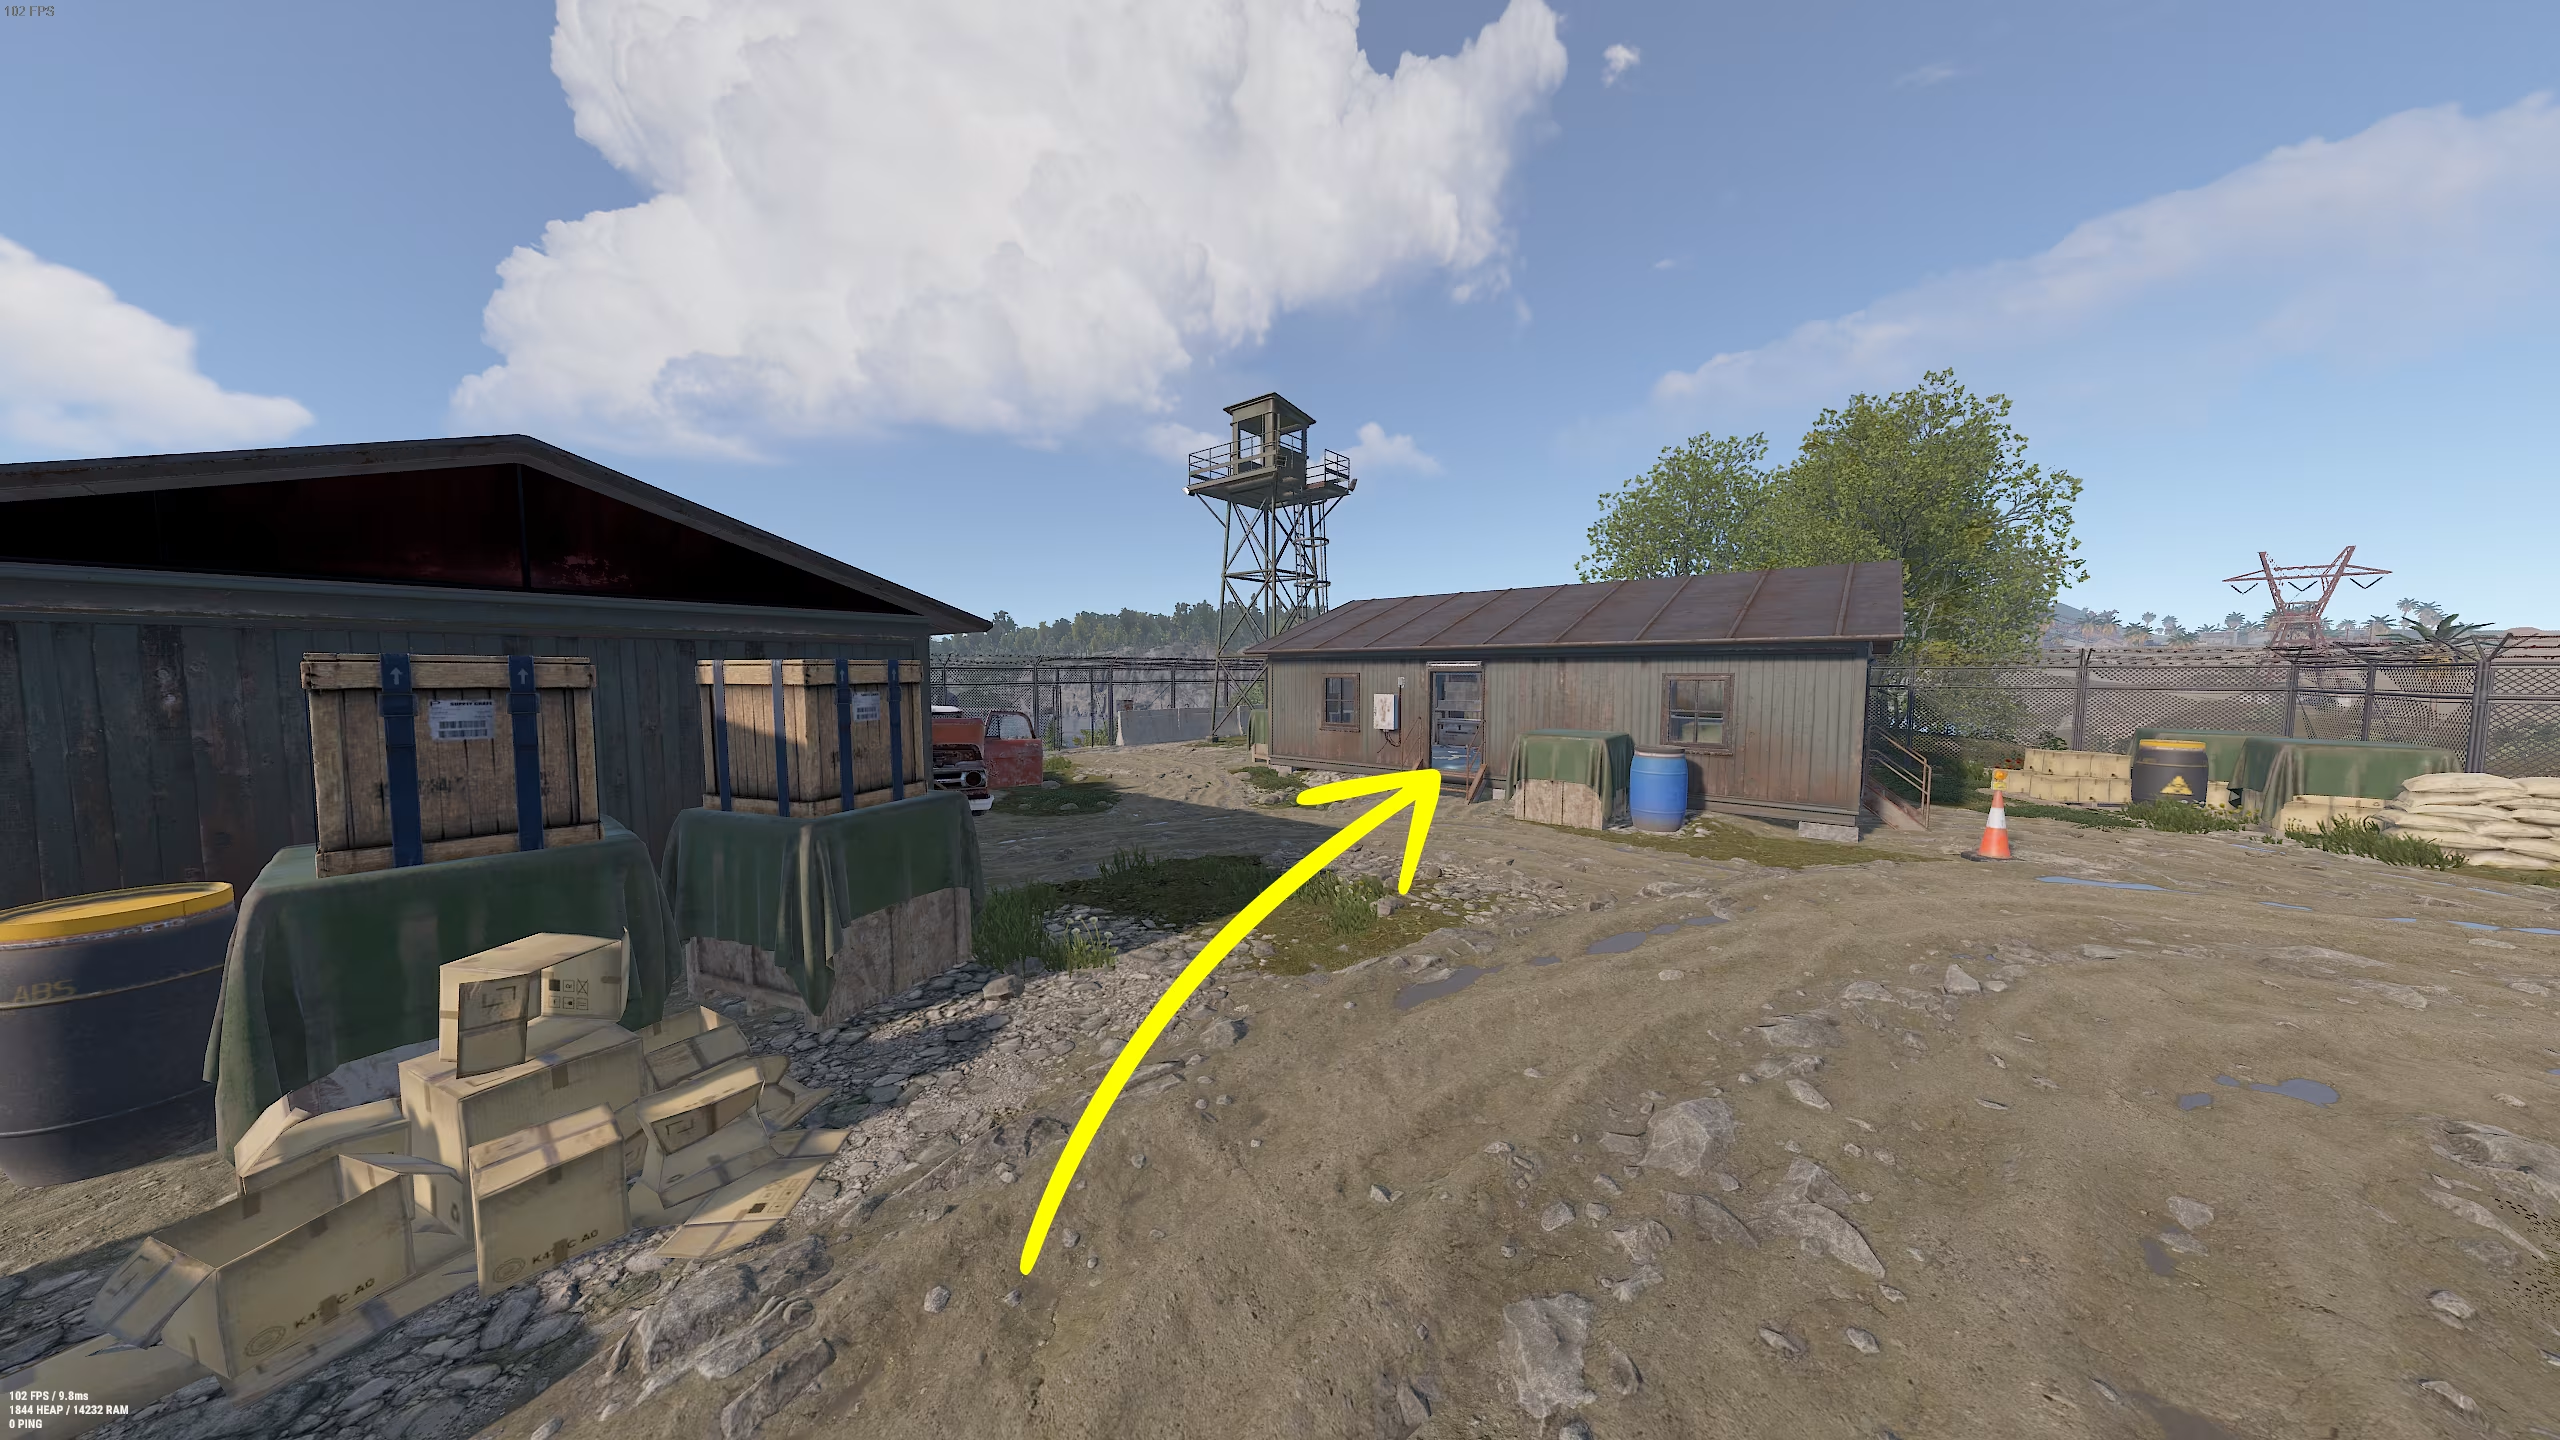
After the spot near the second house, turn right and run to the next house marked on the diagram with the number 3.
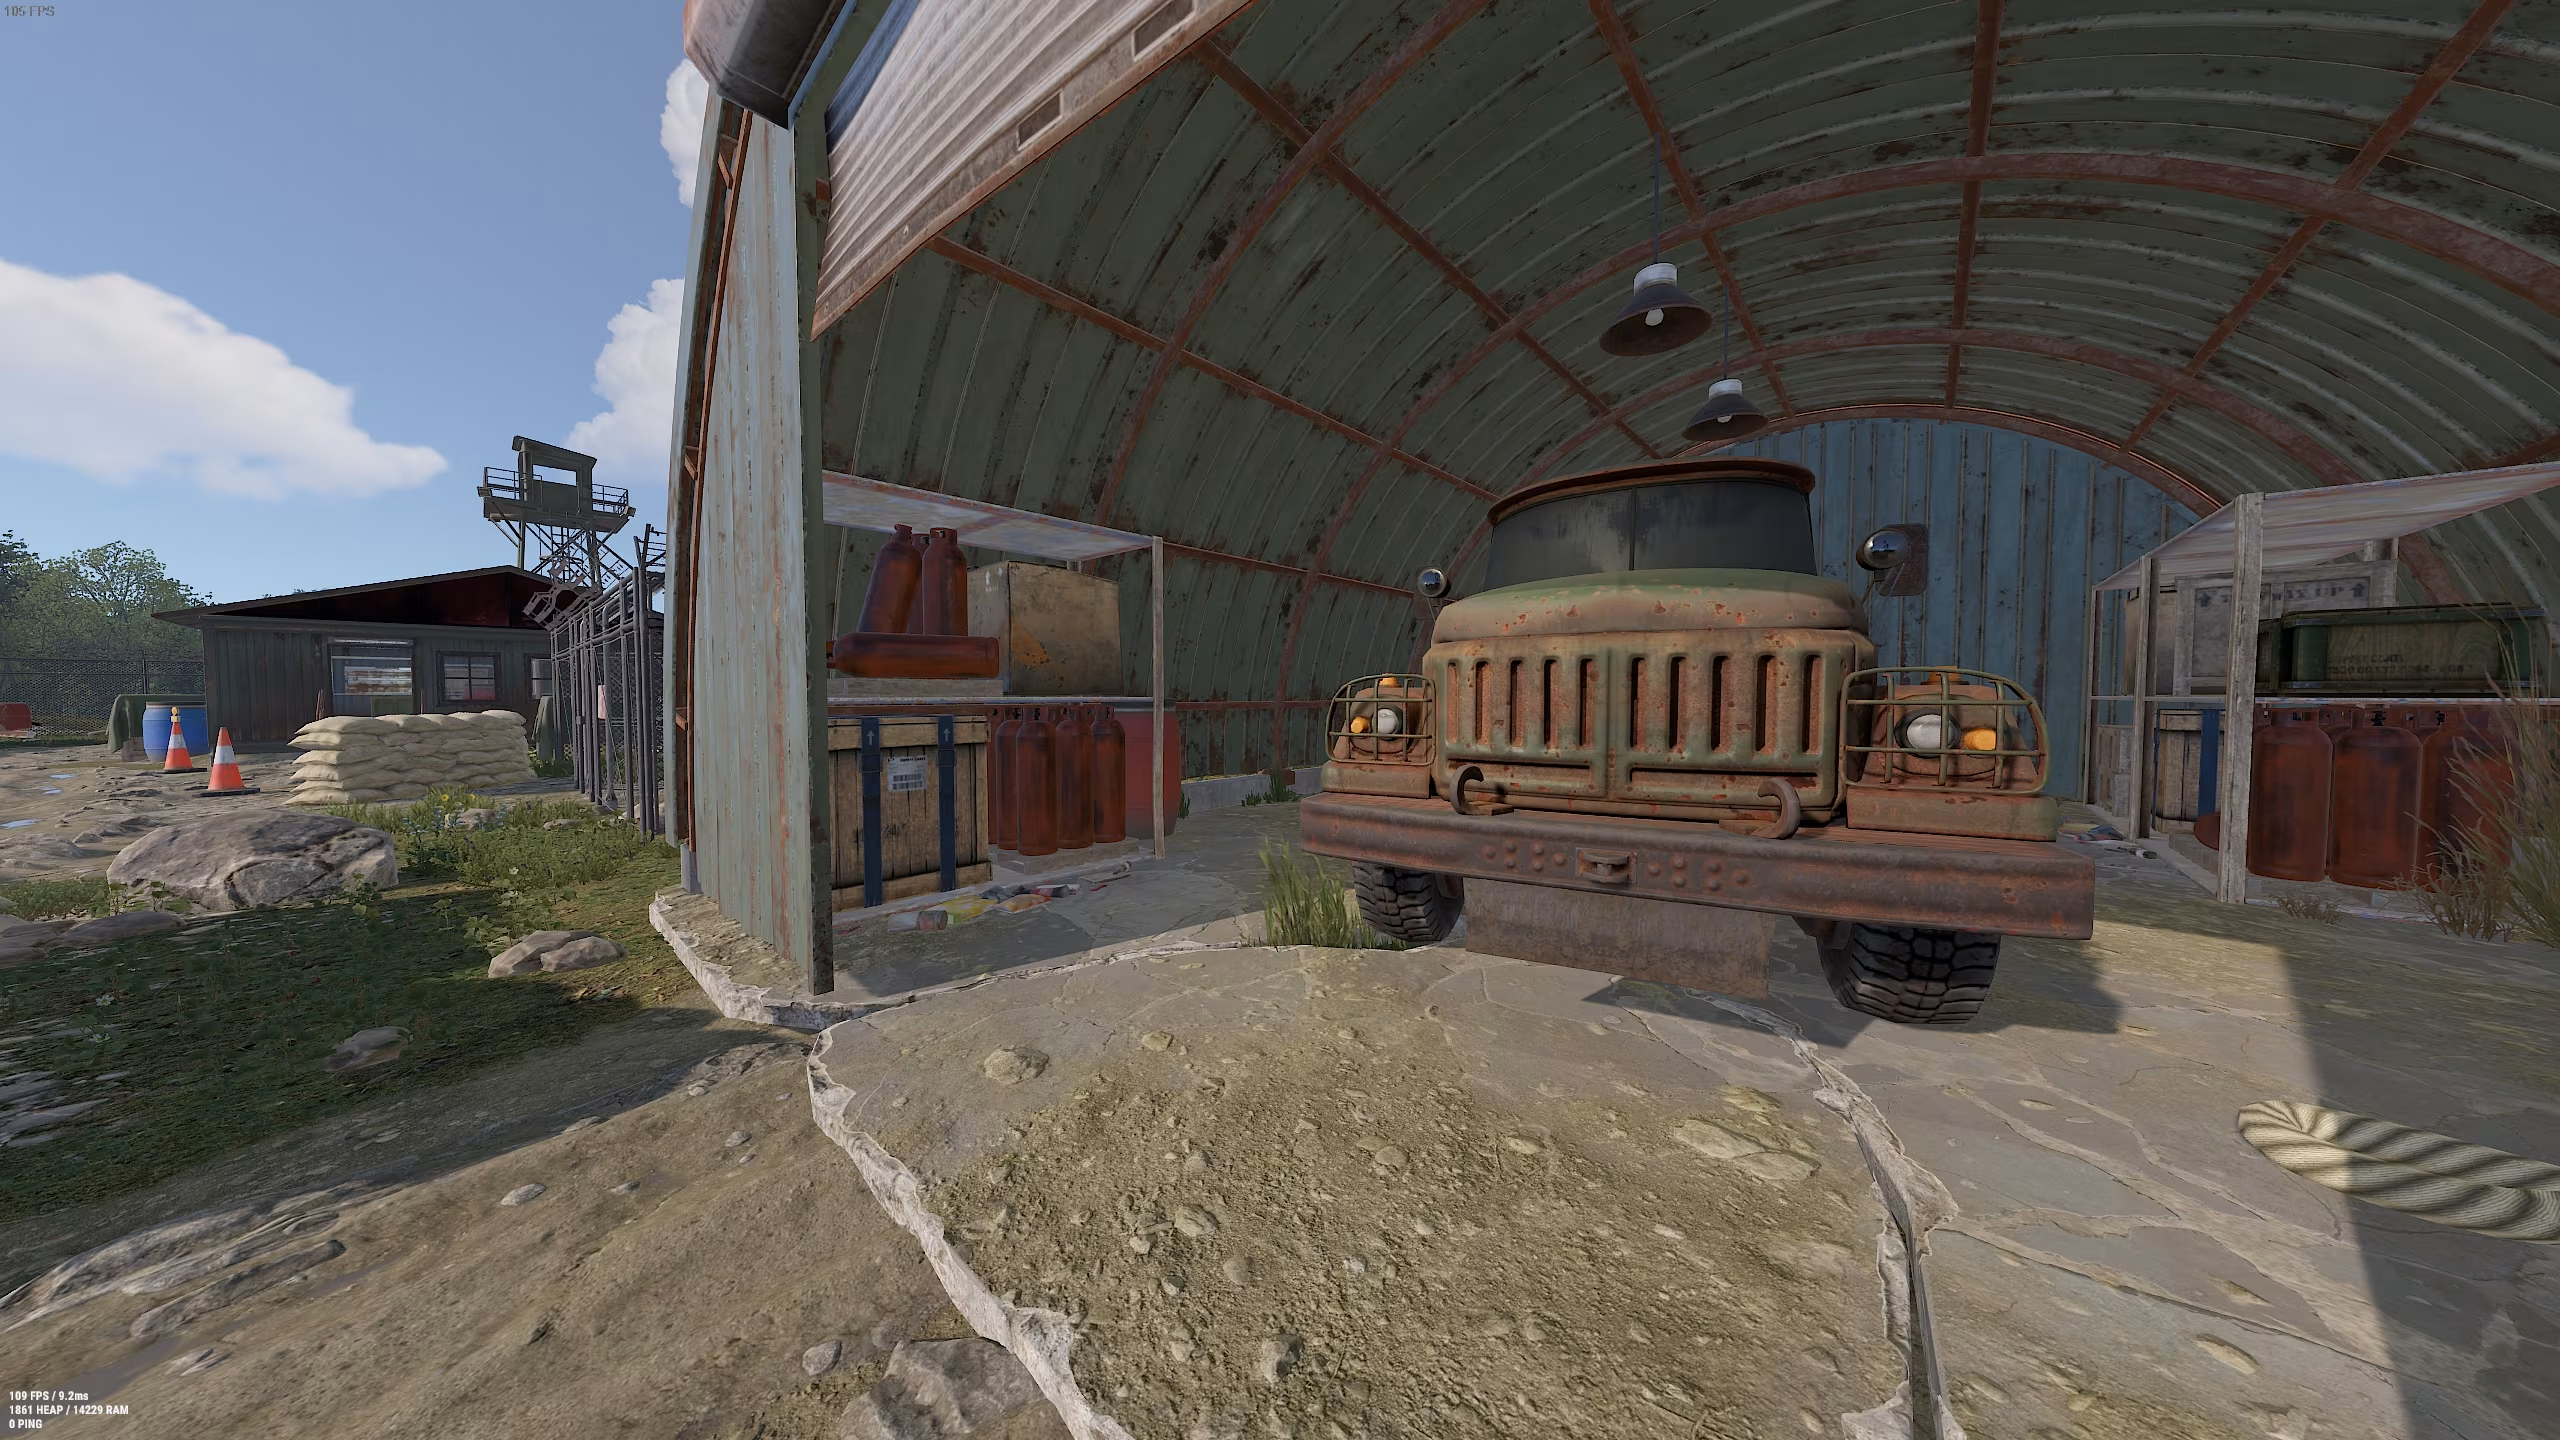
There are 2 more boxes with loot in the house. Then we leave it through the door located right behind the boxes and head to the hangars marked on the diagram with the number 4.
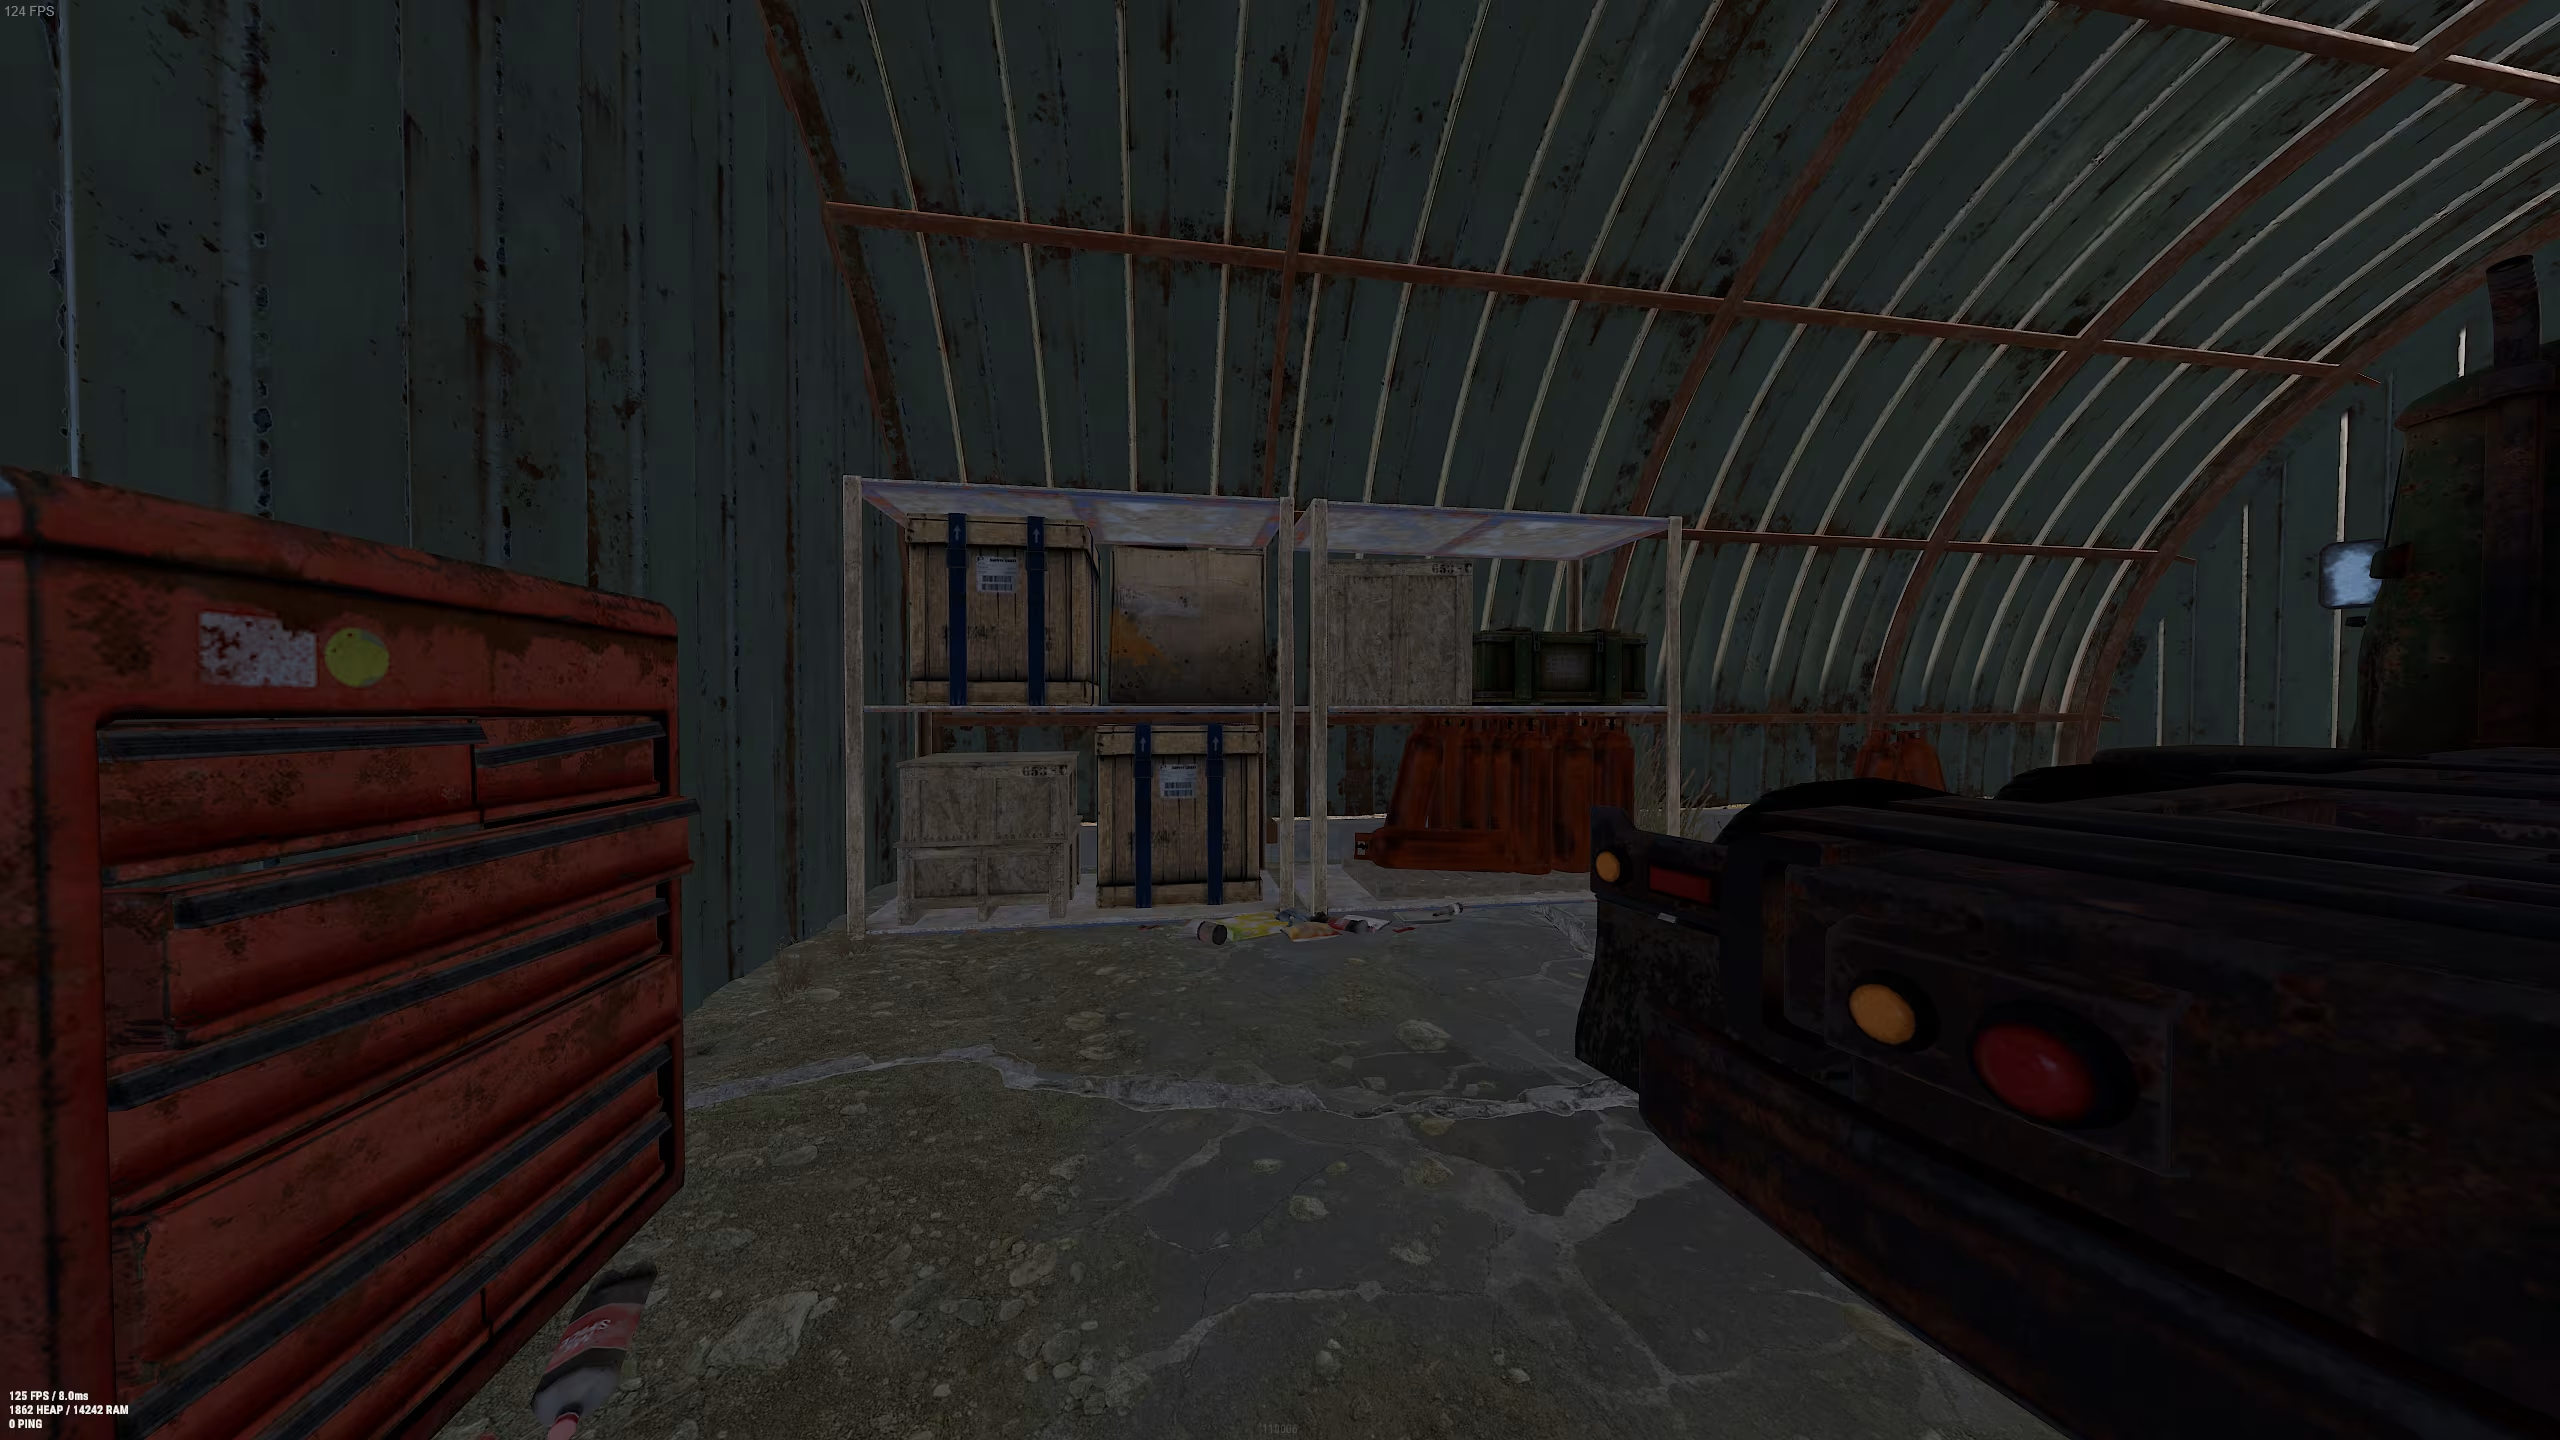
In the hangar, we pay attention to the truck, with shelves located to the left and right of it.
On the left shelf, we pick up one crate and run to the right shelf for three more.
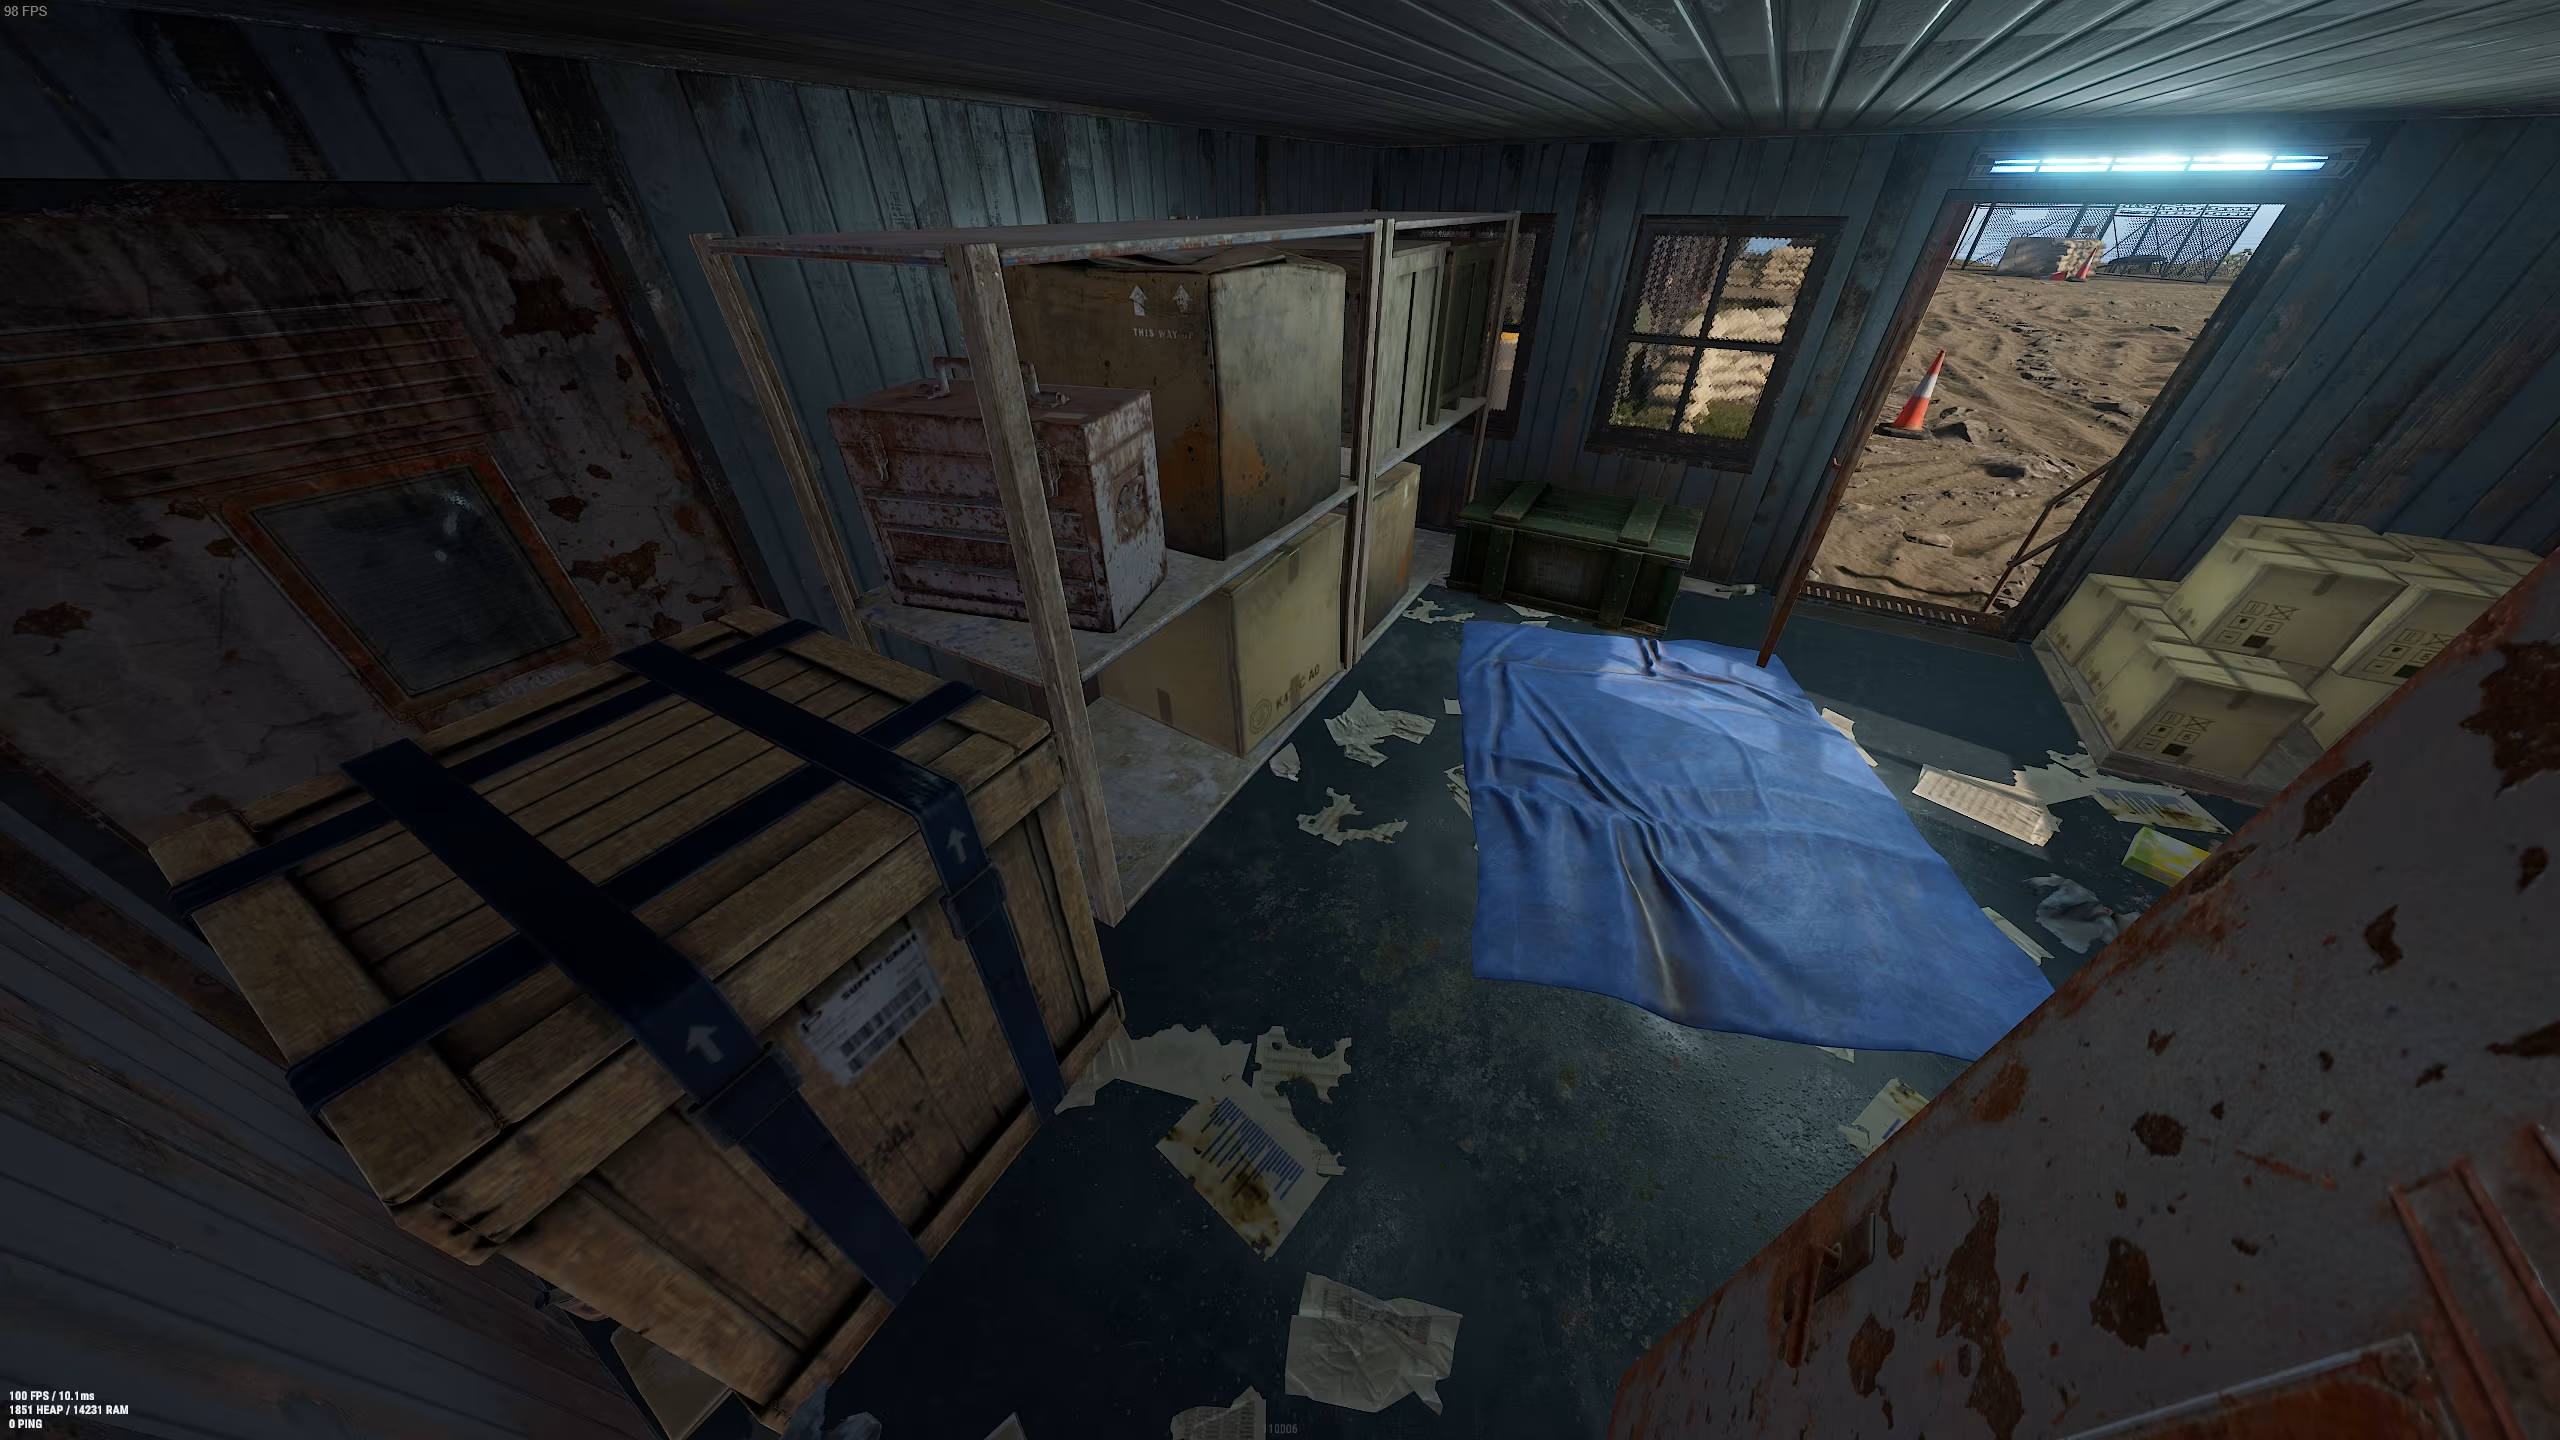
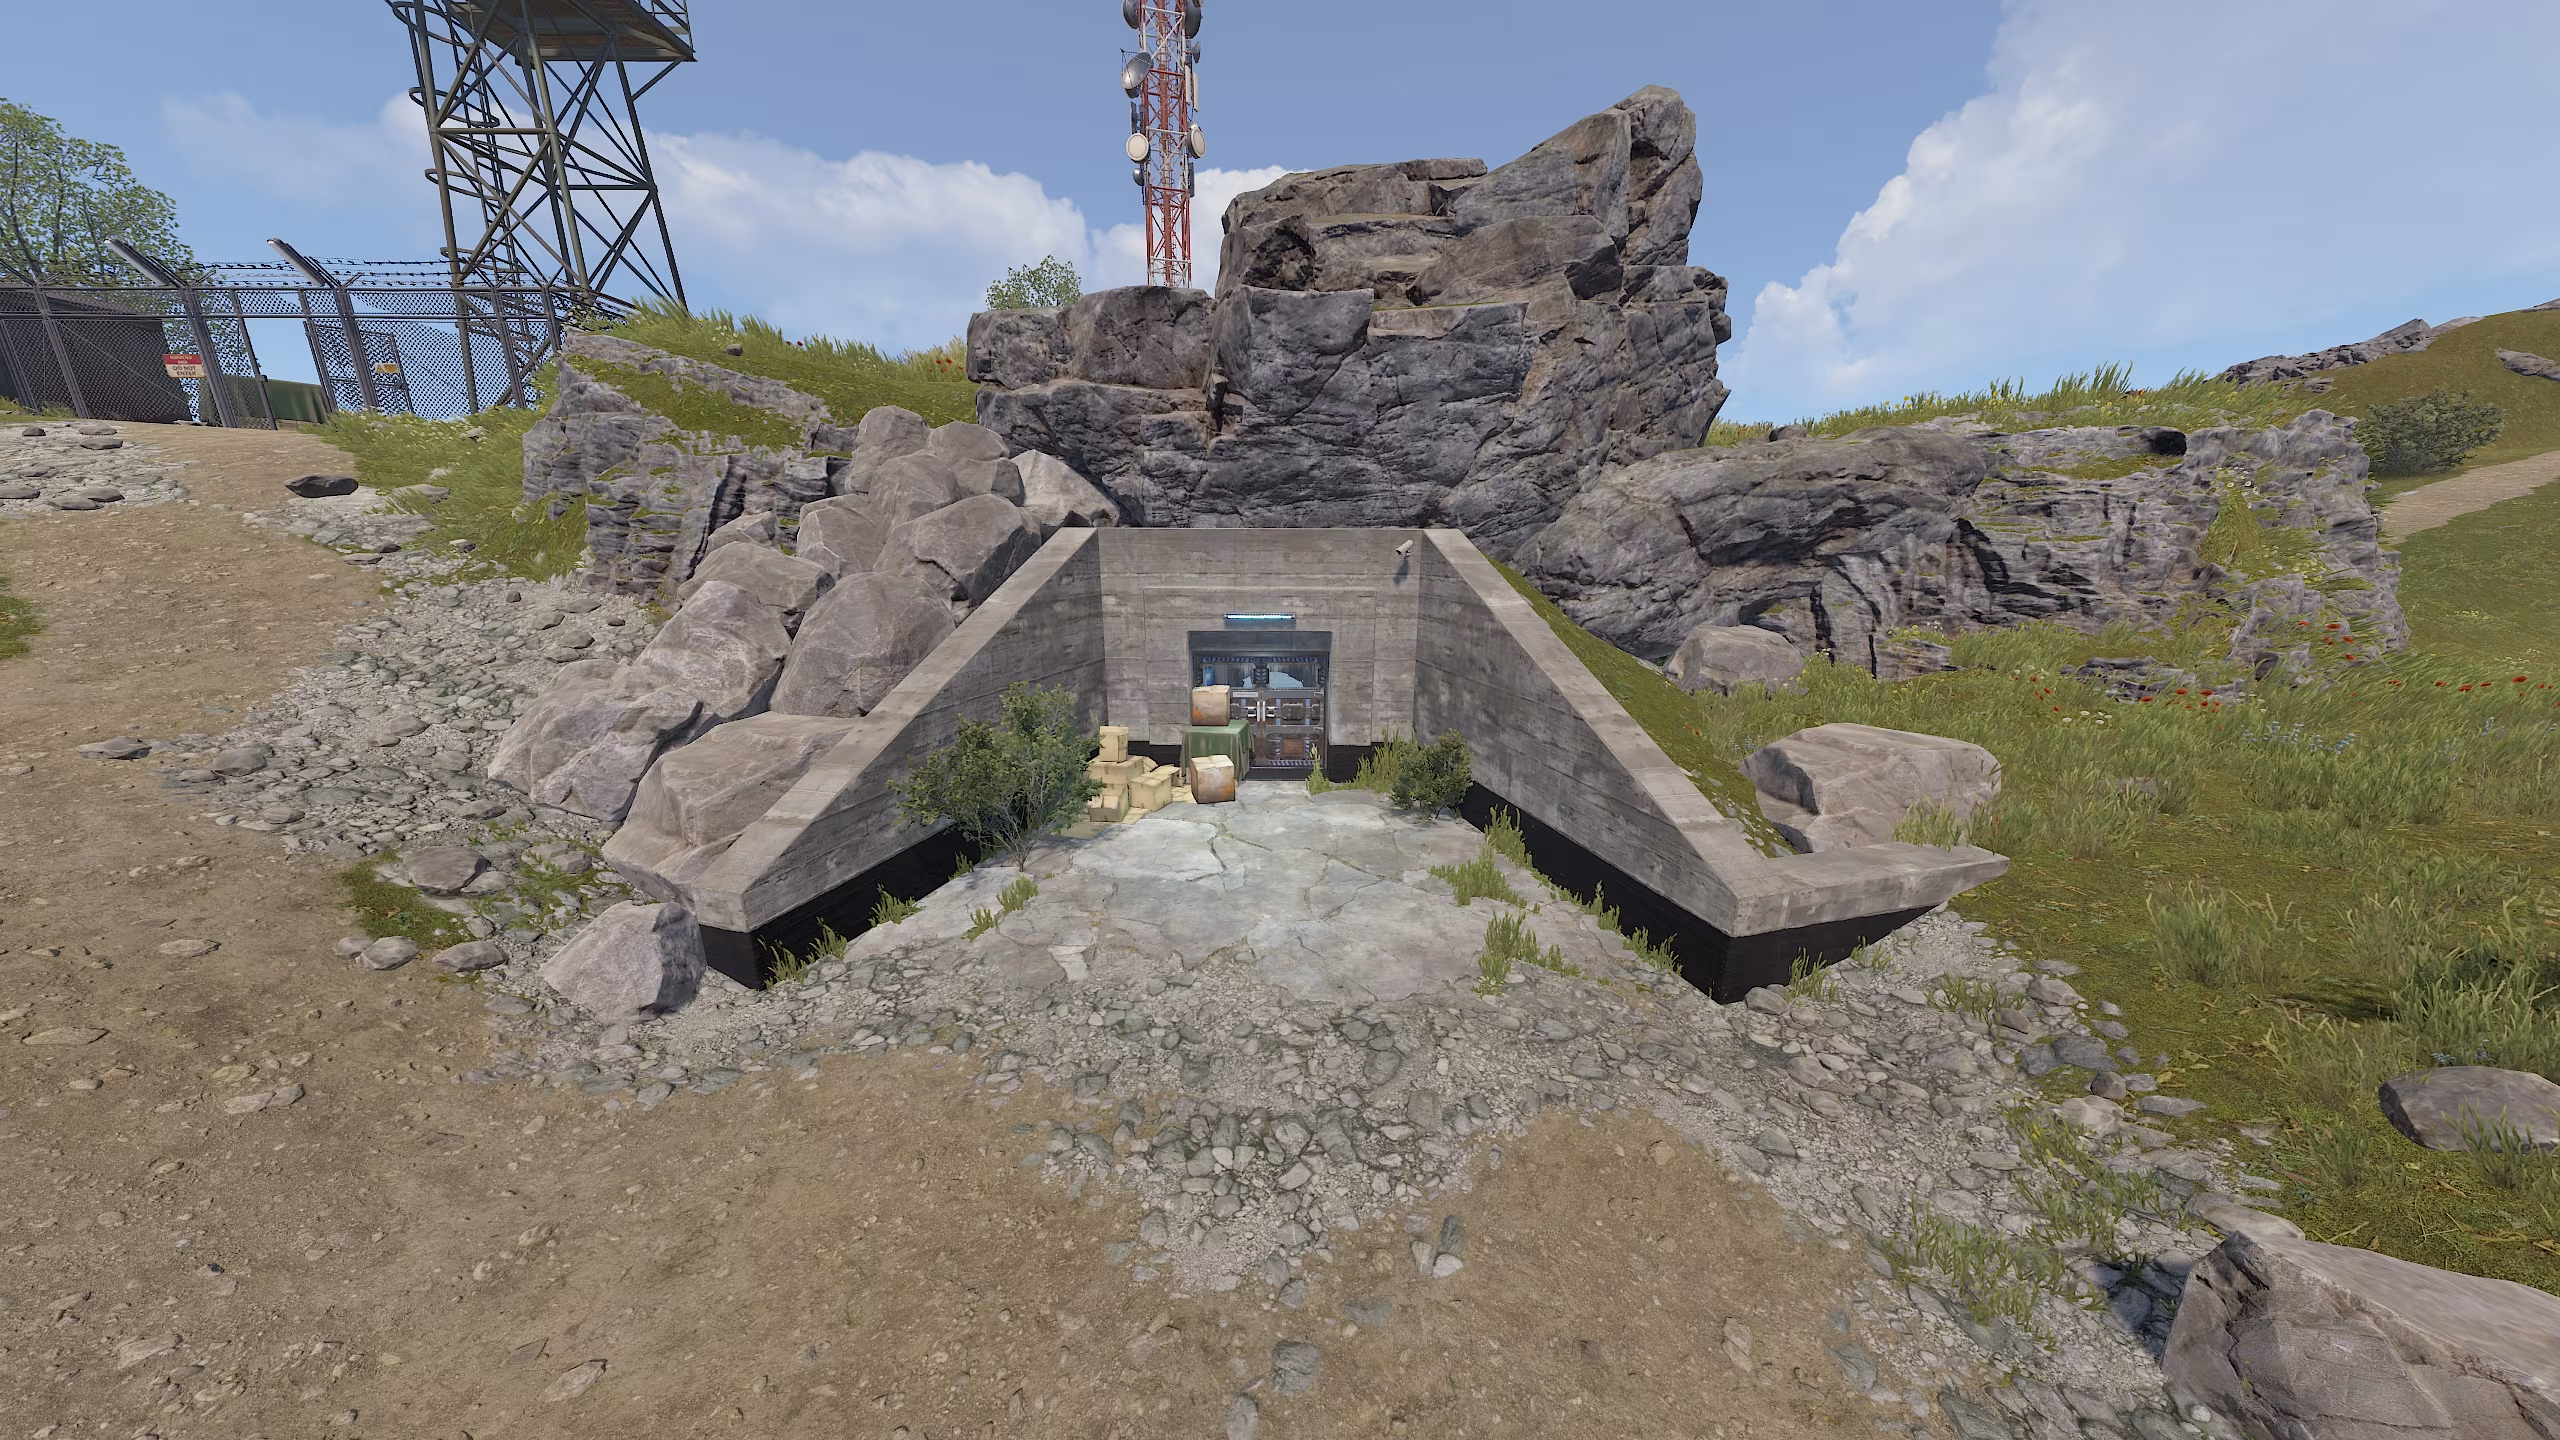
After the hangars, we go to the last house in the upper part of the location. In it, we pick up one box and activate the blue card.
After pressing the button, the hatch will start to open and we will have about 20 seconds to jump into the silo. There is enough time, even with a margin. But if you still did not have time, then the map will have to be activated again. And do not forget that the inner part of the hatch deals damage to the player and can easily kill you.
Underground part of the location
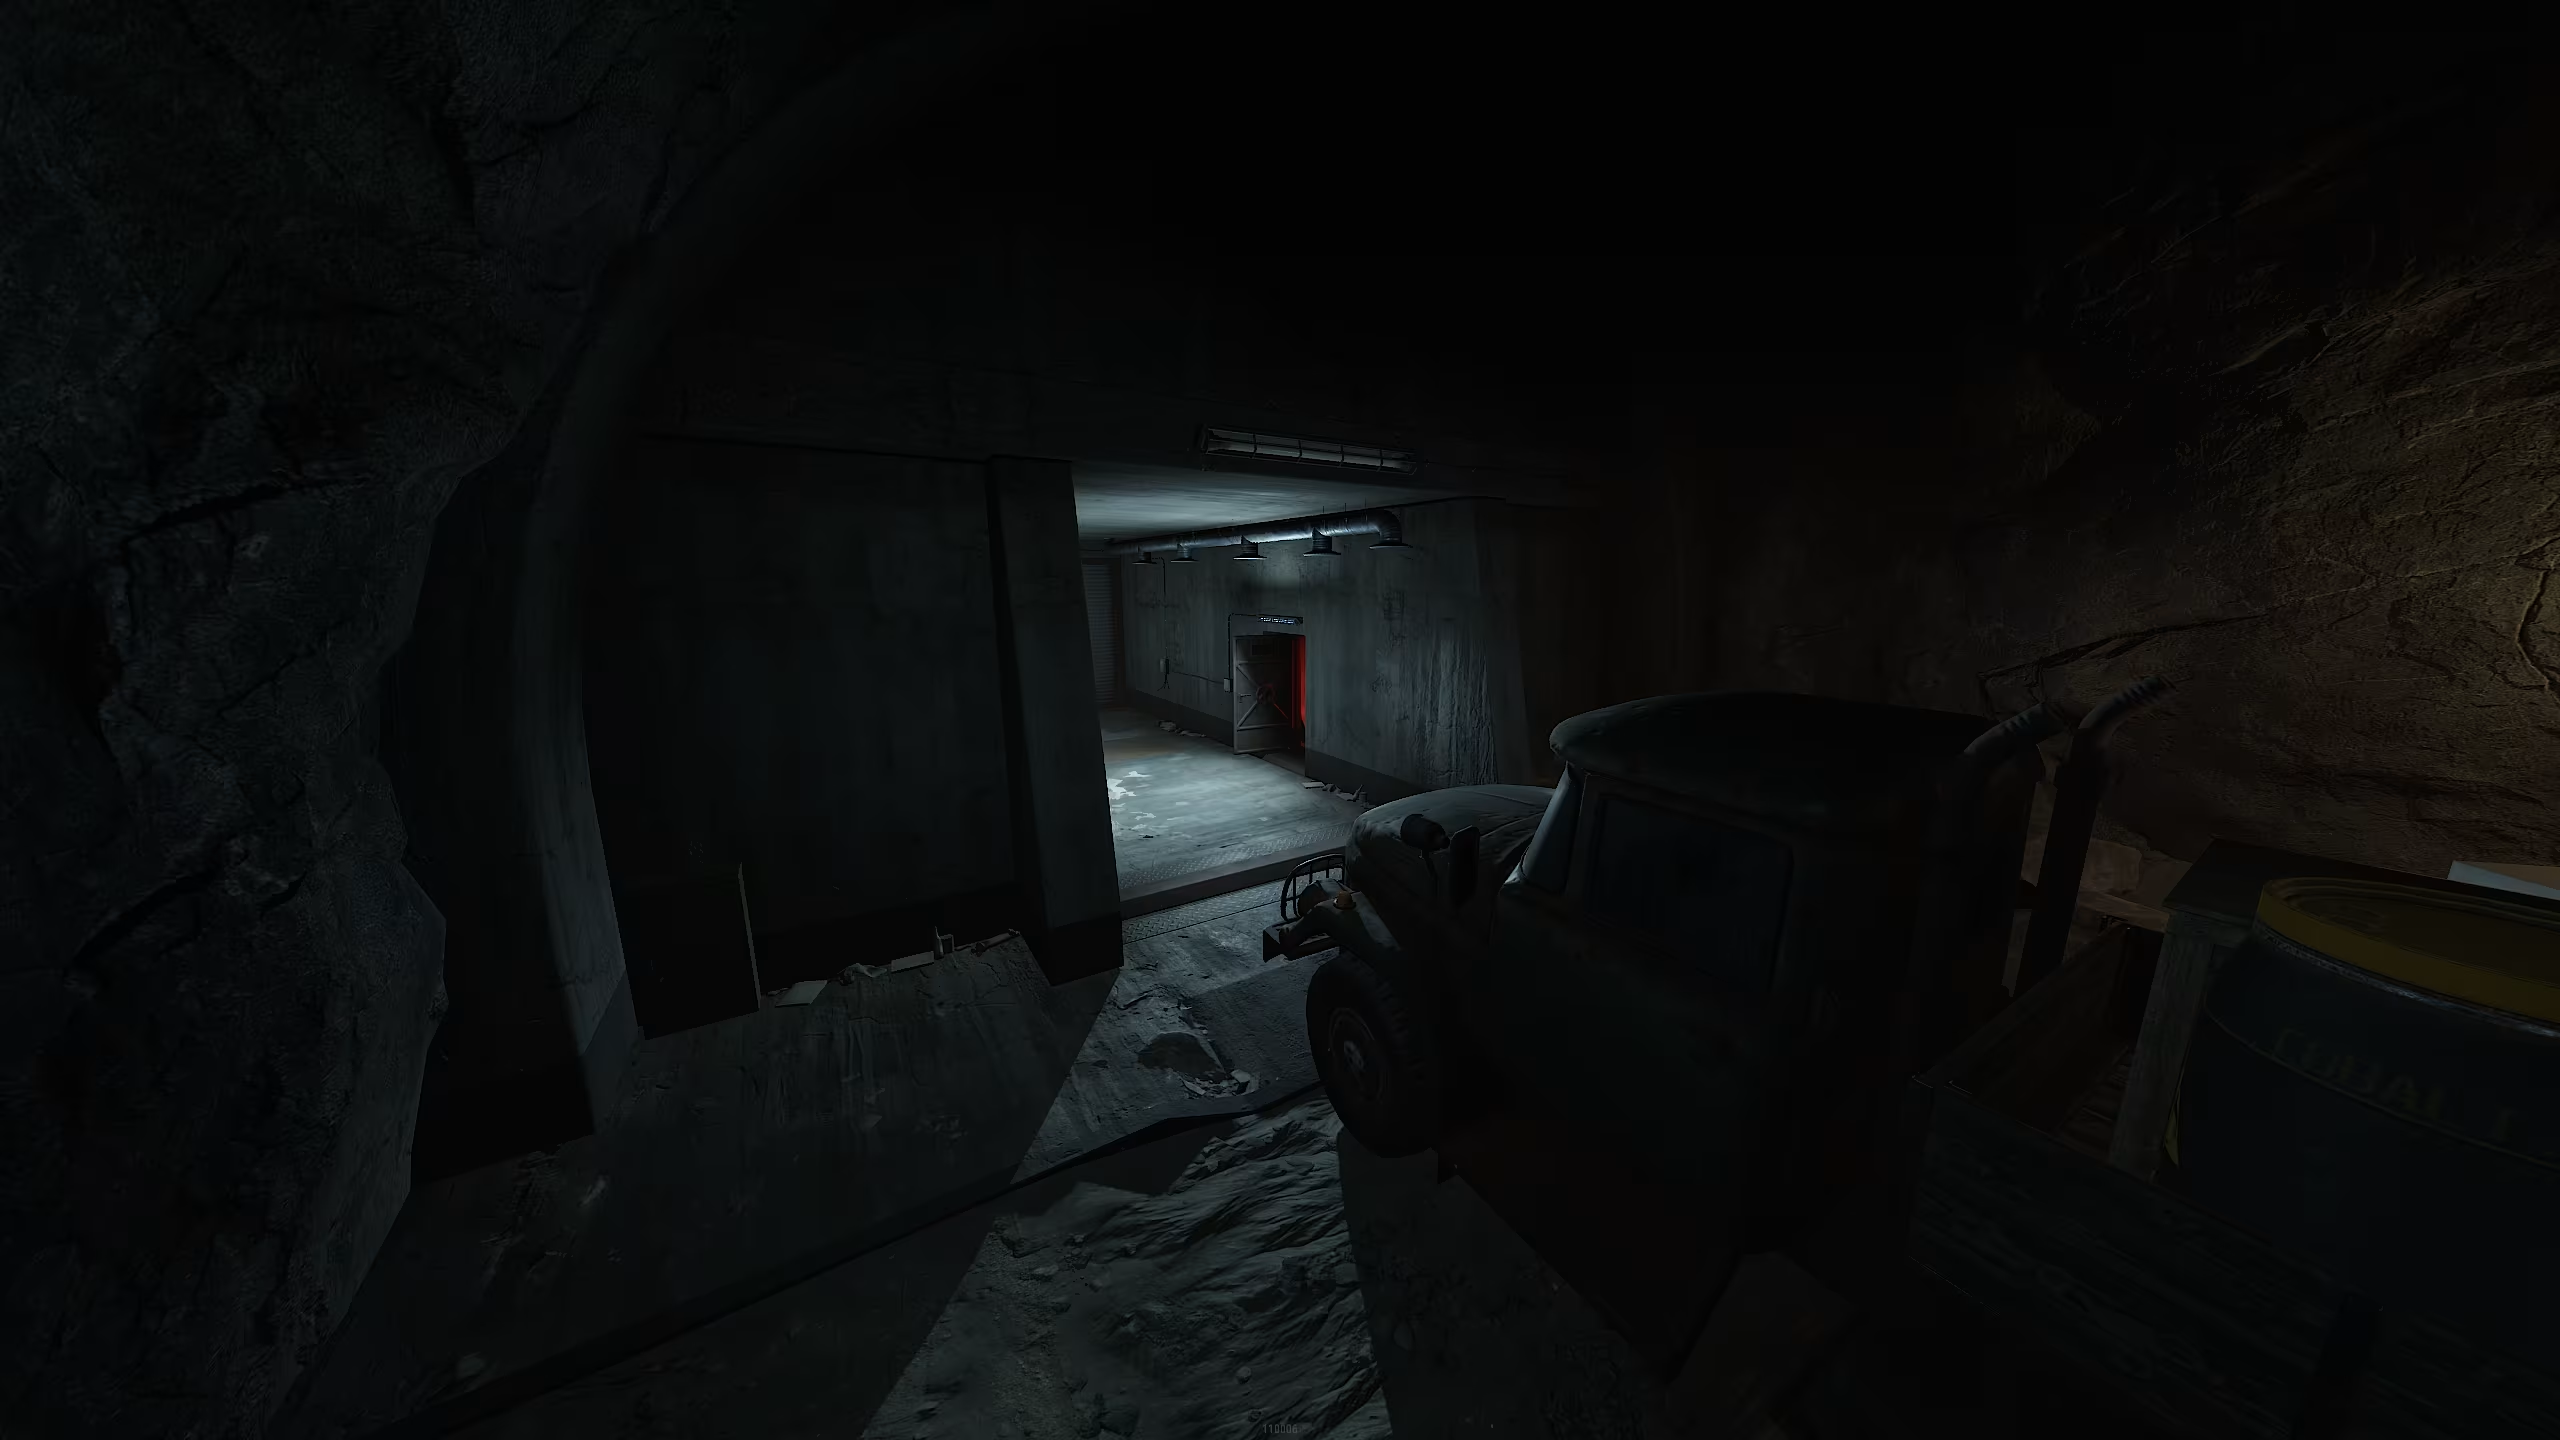
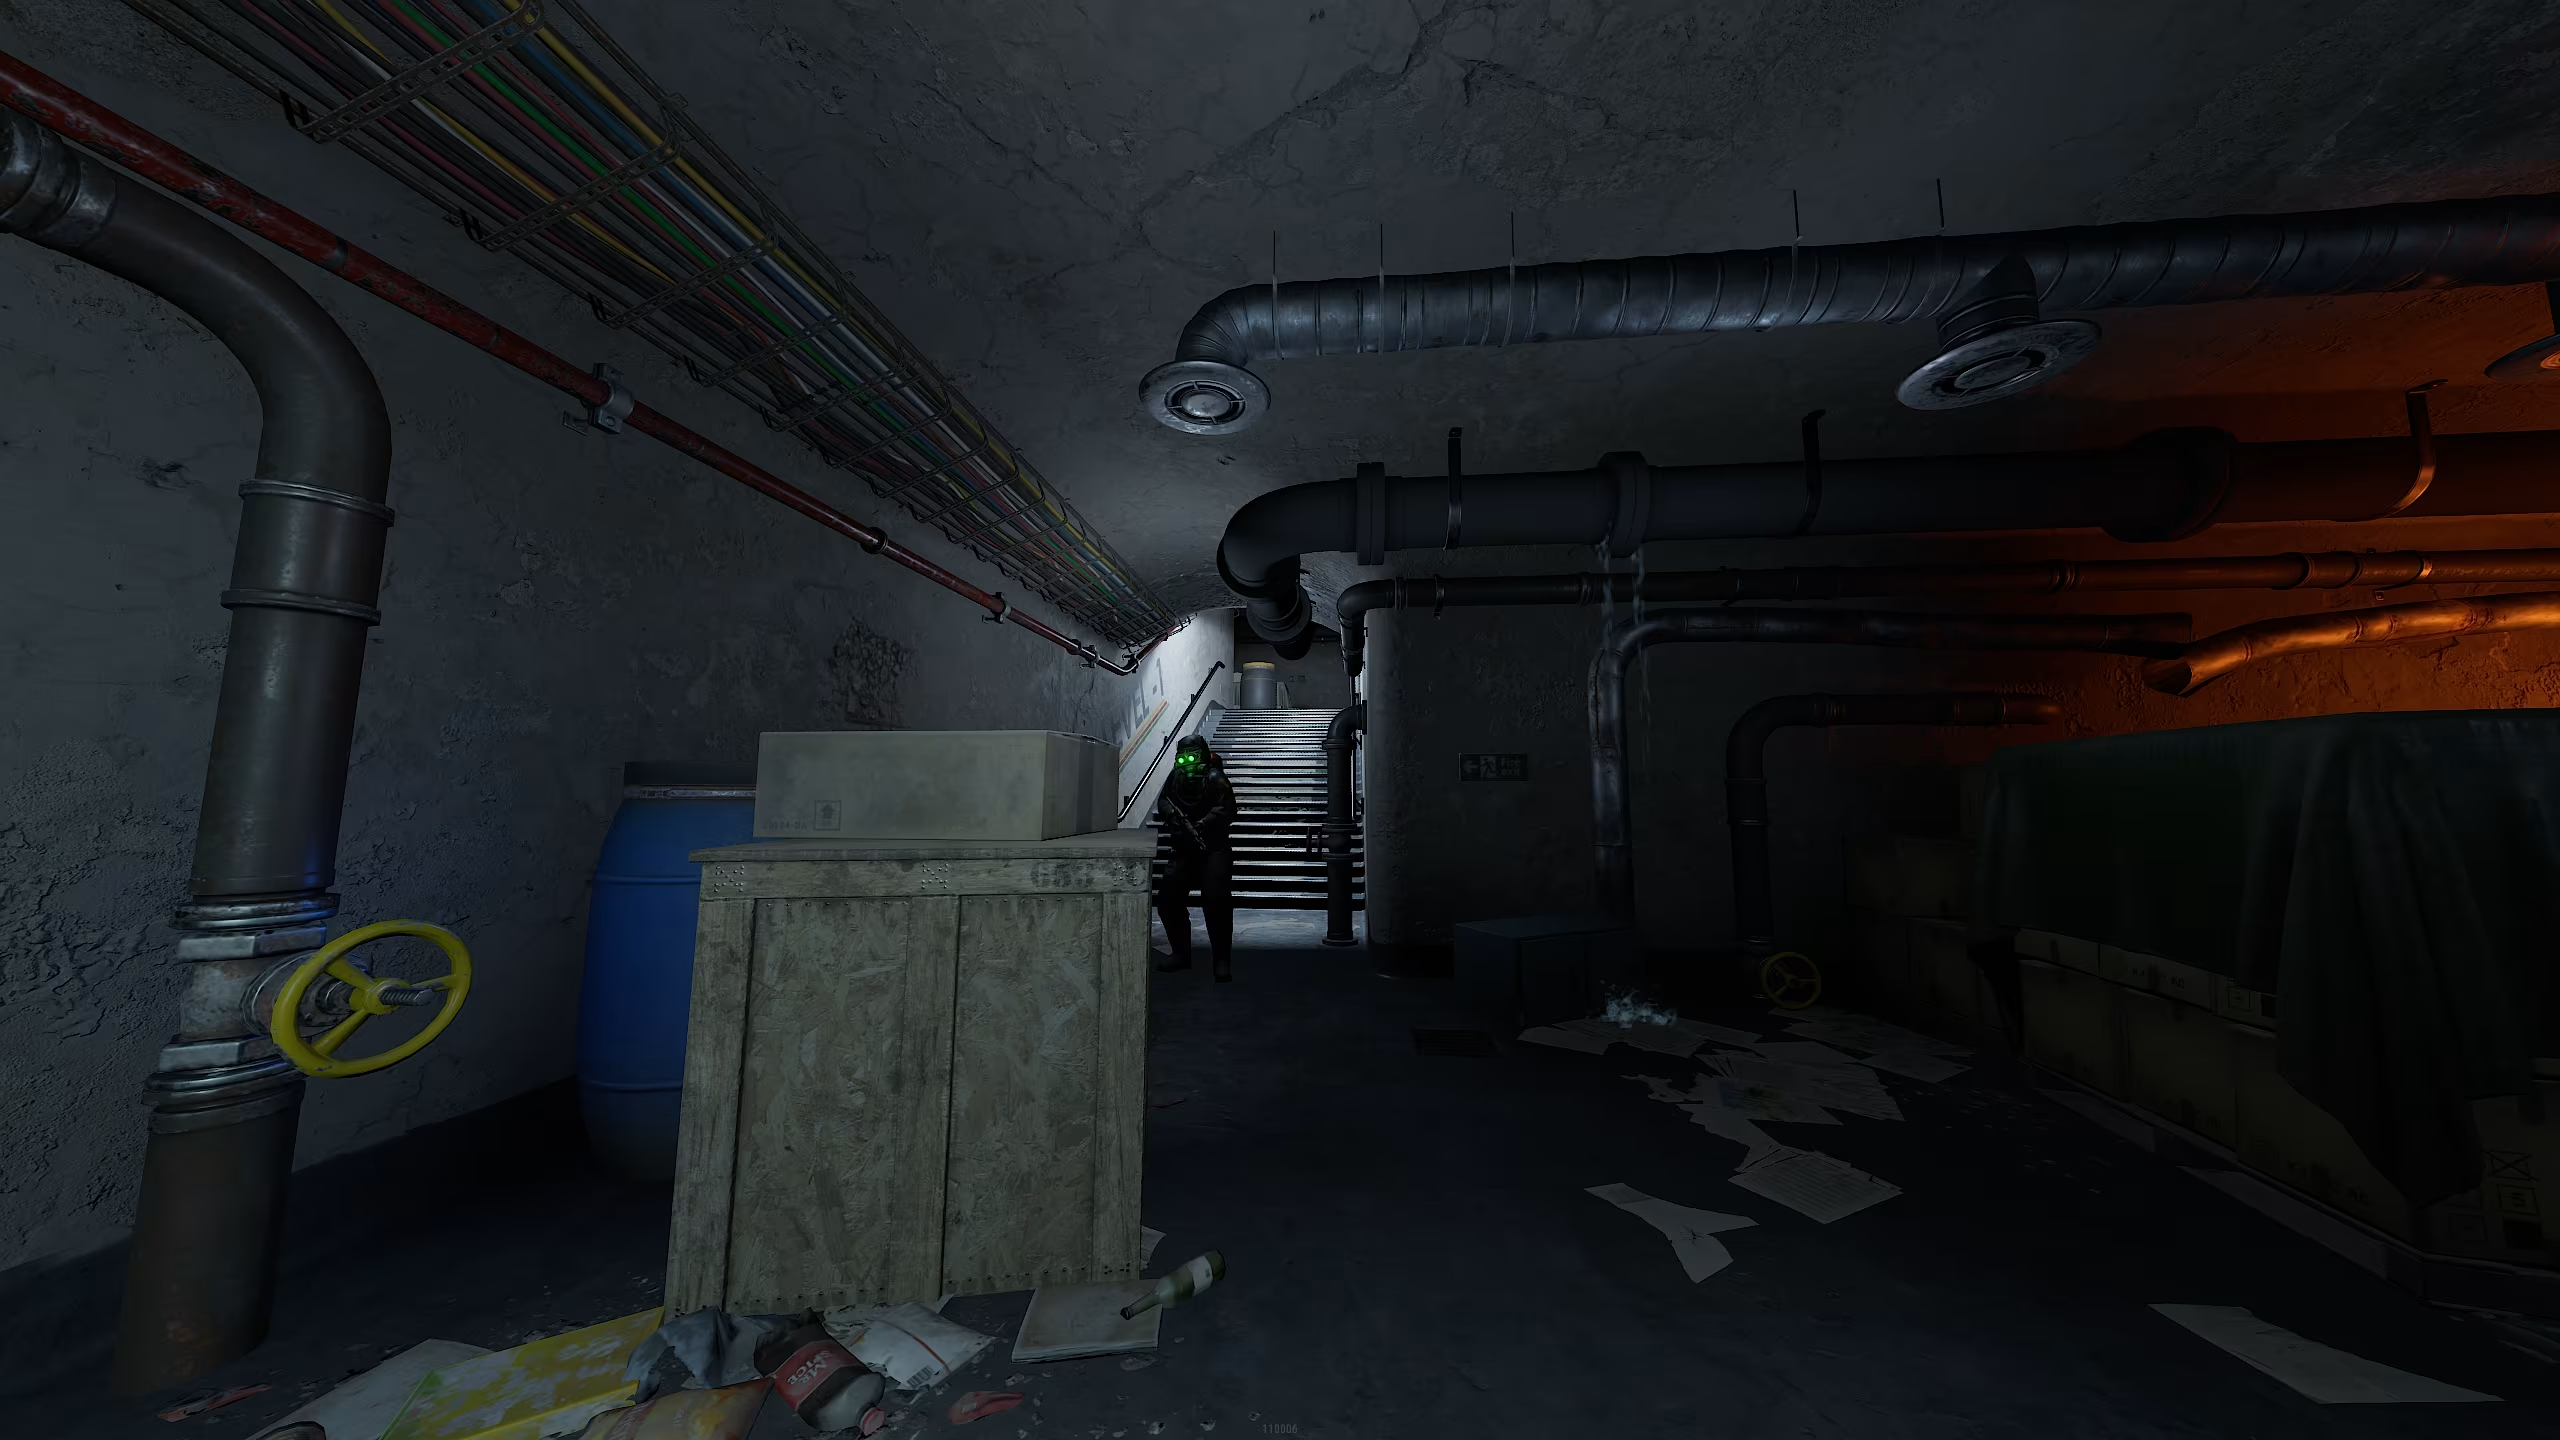
After we jumped into the silo, we will find ourselves on the first flight. From there you can see the door to the first tunnel. We jump there and do not forget that there are aggressive bots there.
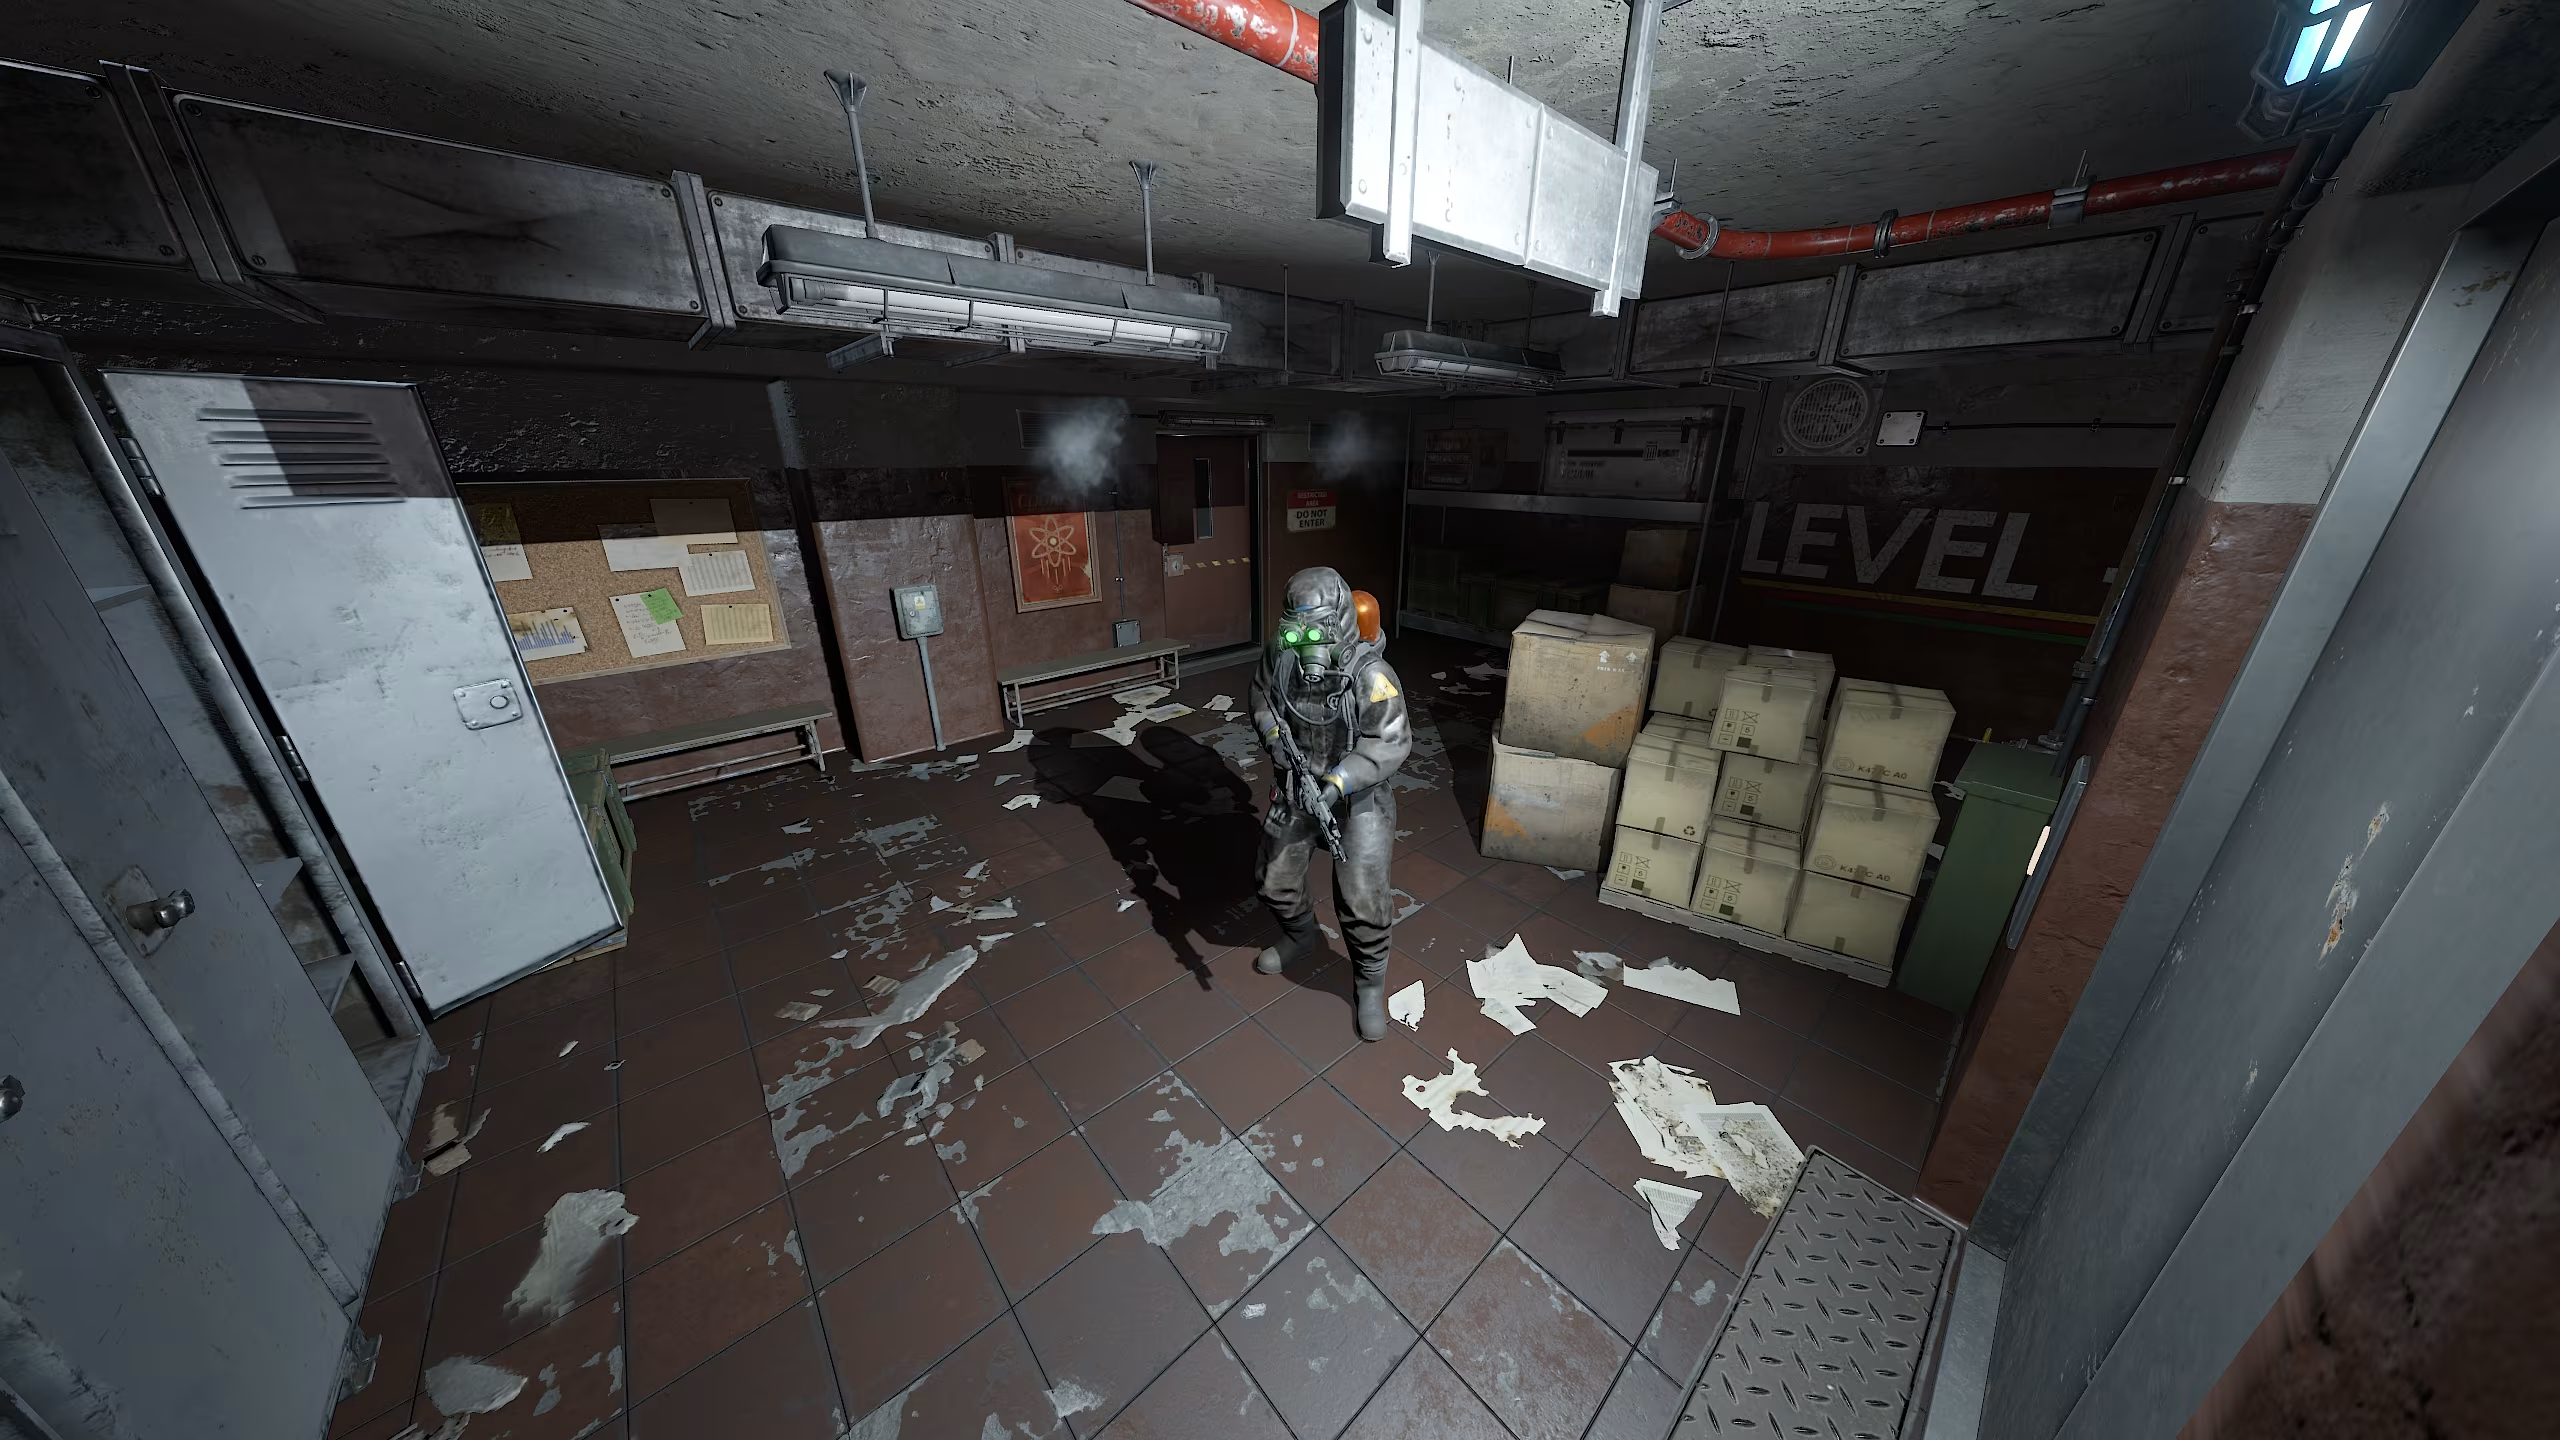
Level 0
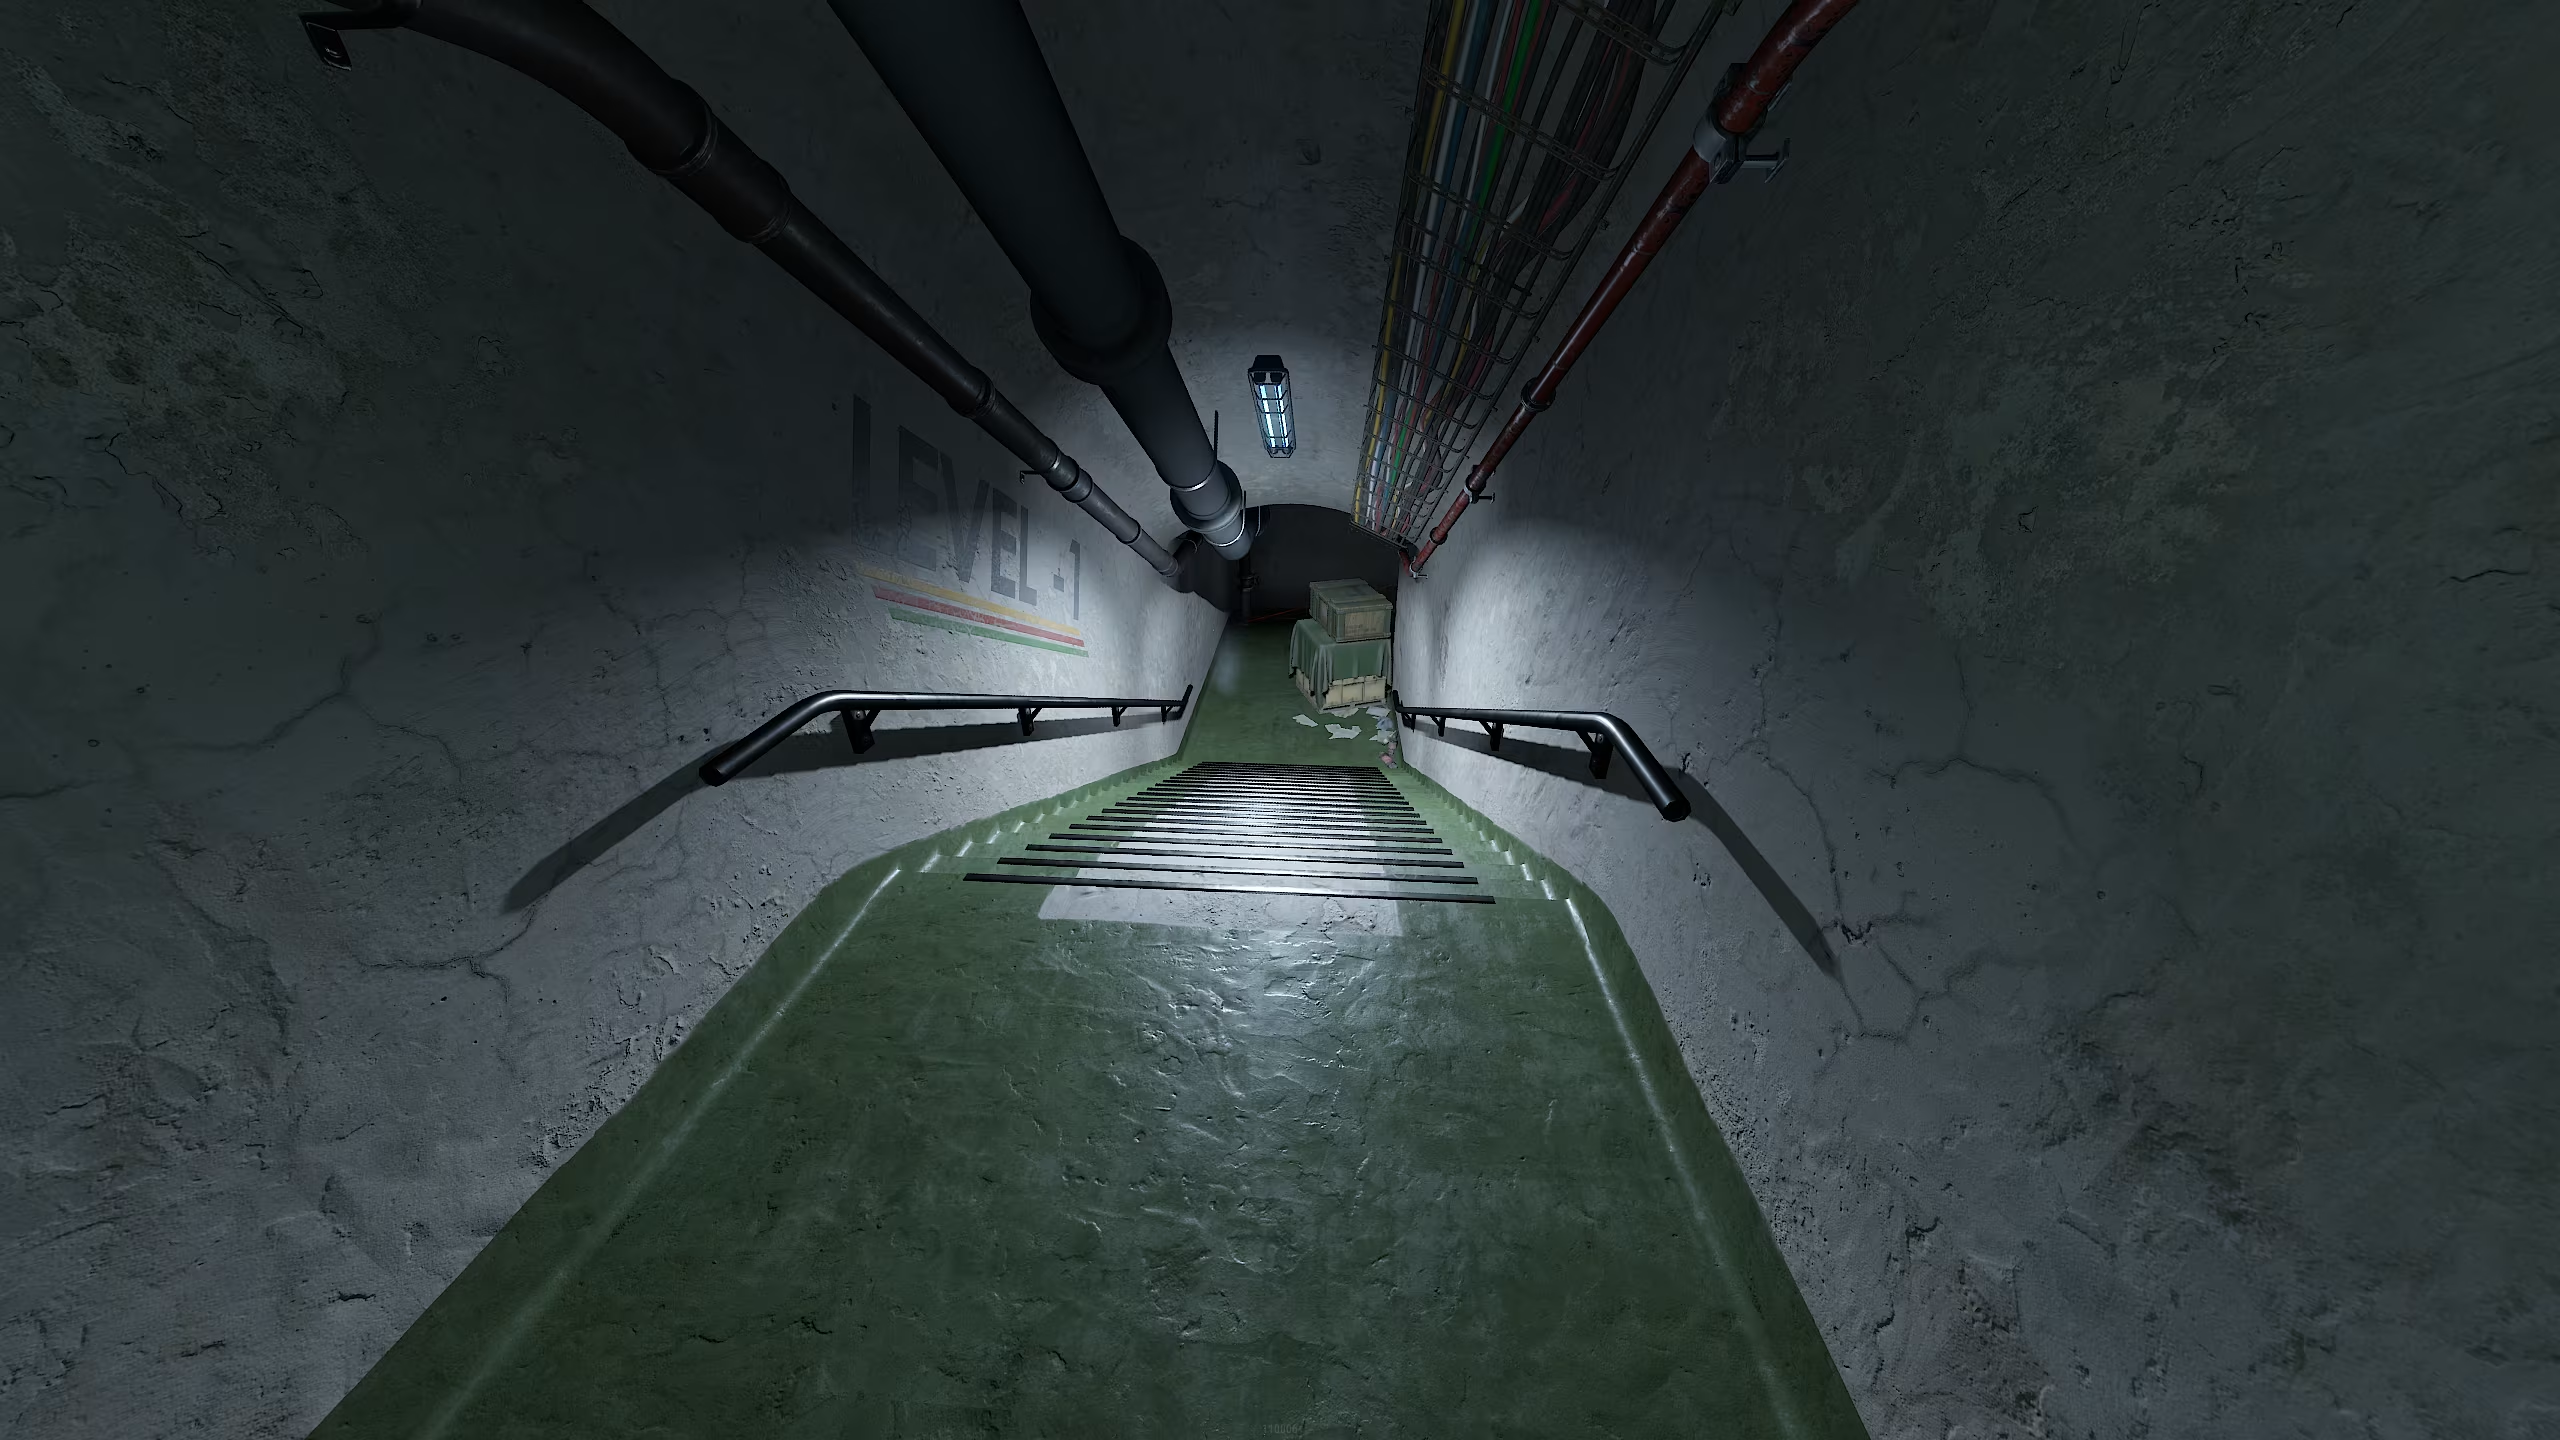
Jumping down to the landing below, we find ourselves in front of the entrance to the tunnel of Level 0 of the silo.
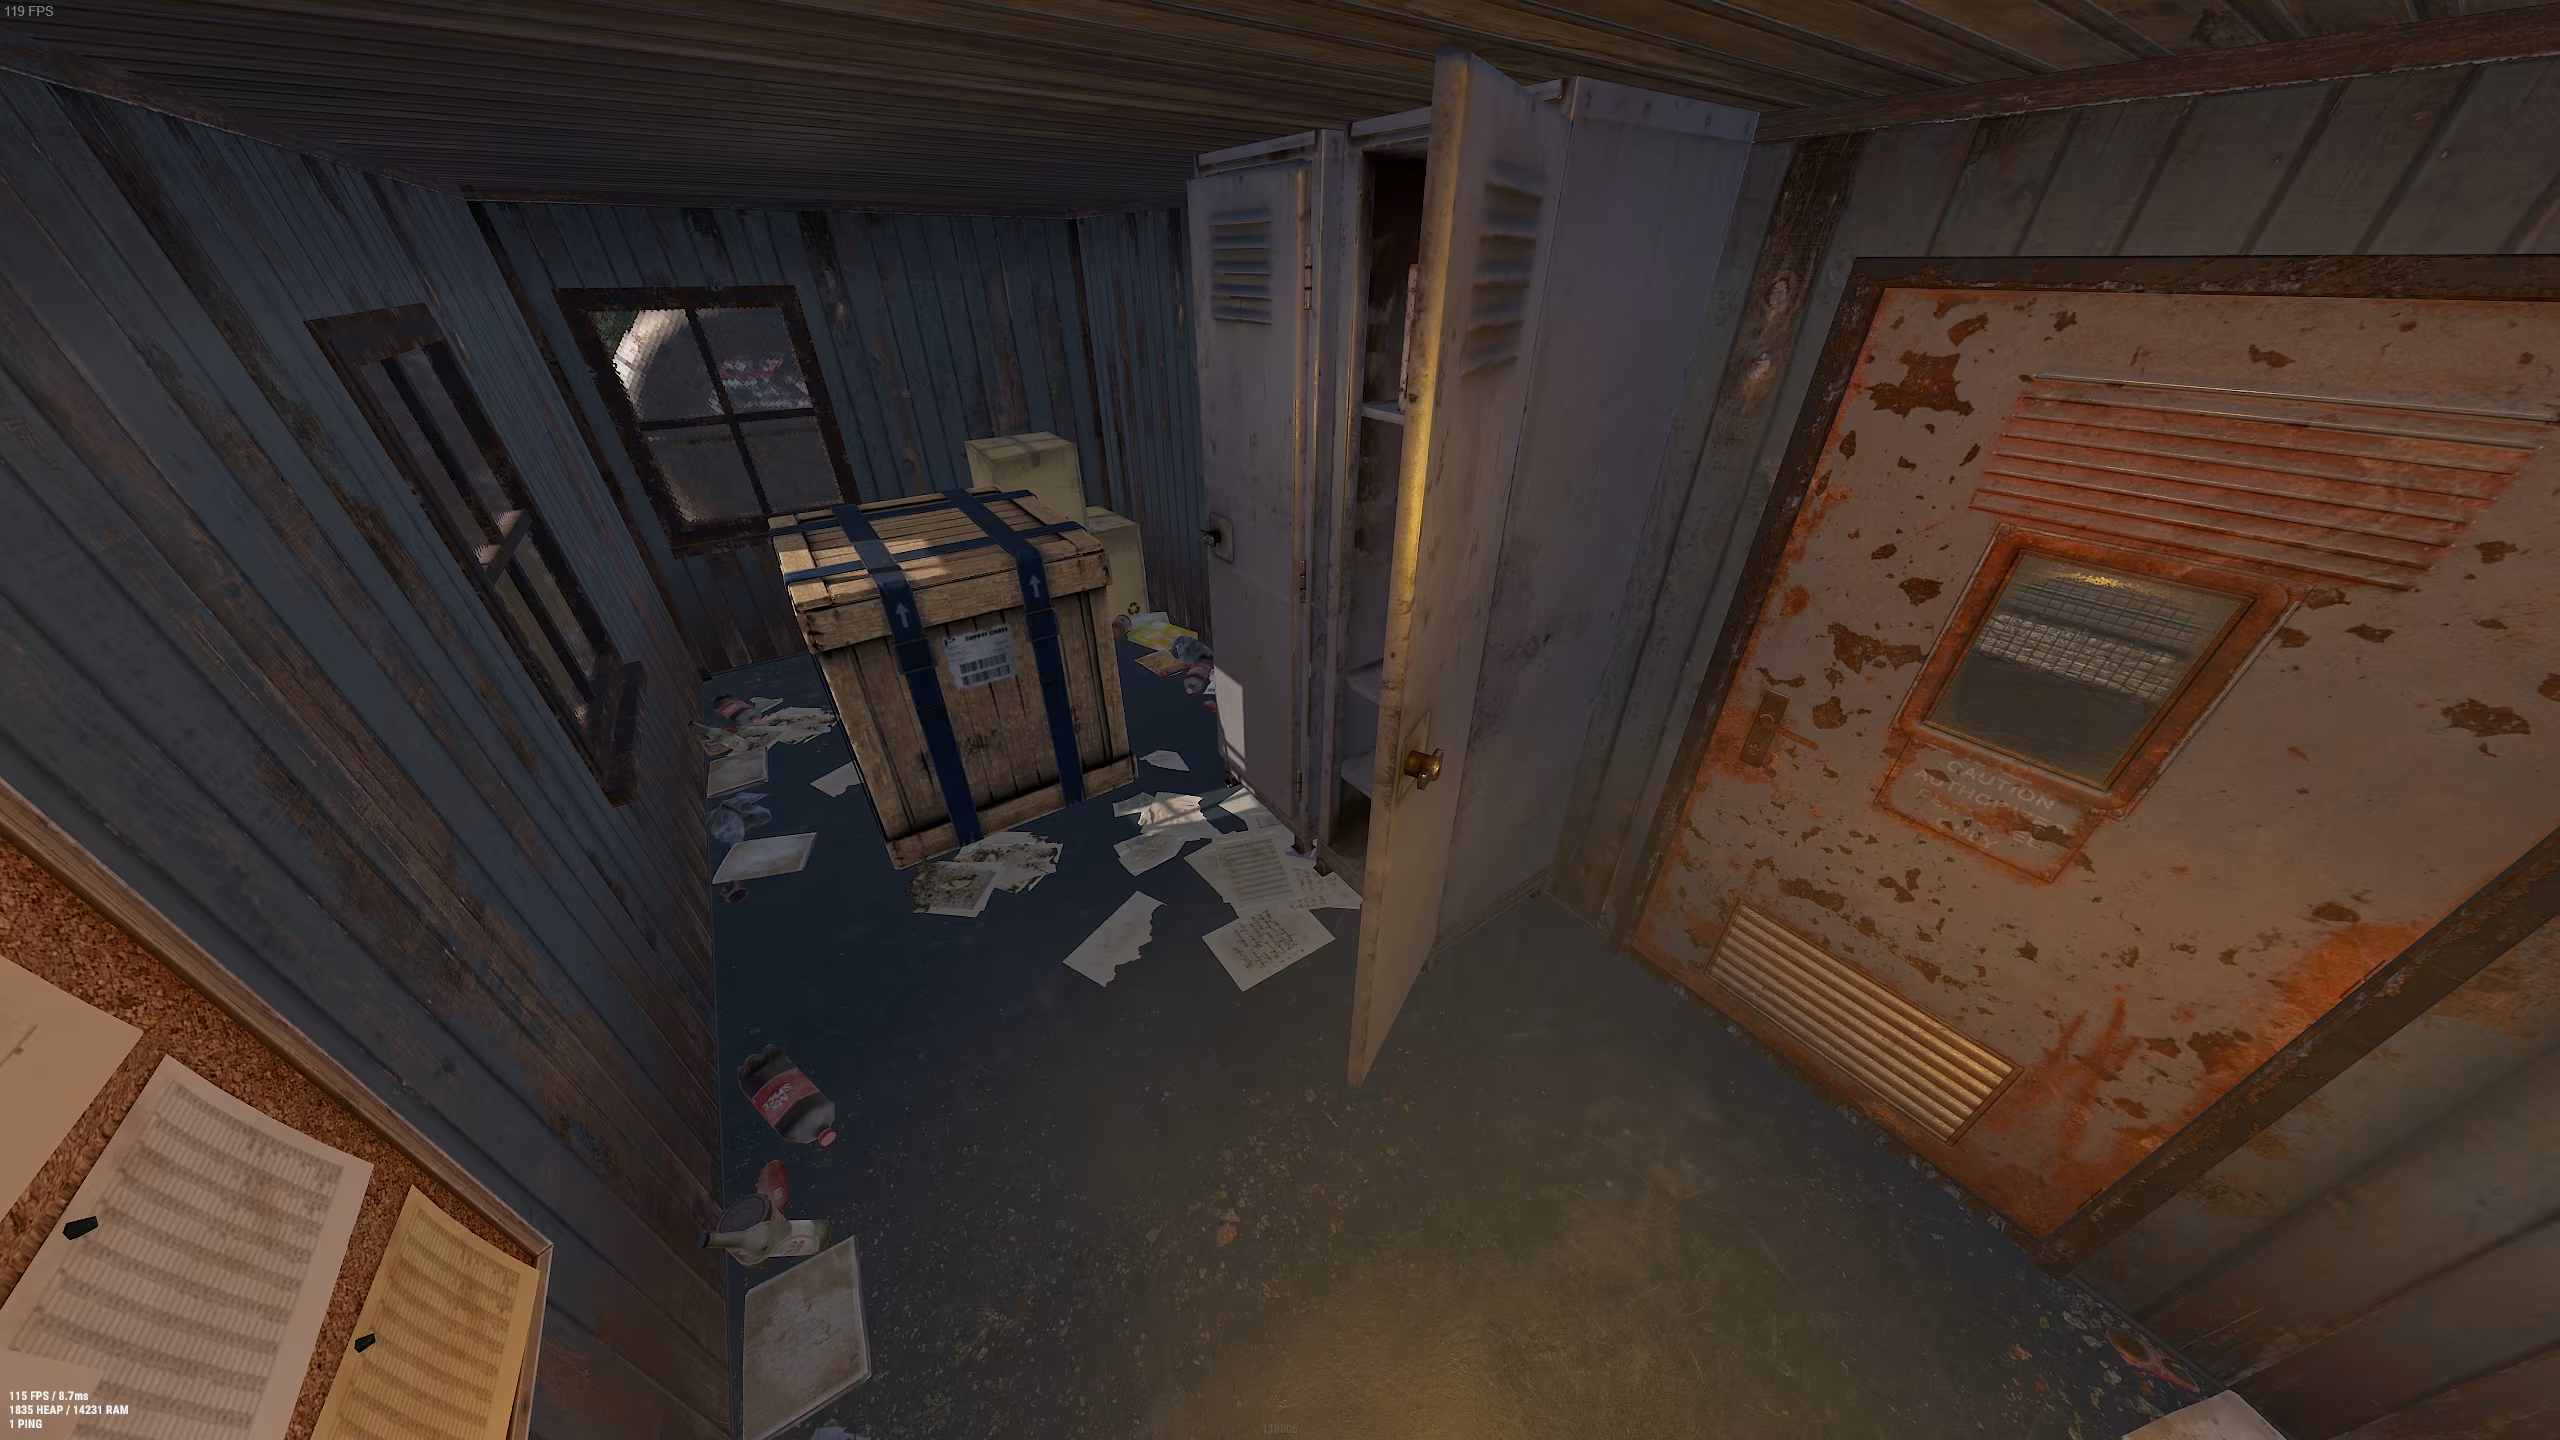
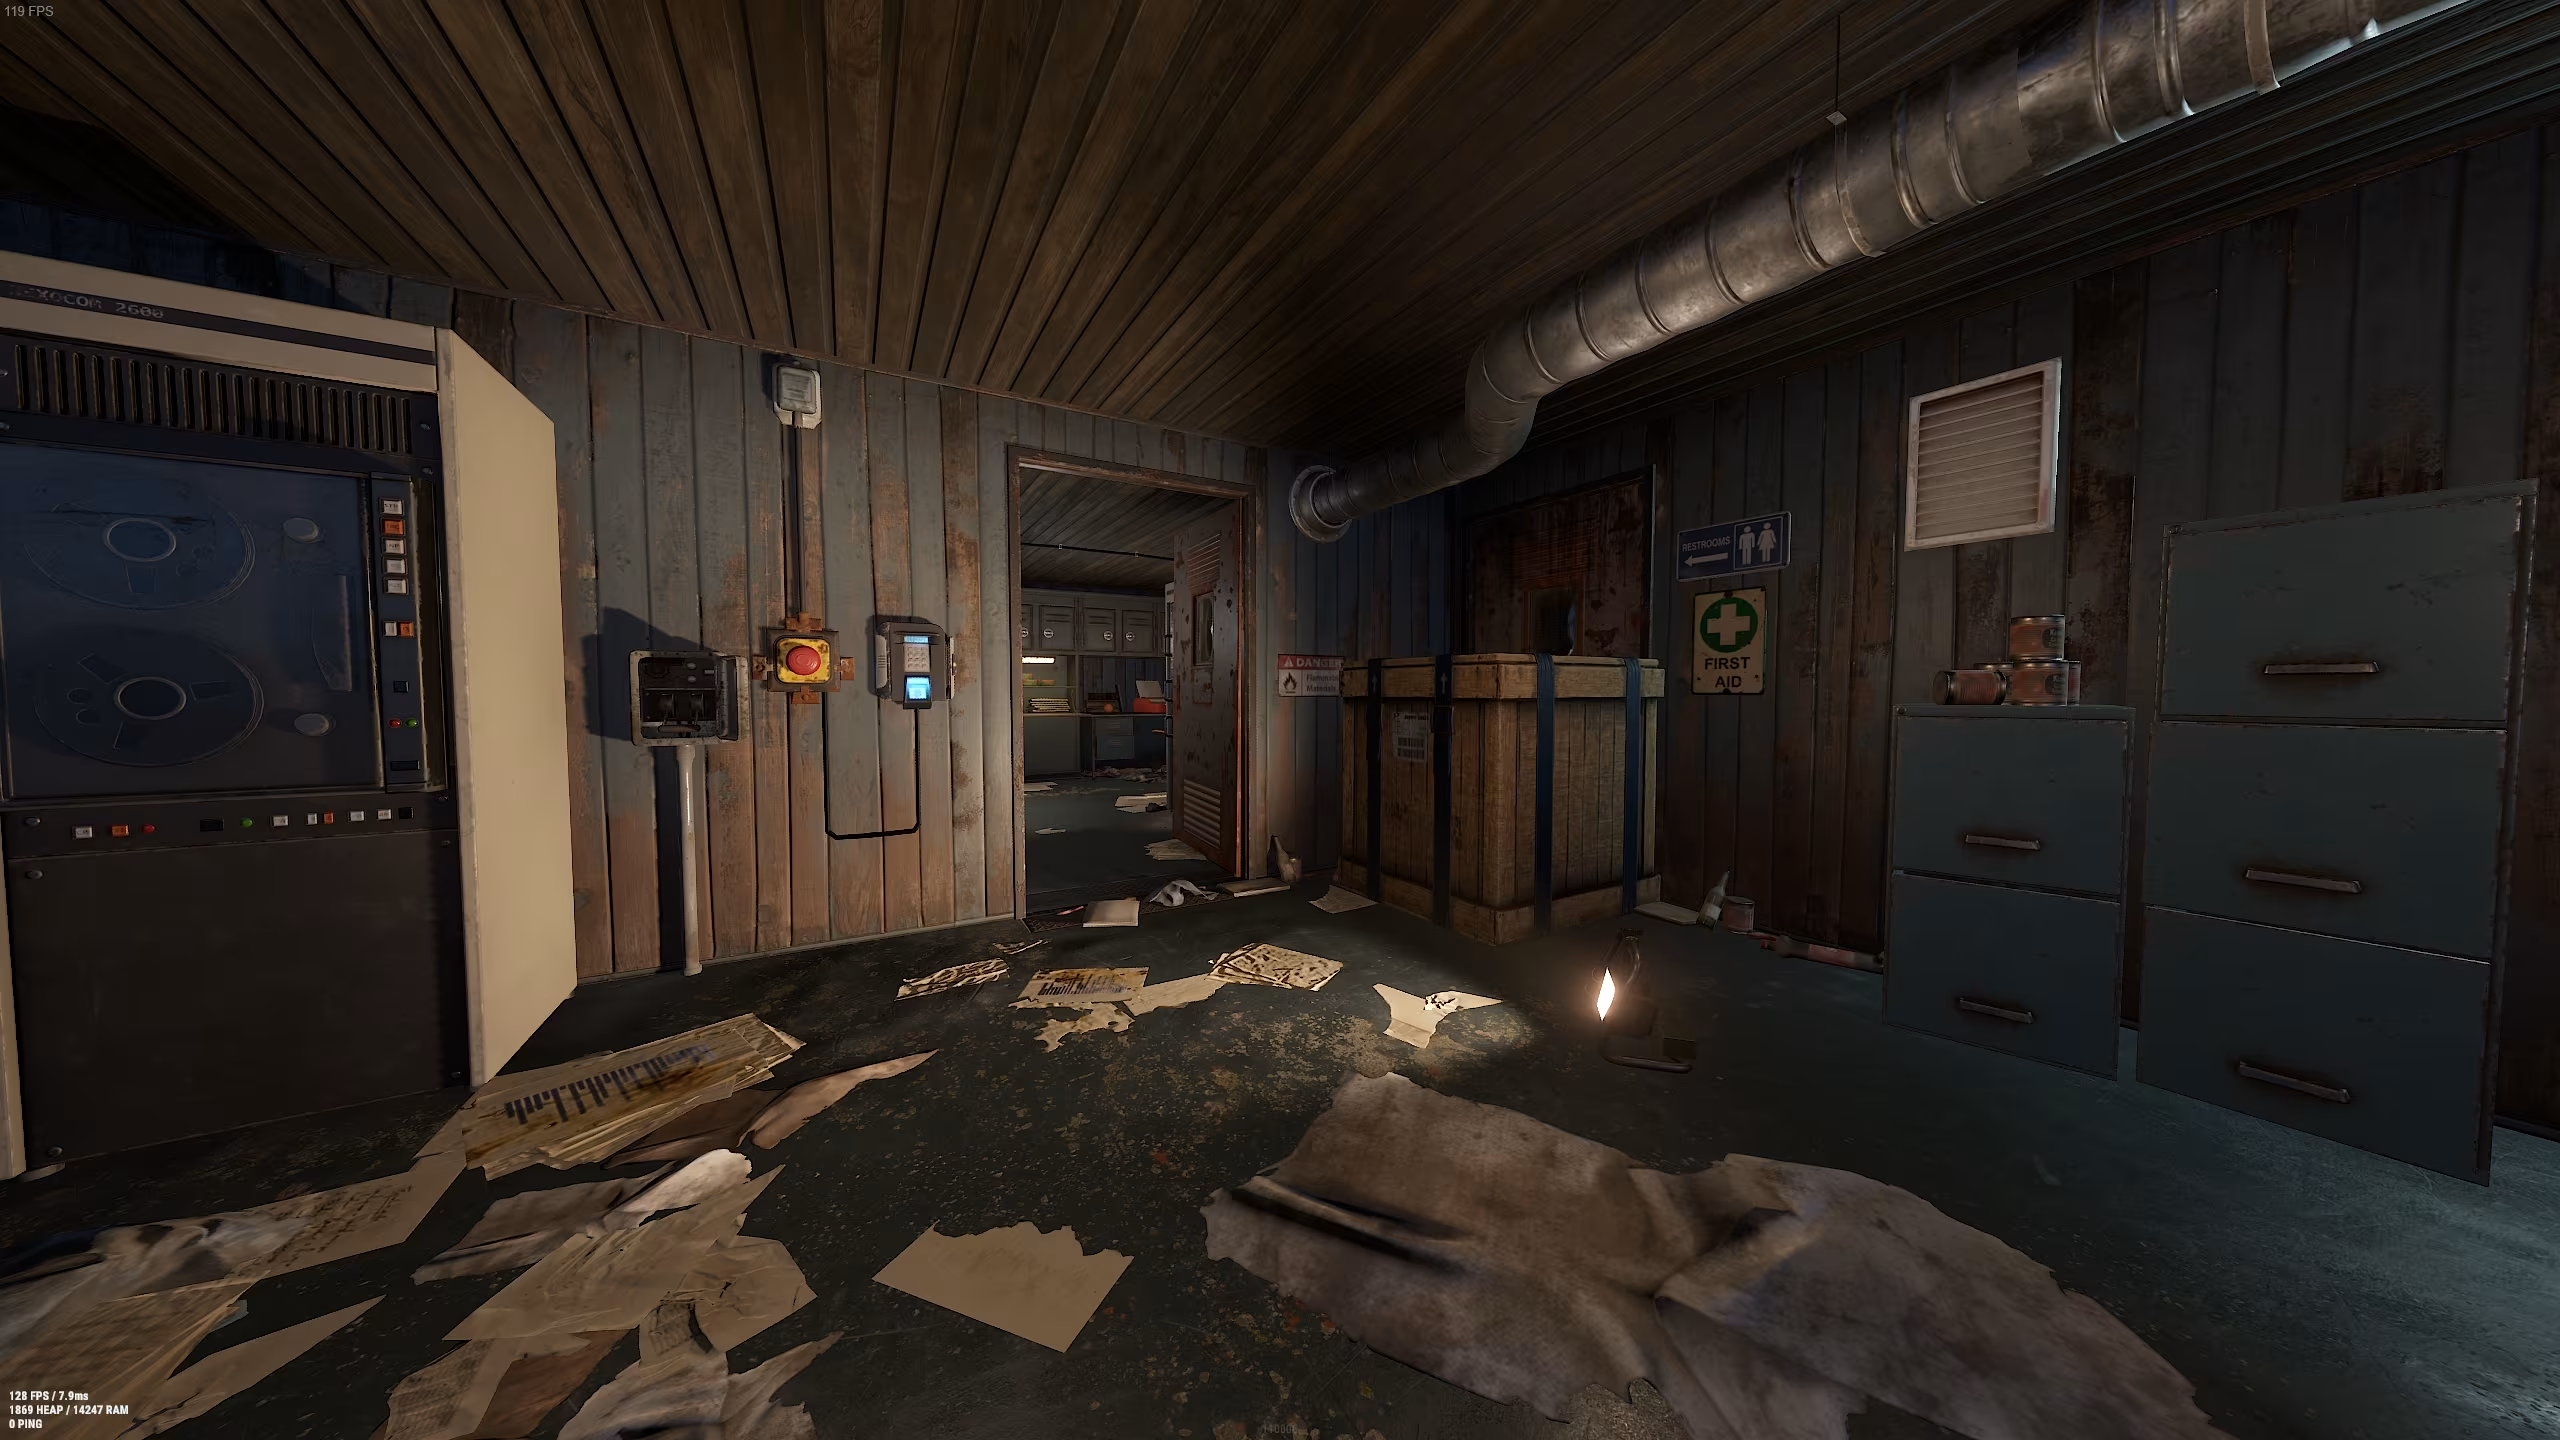
We continue moving forward and enter the room on our left. Inside, there is a loot crate. (Keep in mind that loot spawn is random, so it may not be there during your run.)
Next, we exit the room and run to the left toward the staircase leading to Level -1.
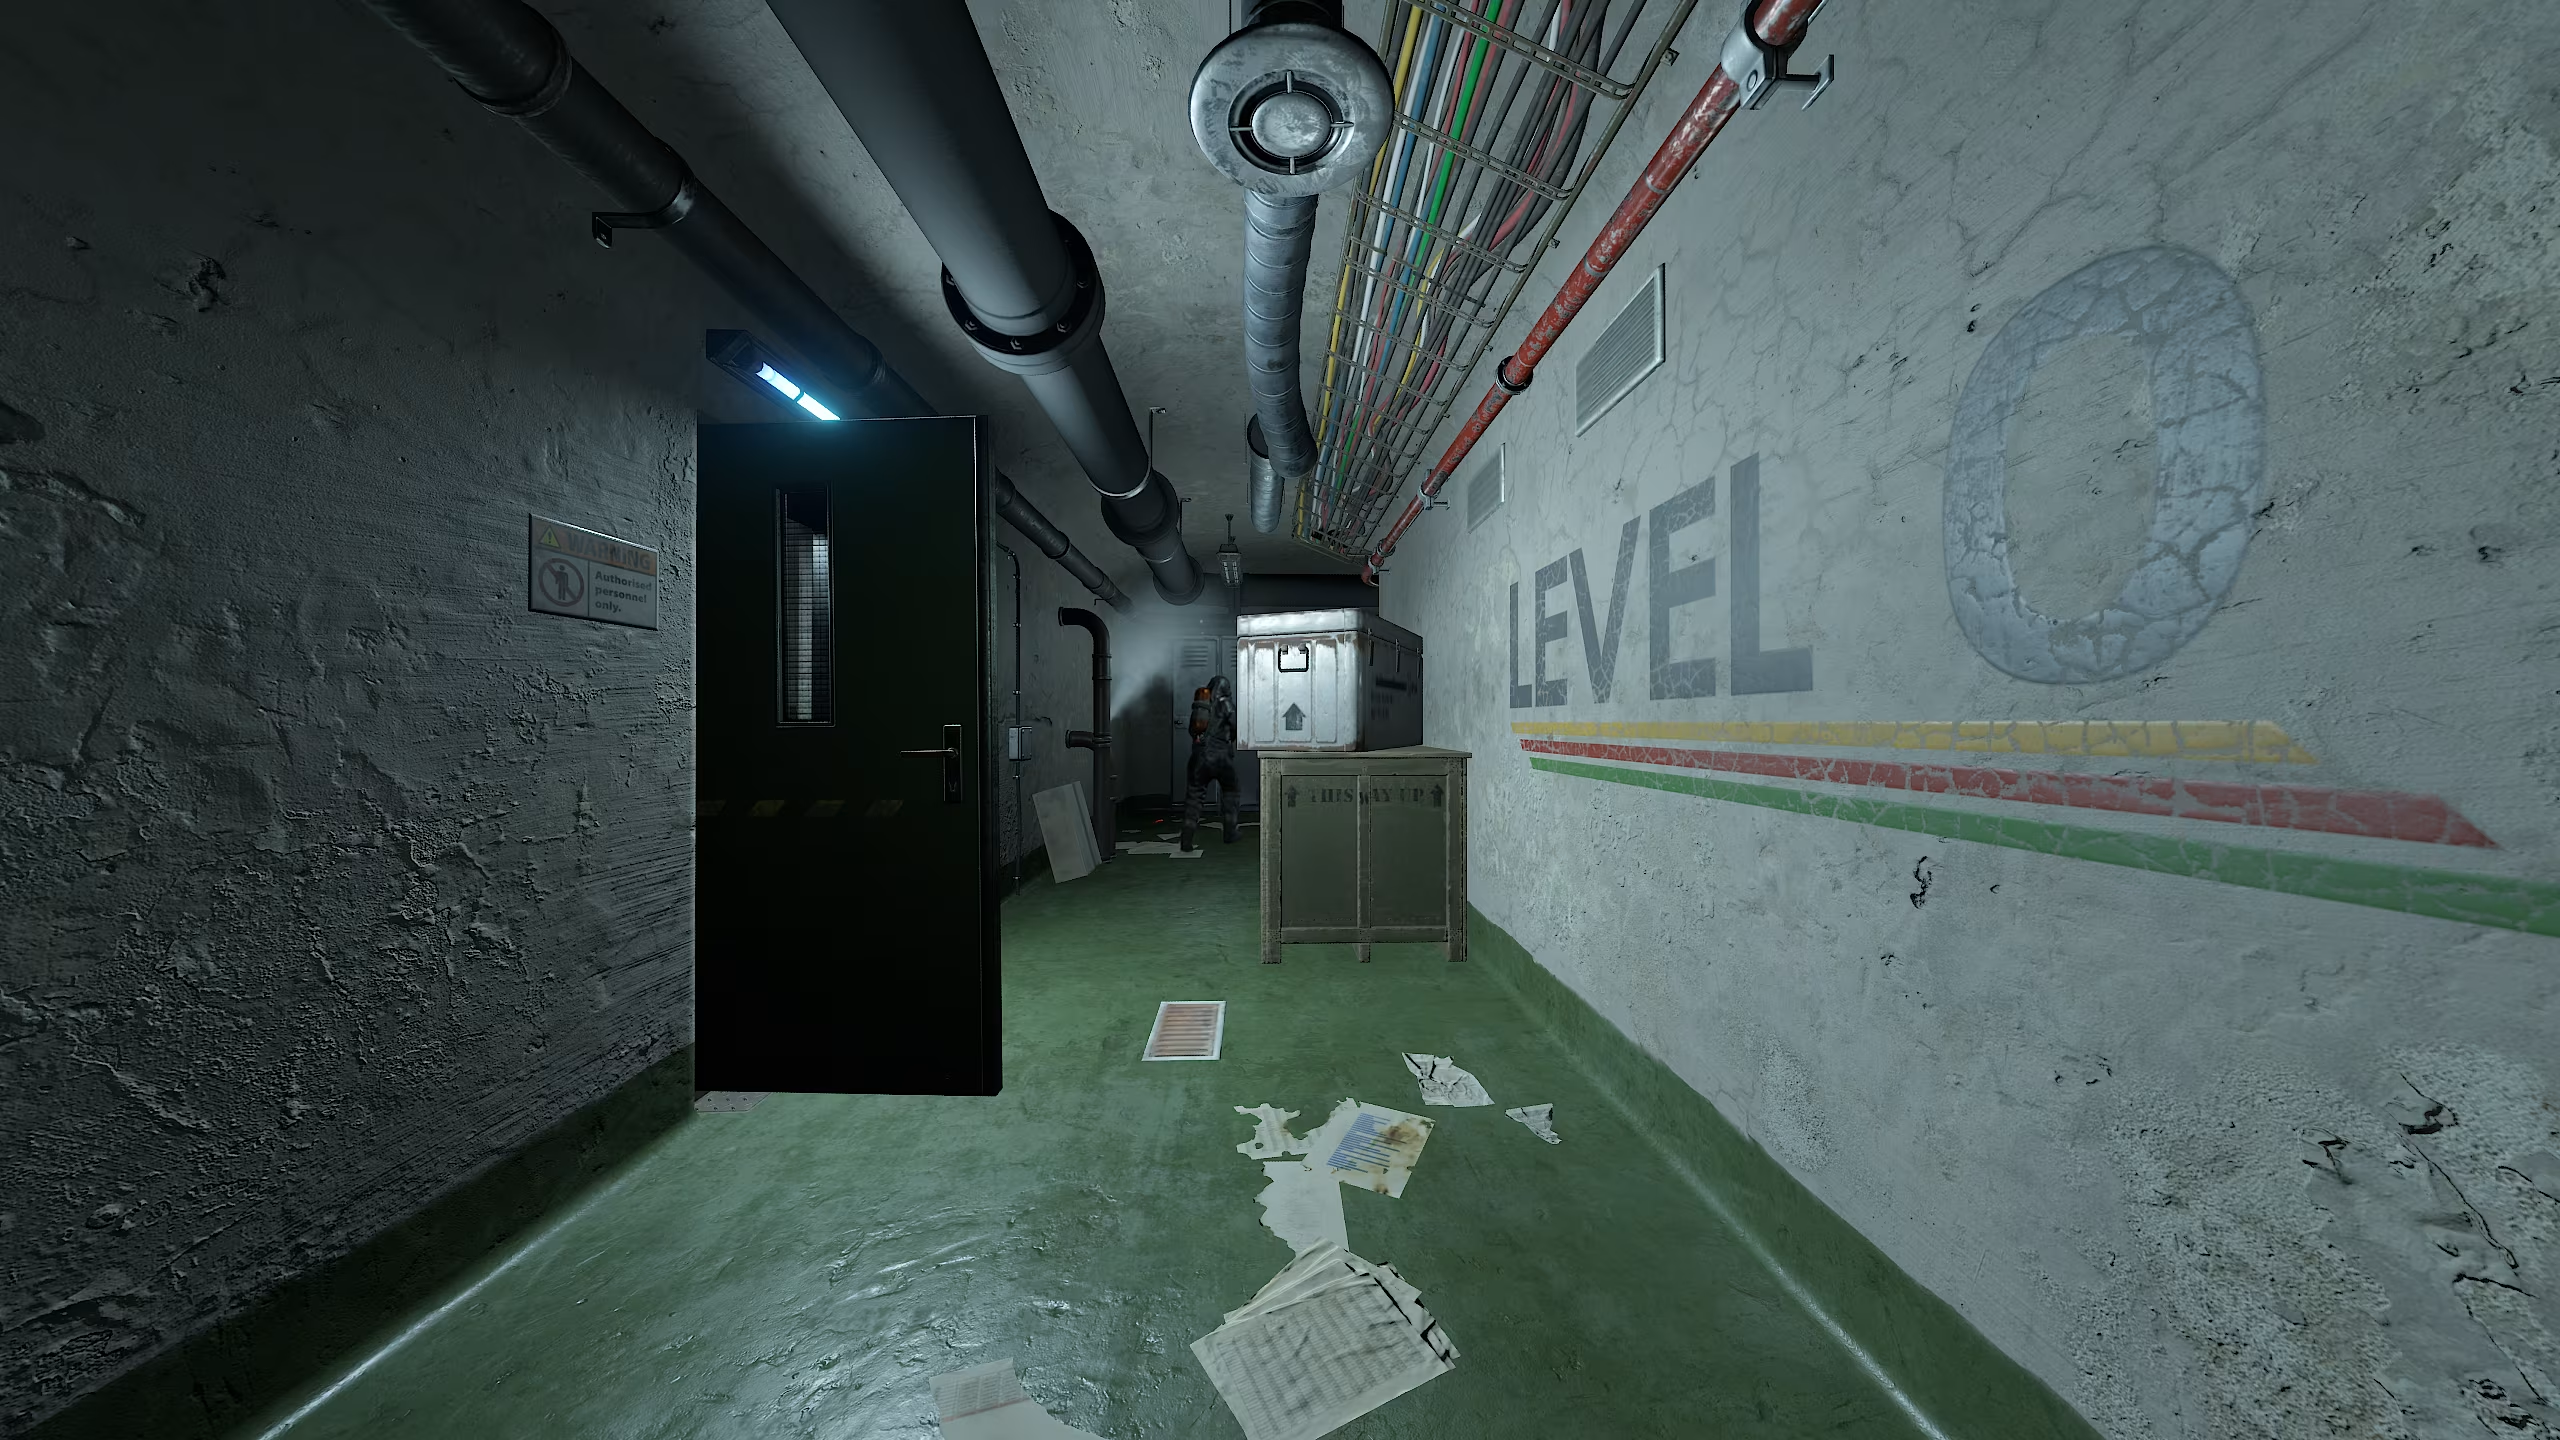
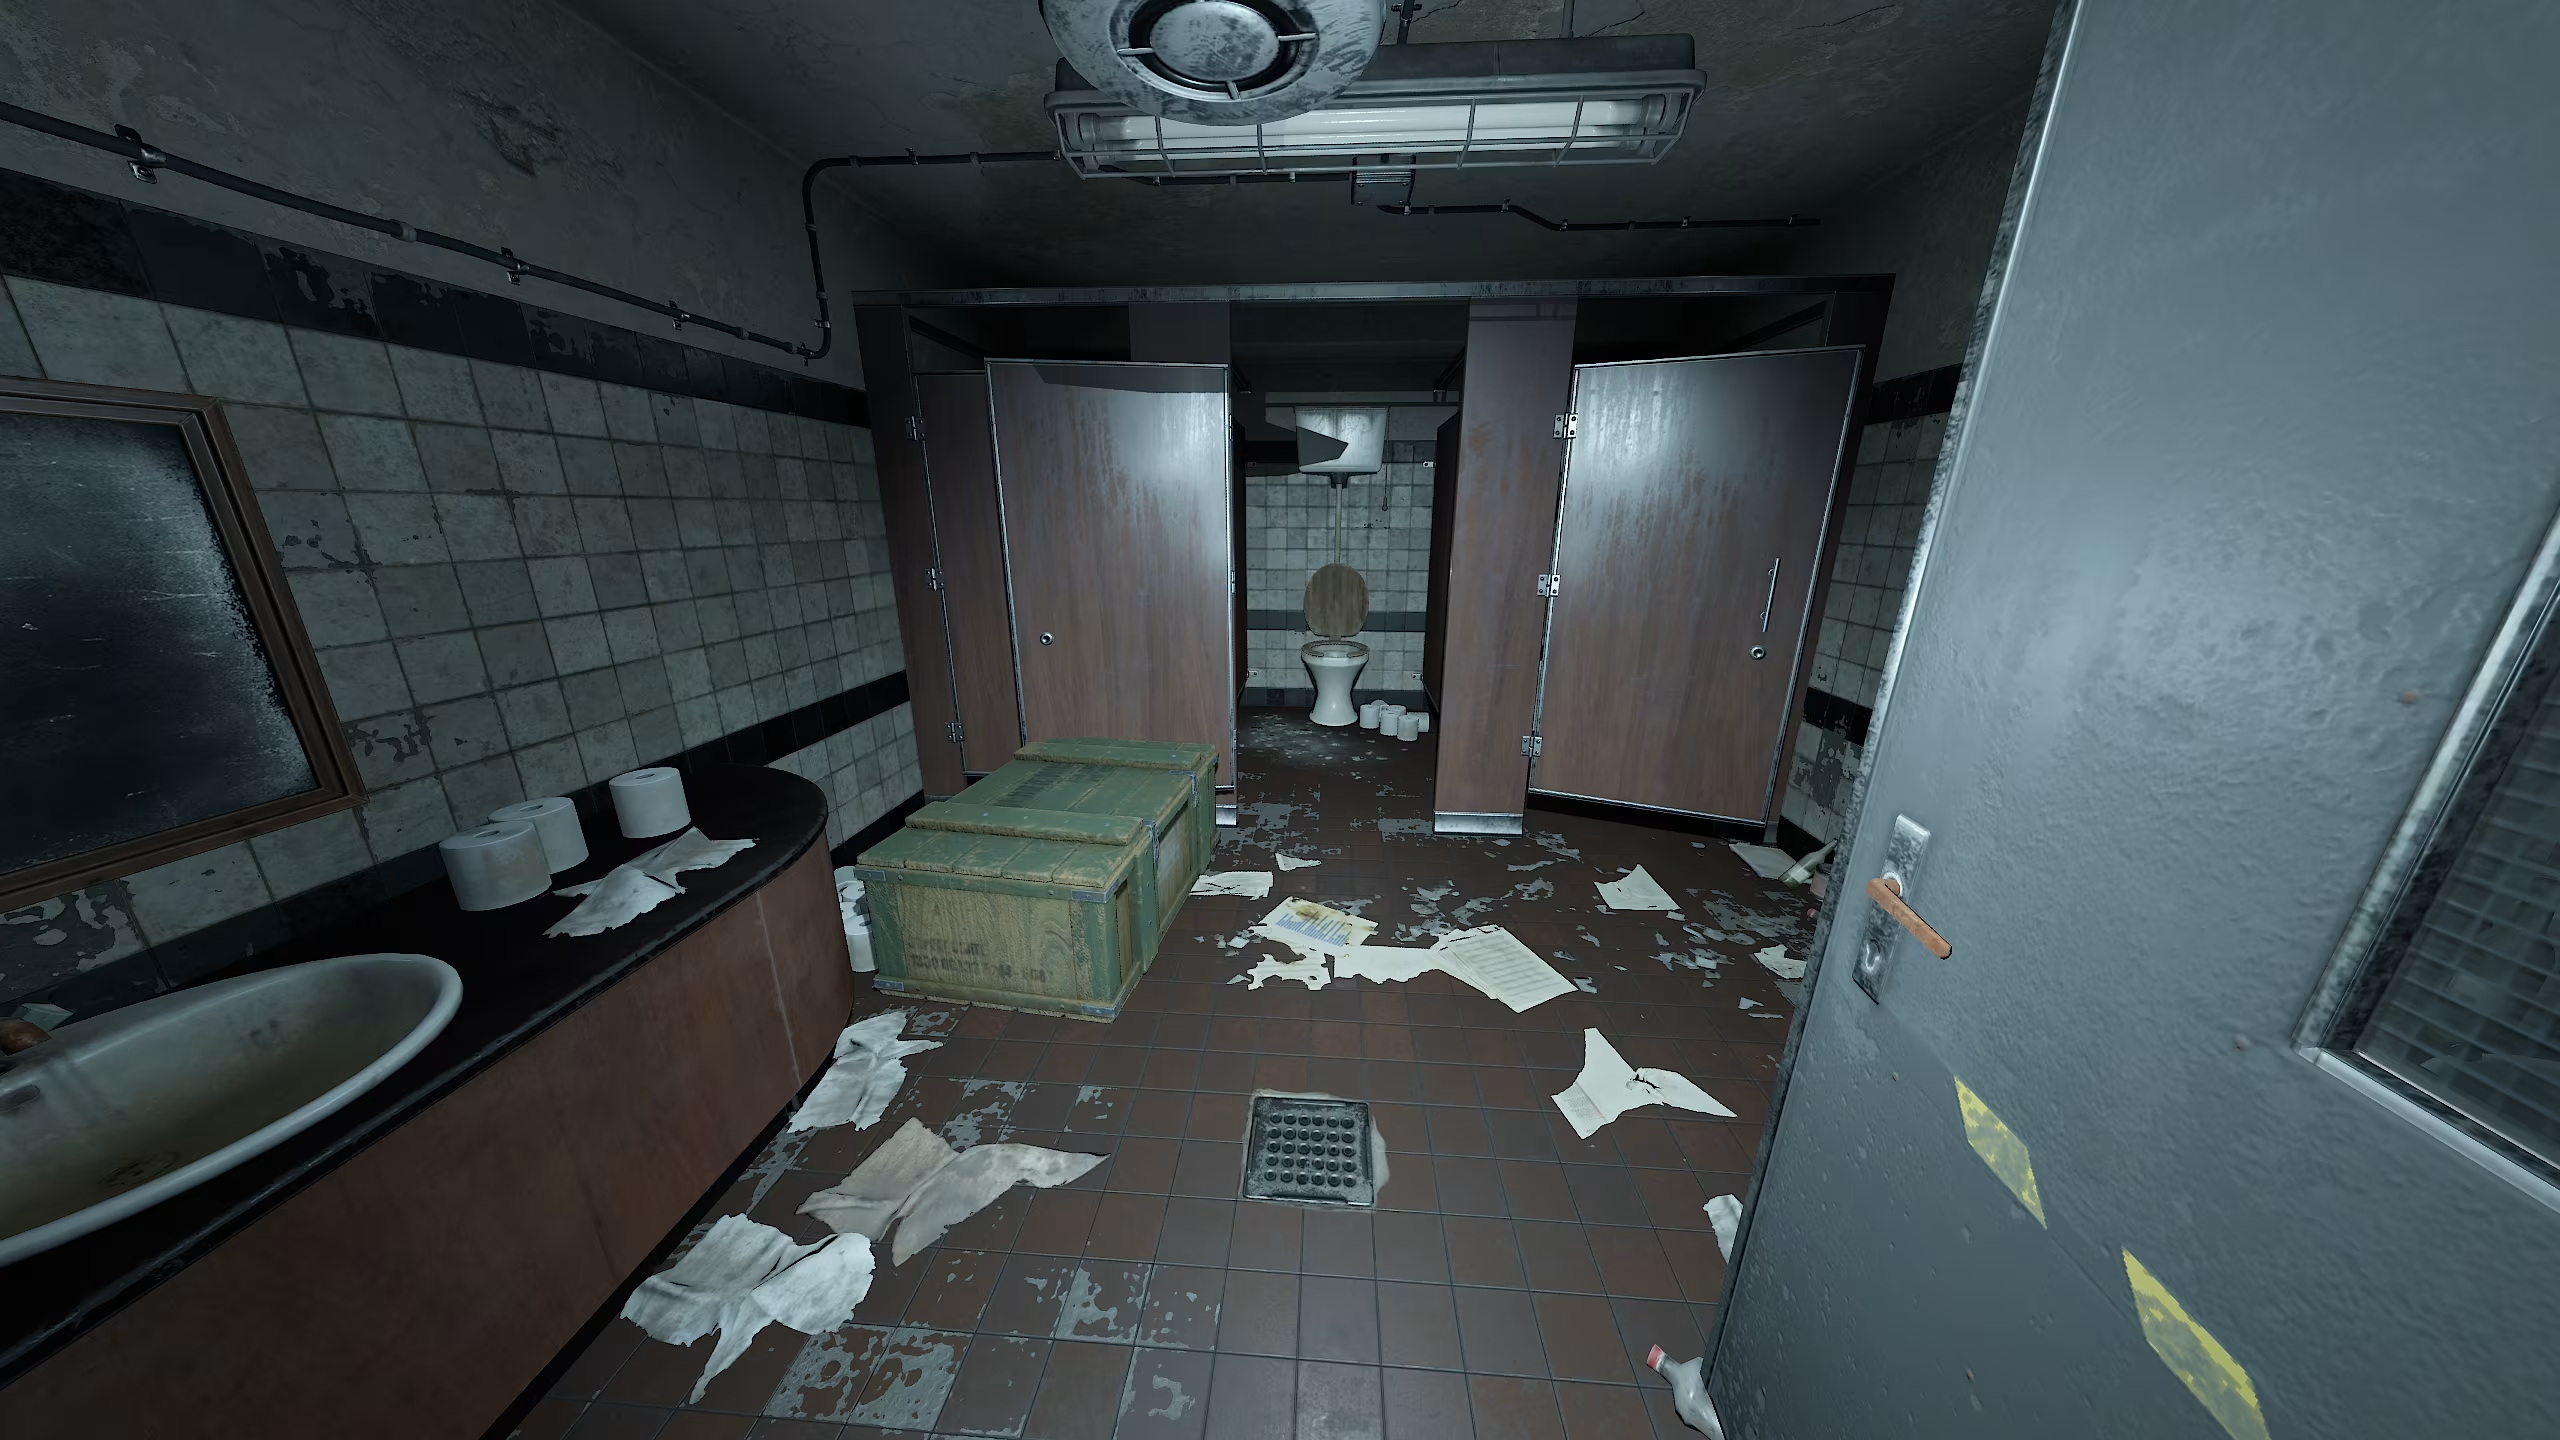
We leave the room and run left to the stairs that lead to level -1. Here on the first flight we loot another box and run into the toilet. There is a box in one of the stalls.
We leave the toilet to the left and go down to level -1.
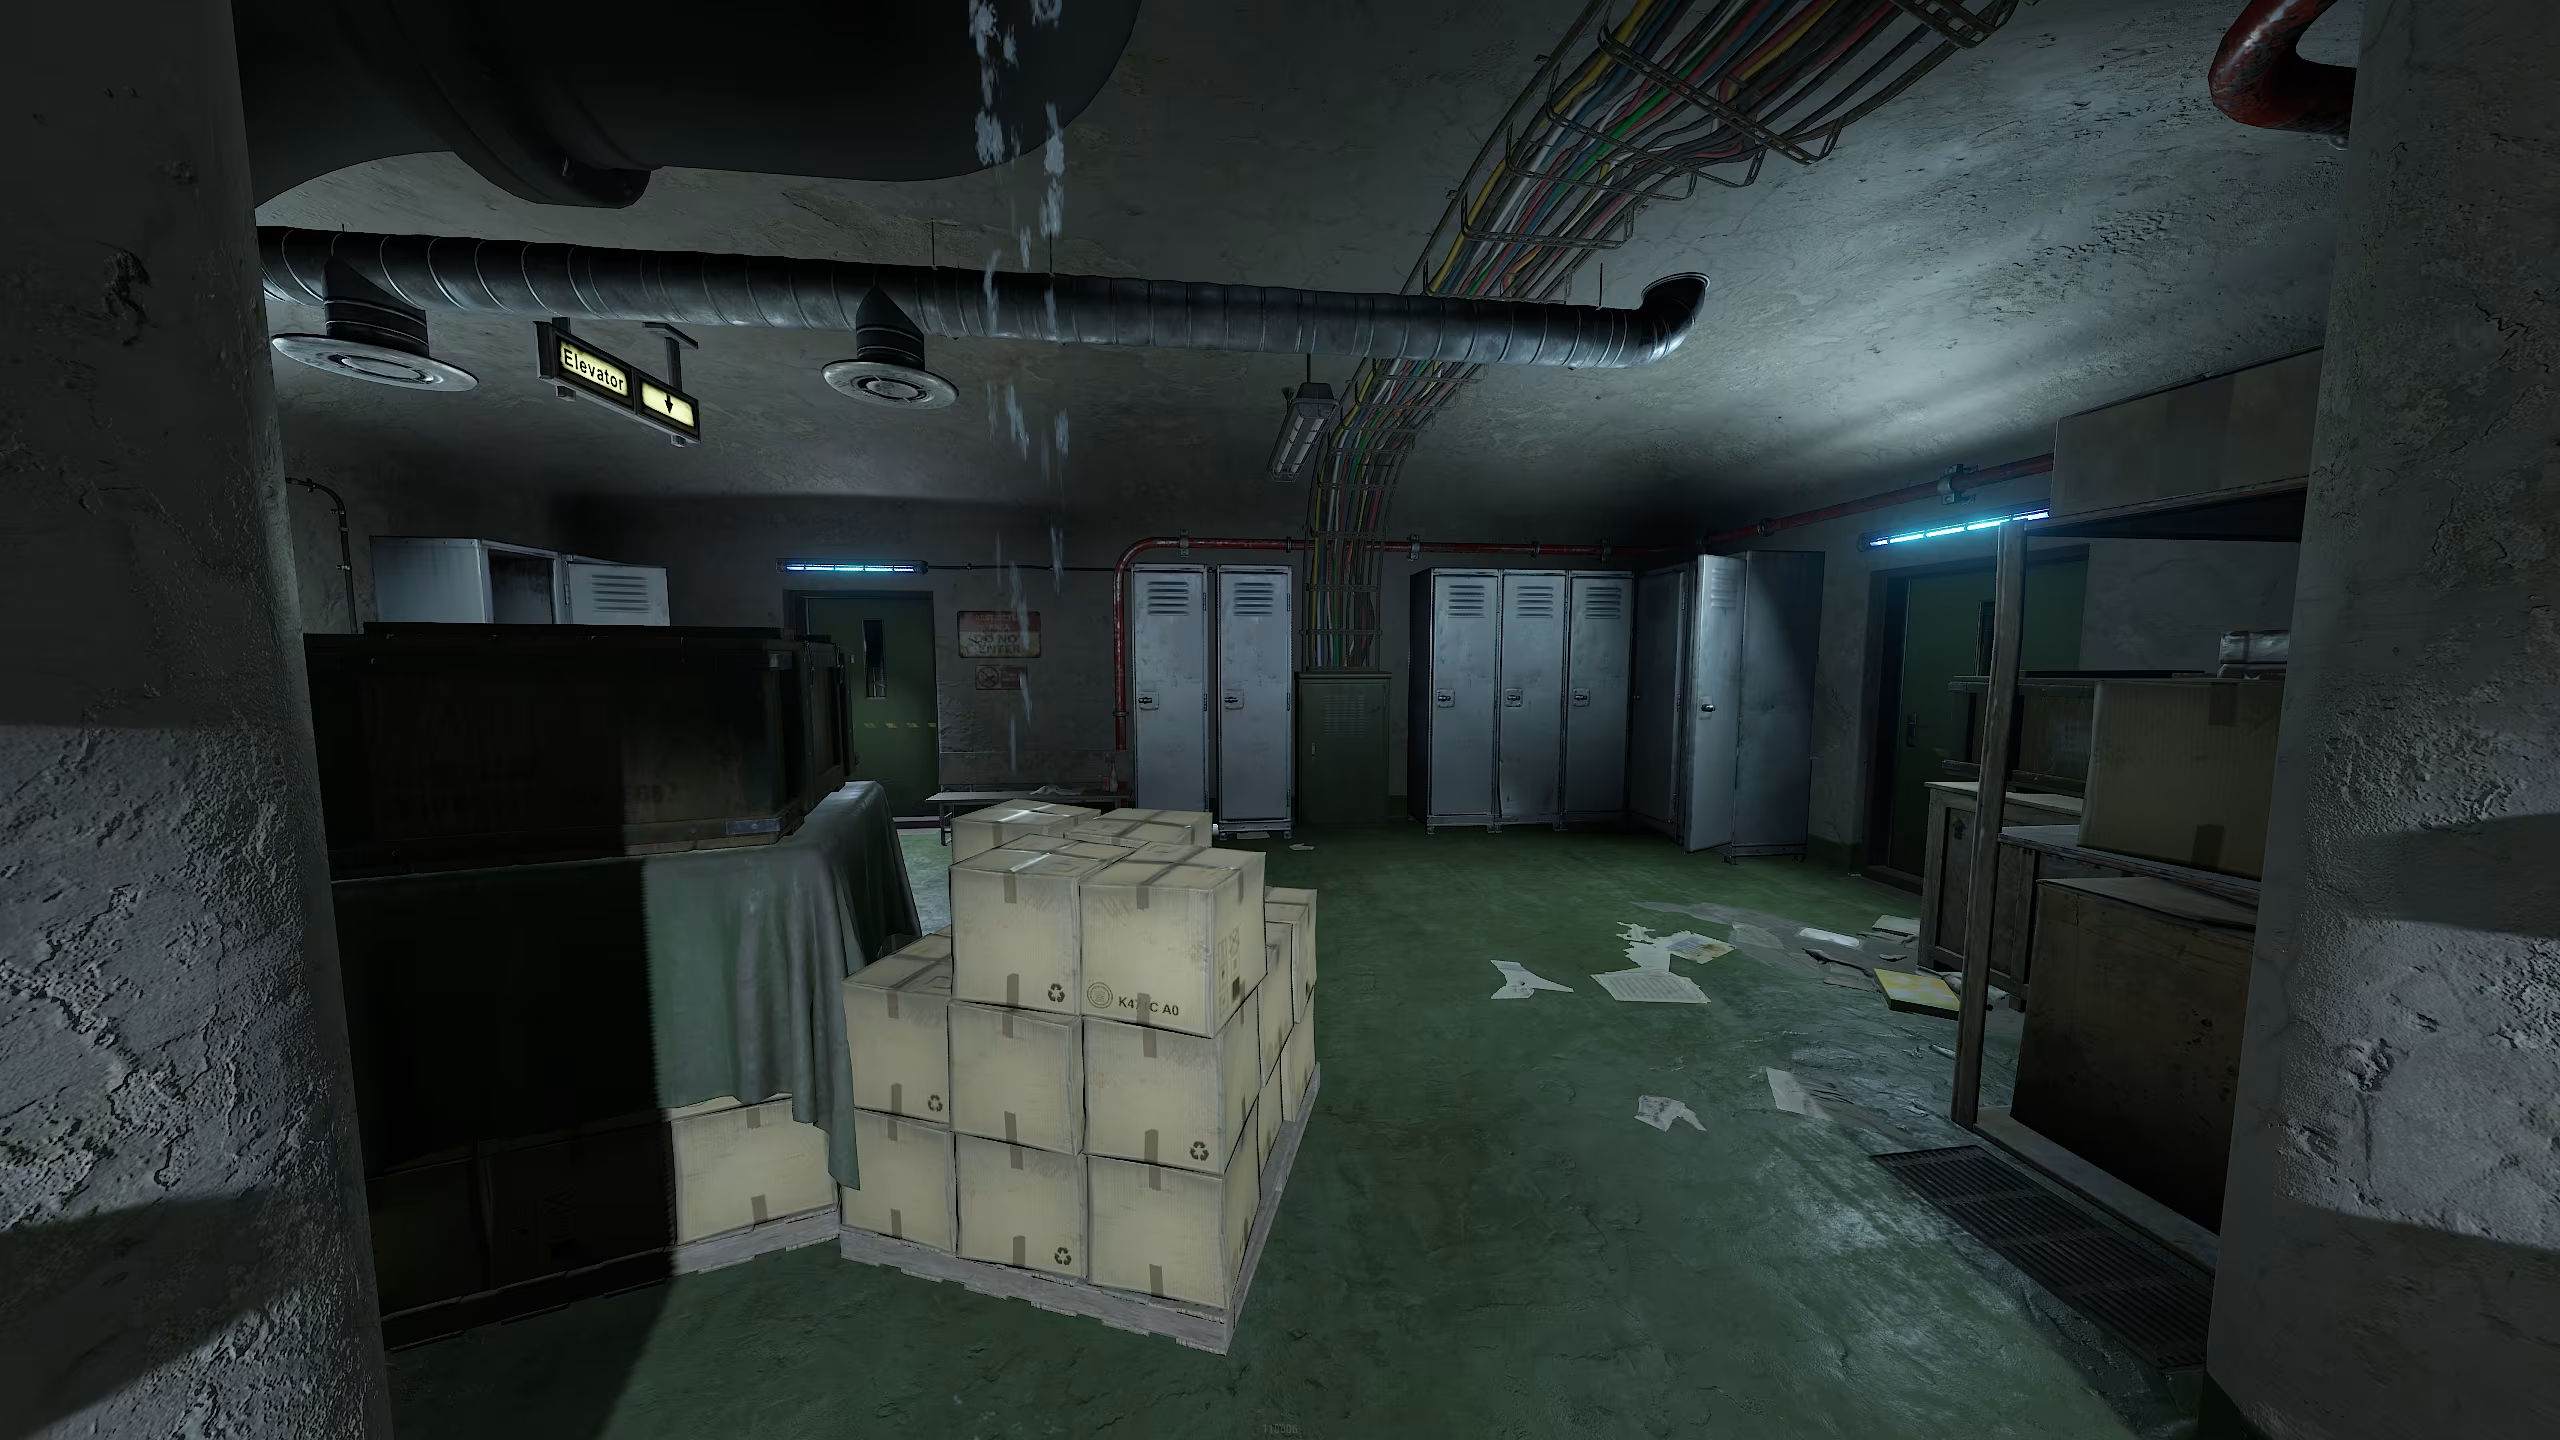
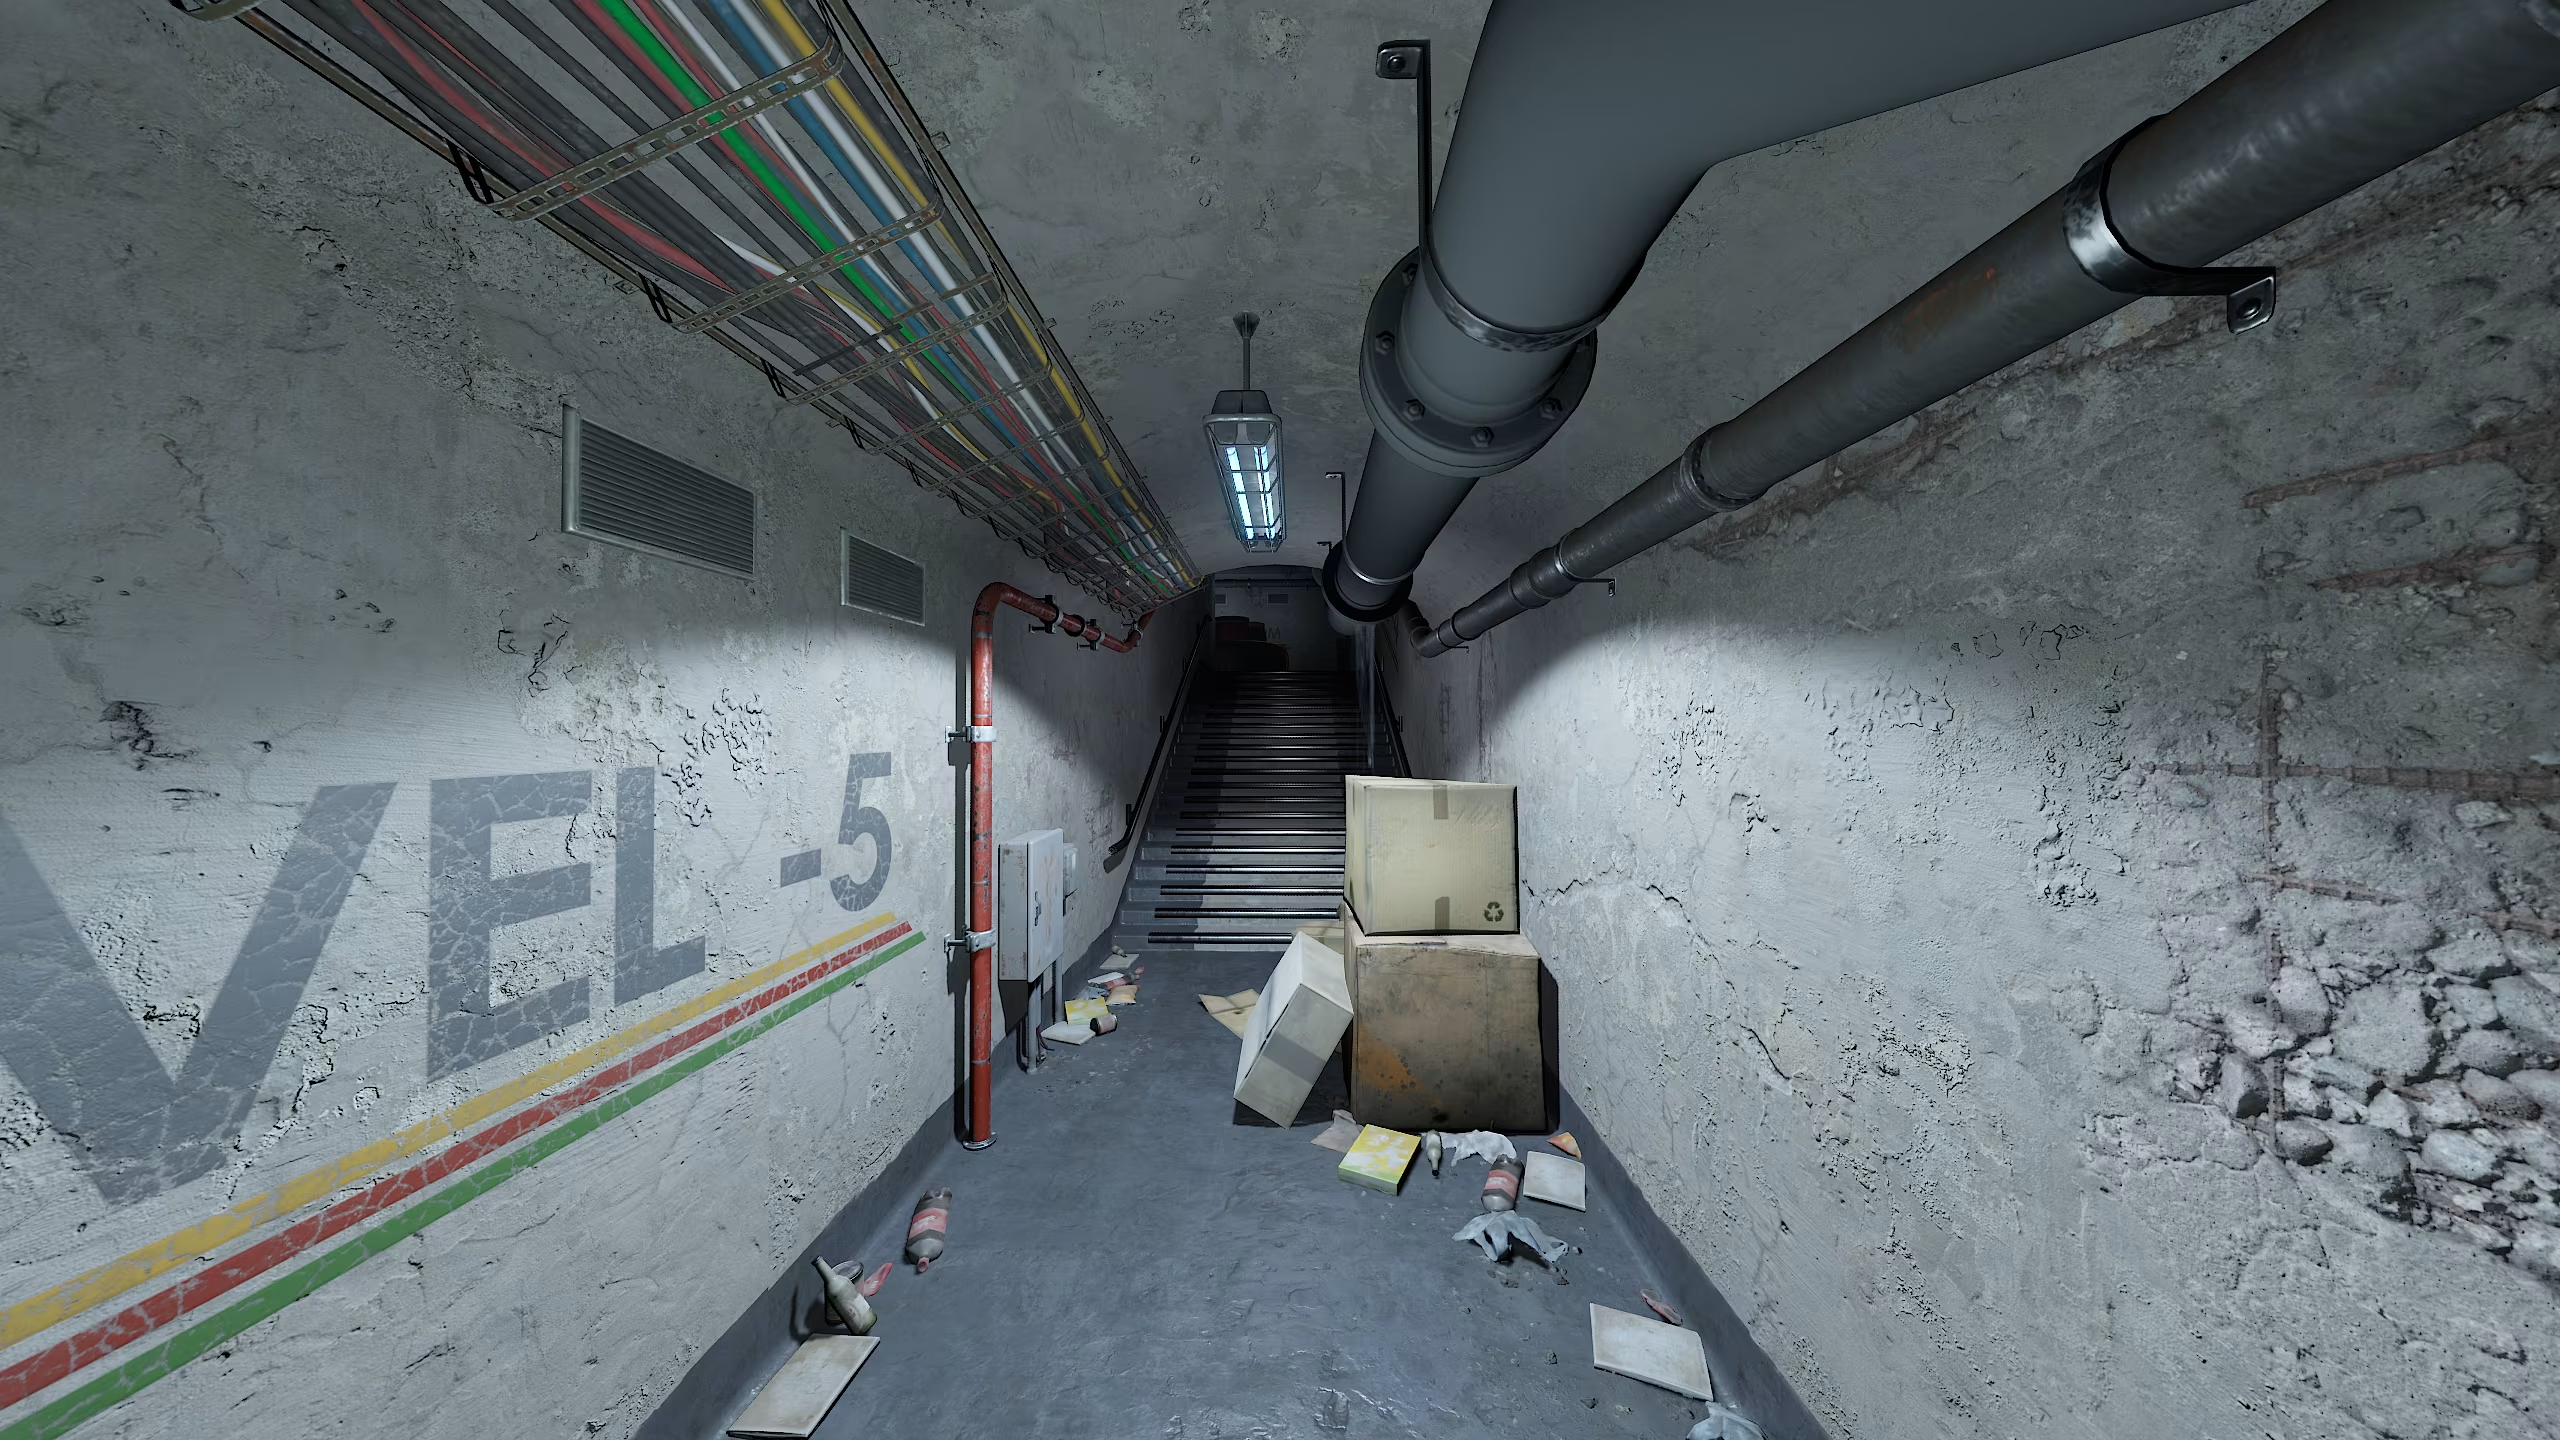
Level -1
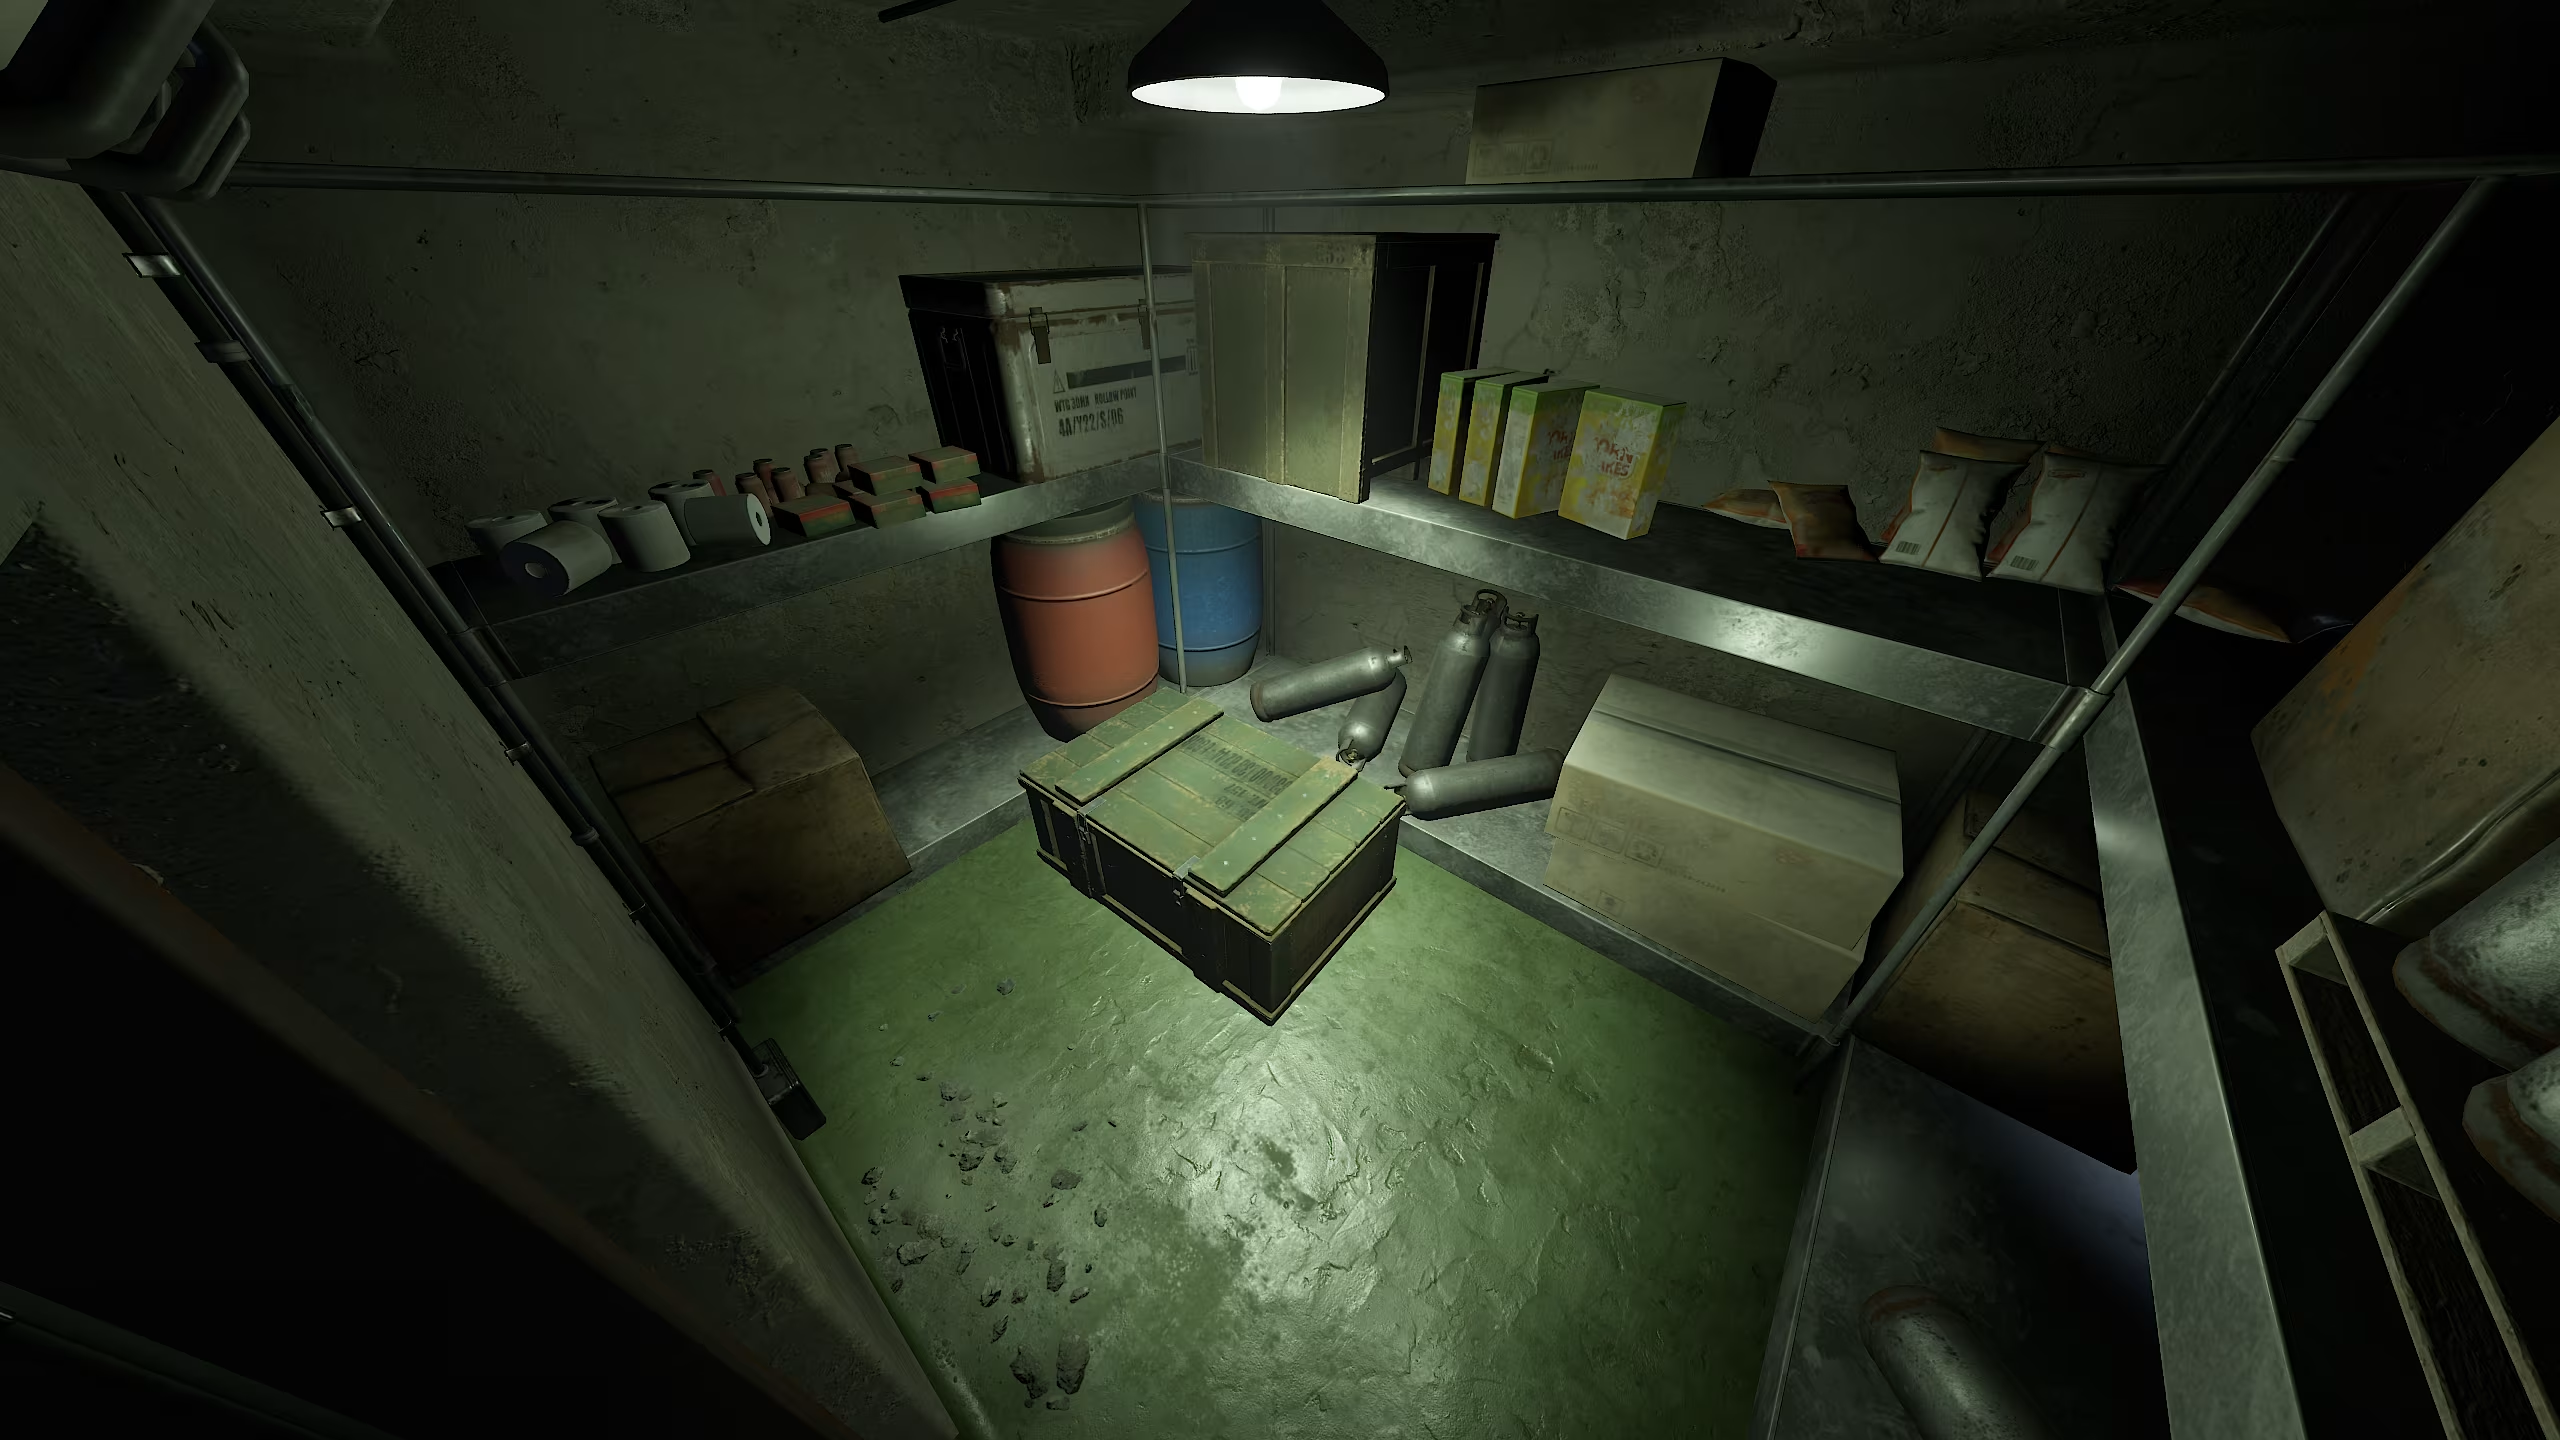
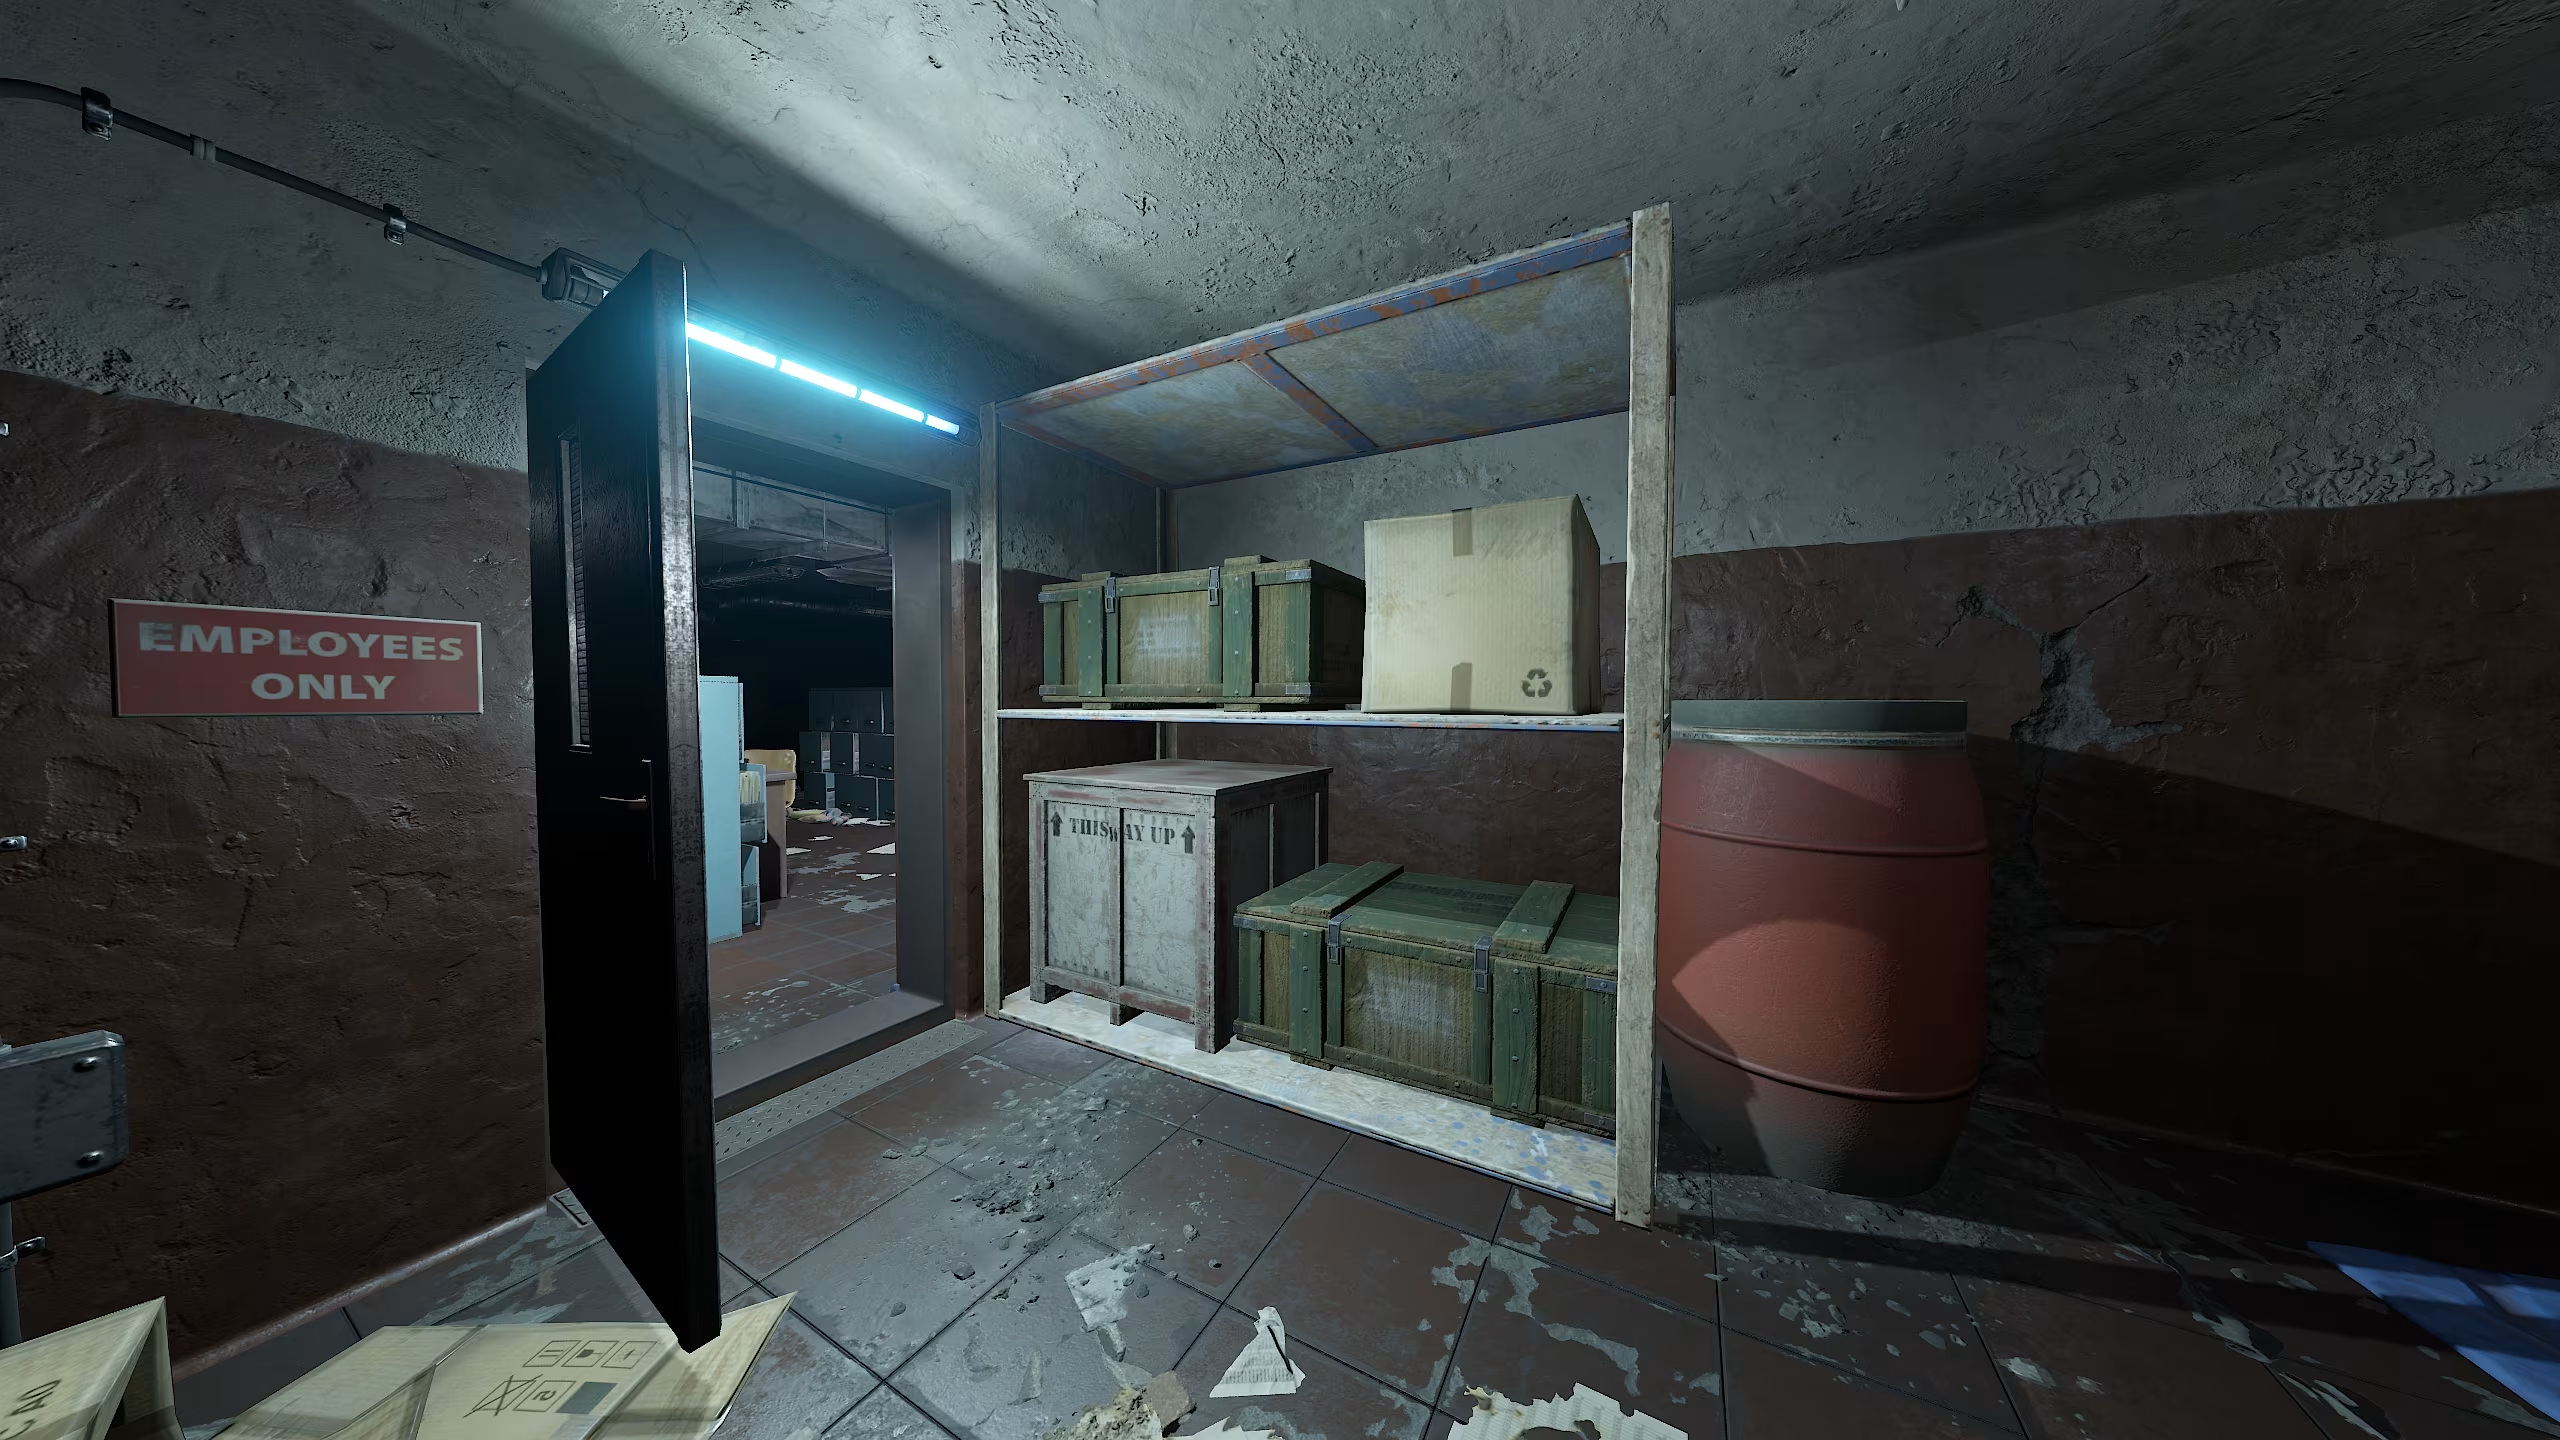
Right after descending the stairs, on the left side, there will be boxes with a loot crate on top, and another loot crate on the right side near the shelves.
But that’s not all the loot! On this floor, there are two rooms with green doors, and inside each room, up to two loot crates can spawn.
After looting all the crates, you can enter the elevator, press the button, and head down to the next Level -2.
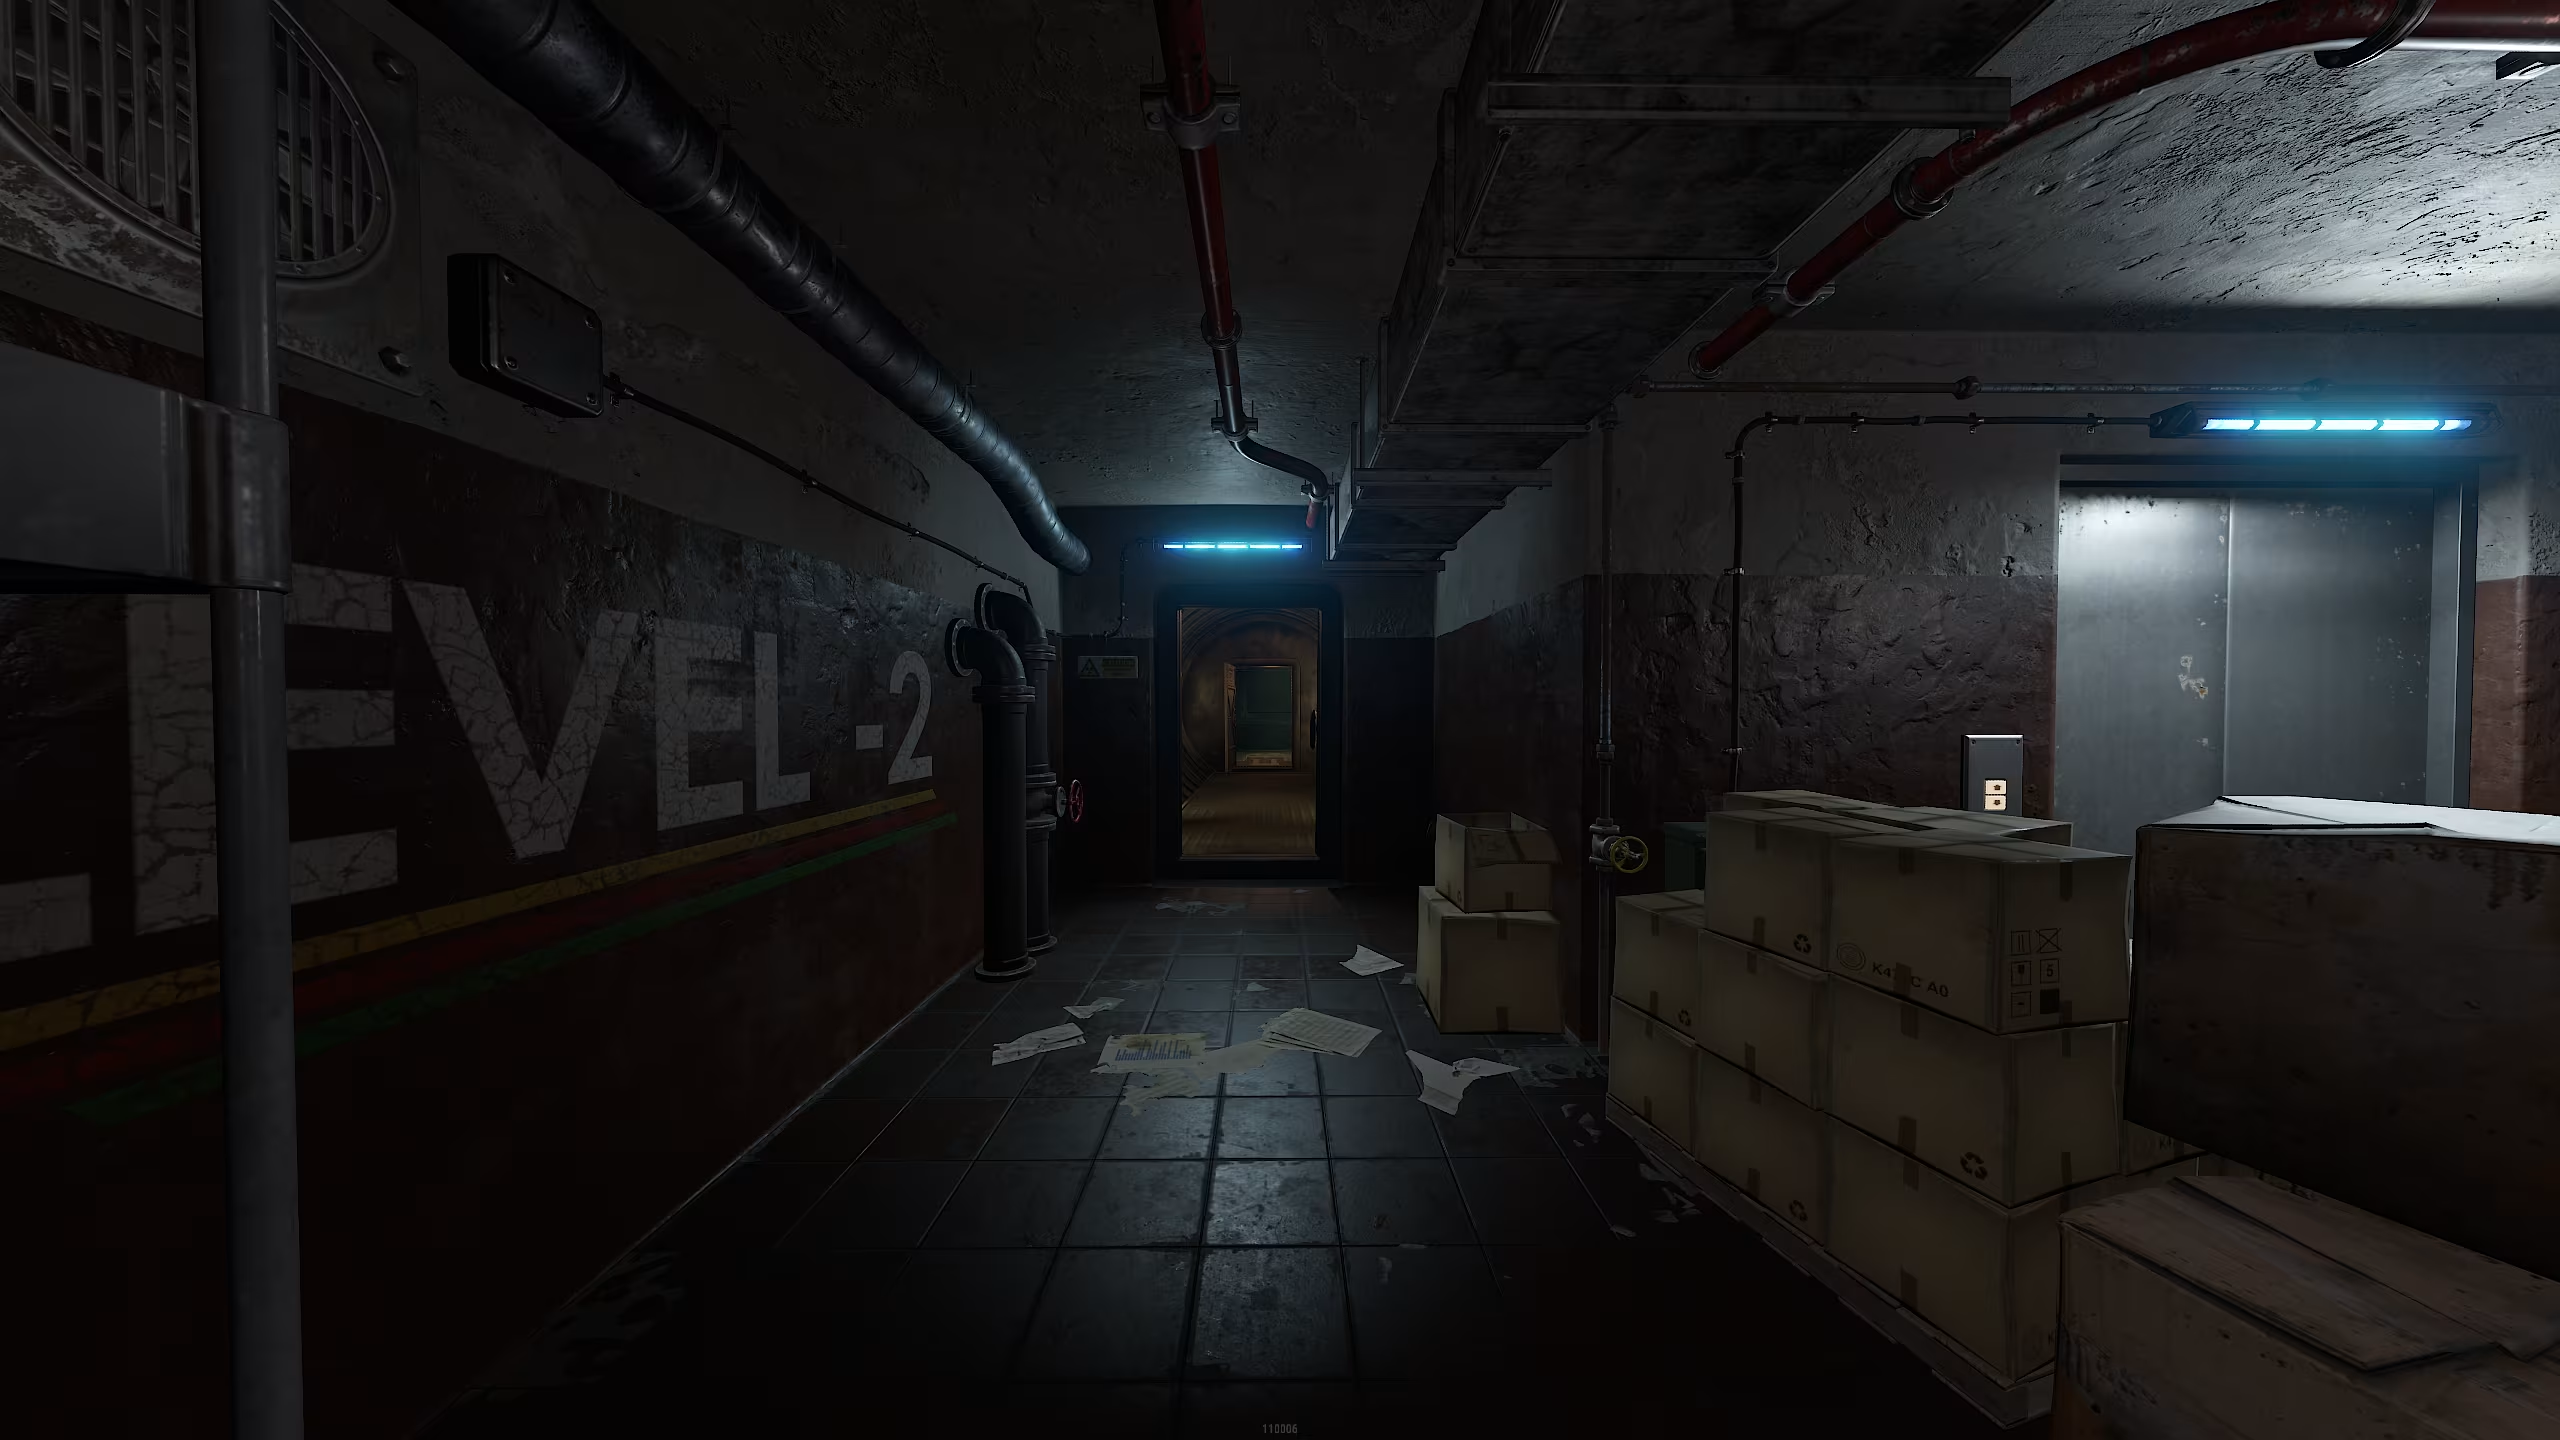
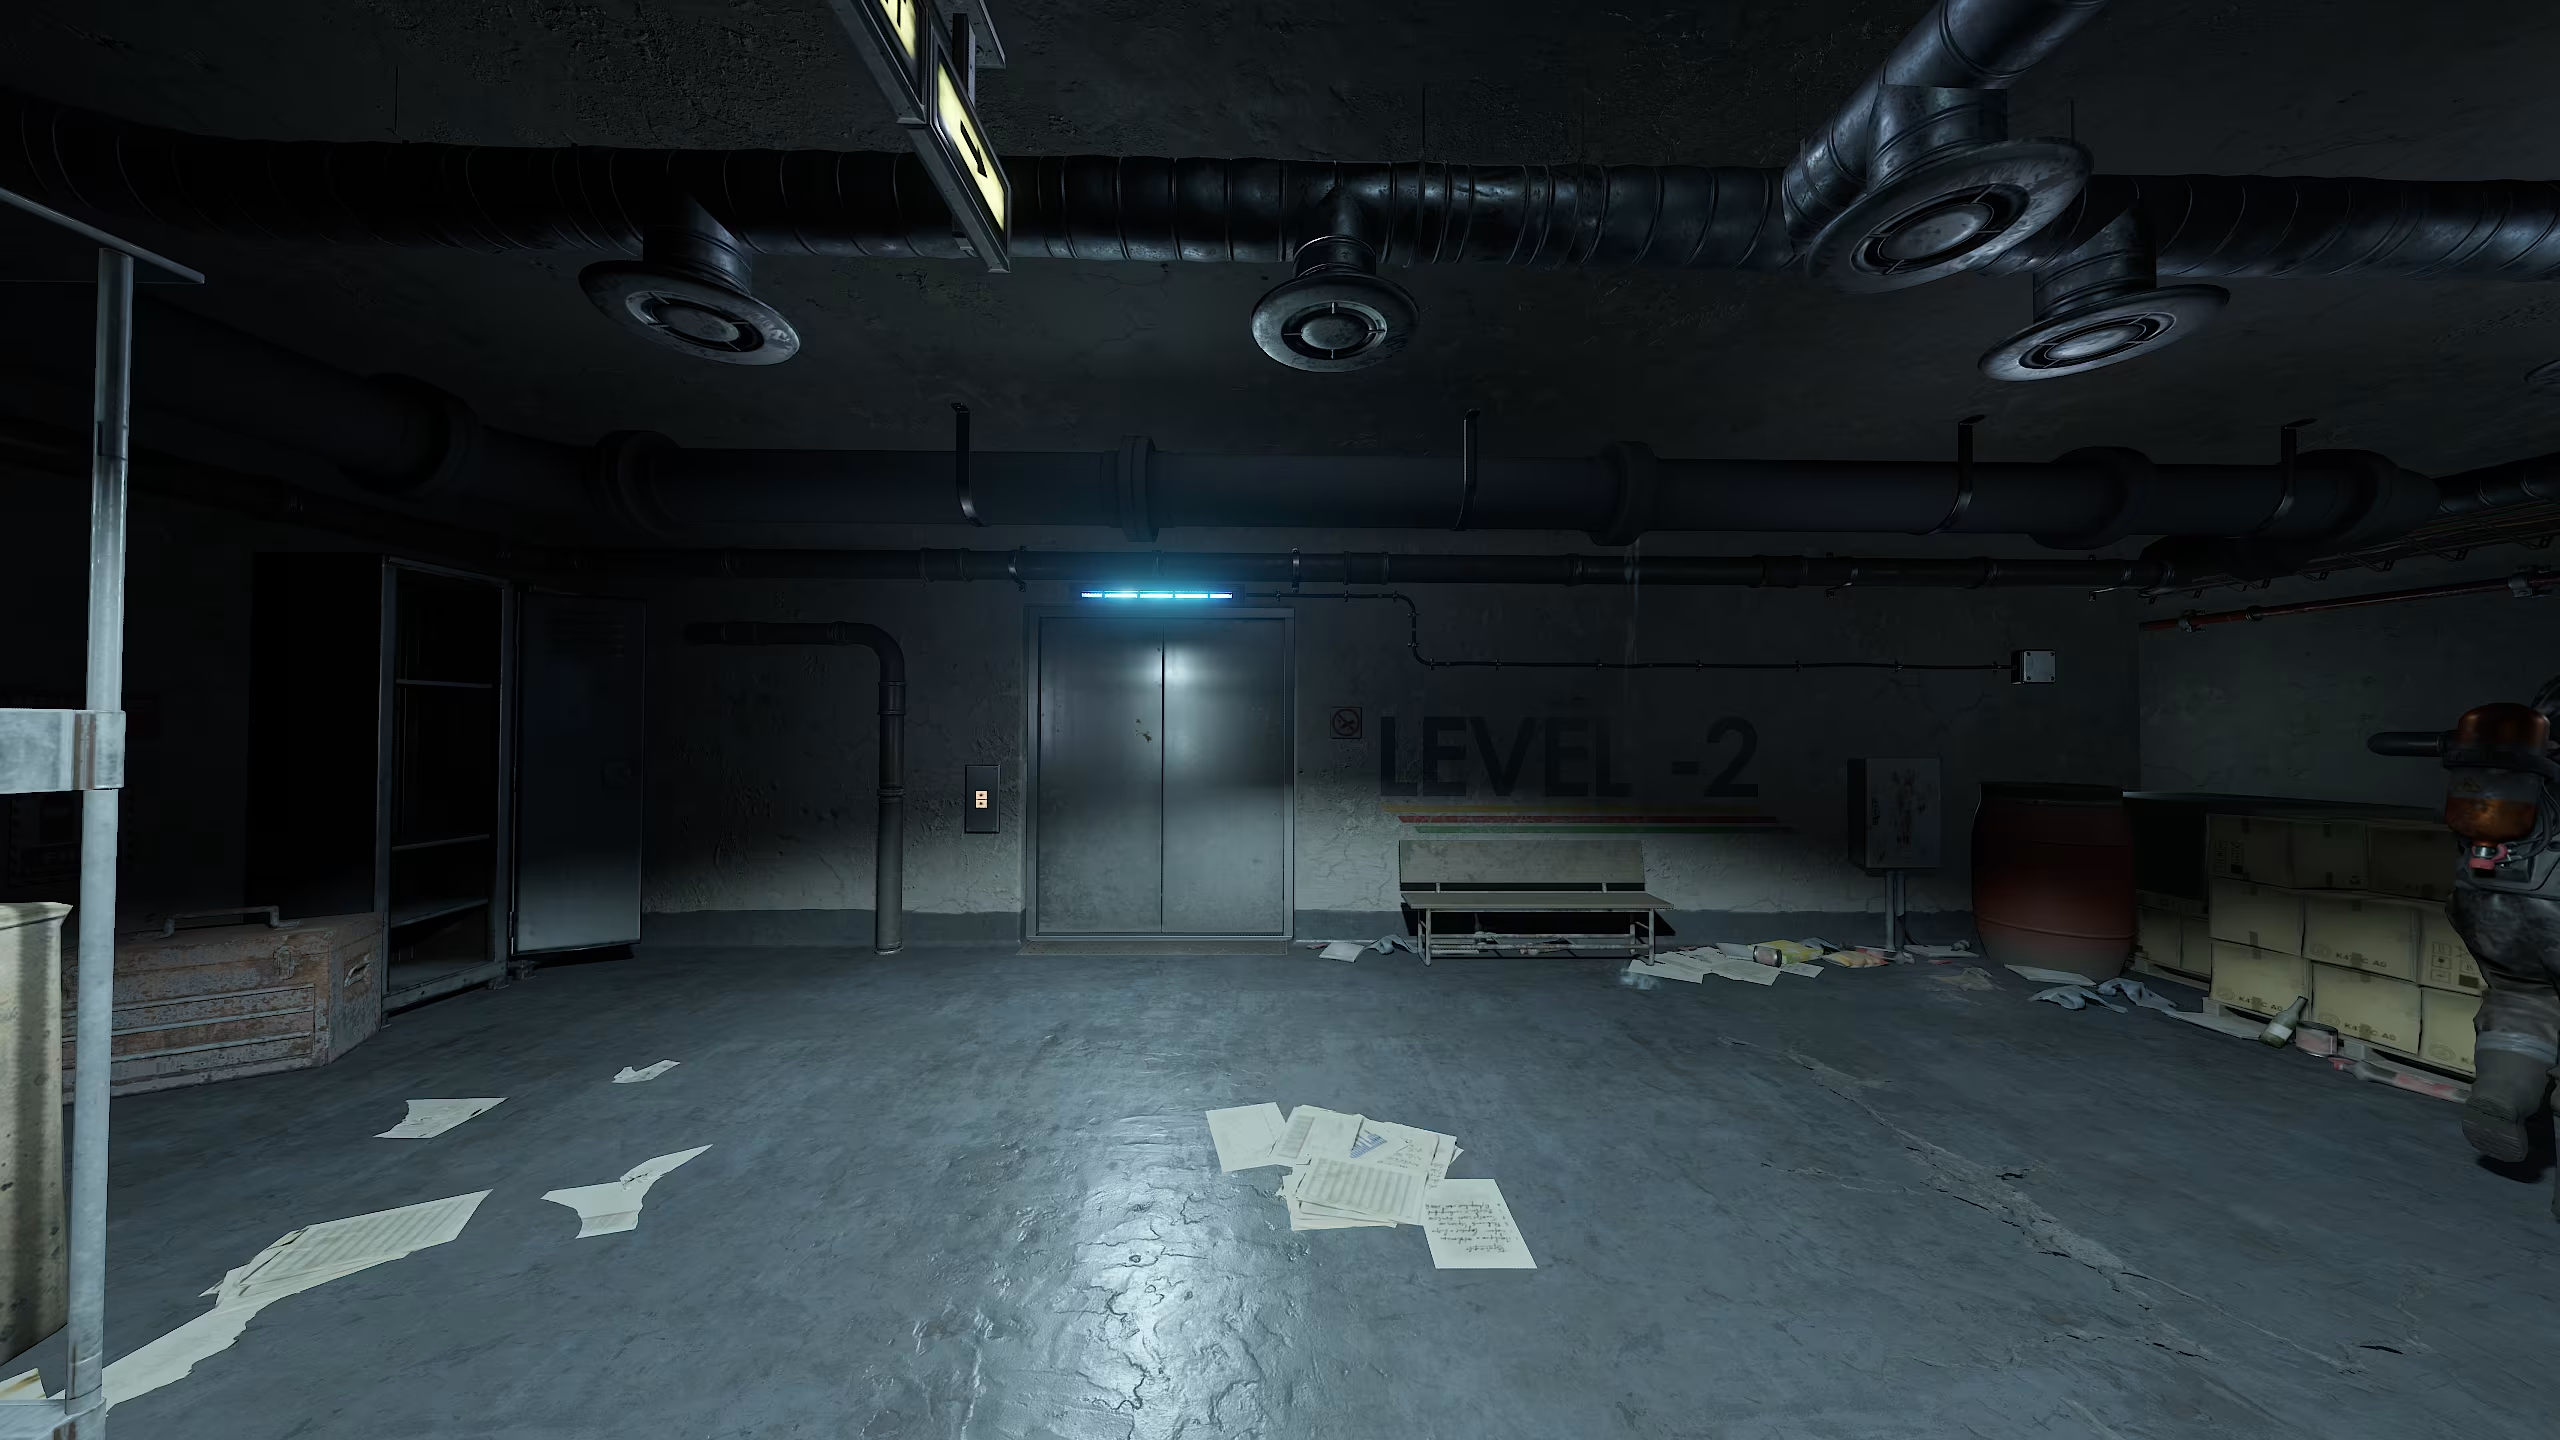
Level -2
The elevator doors opened, and here we are on Level -2.
We loot two crates. The first one is on a cabinet, and the second one is on the bottom shelf of a rack to the right of the elevator exit.
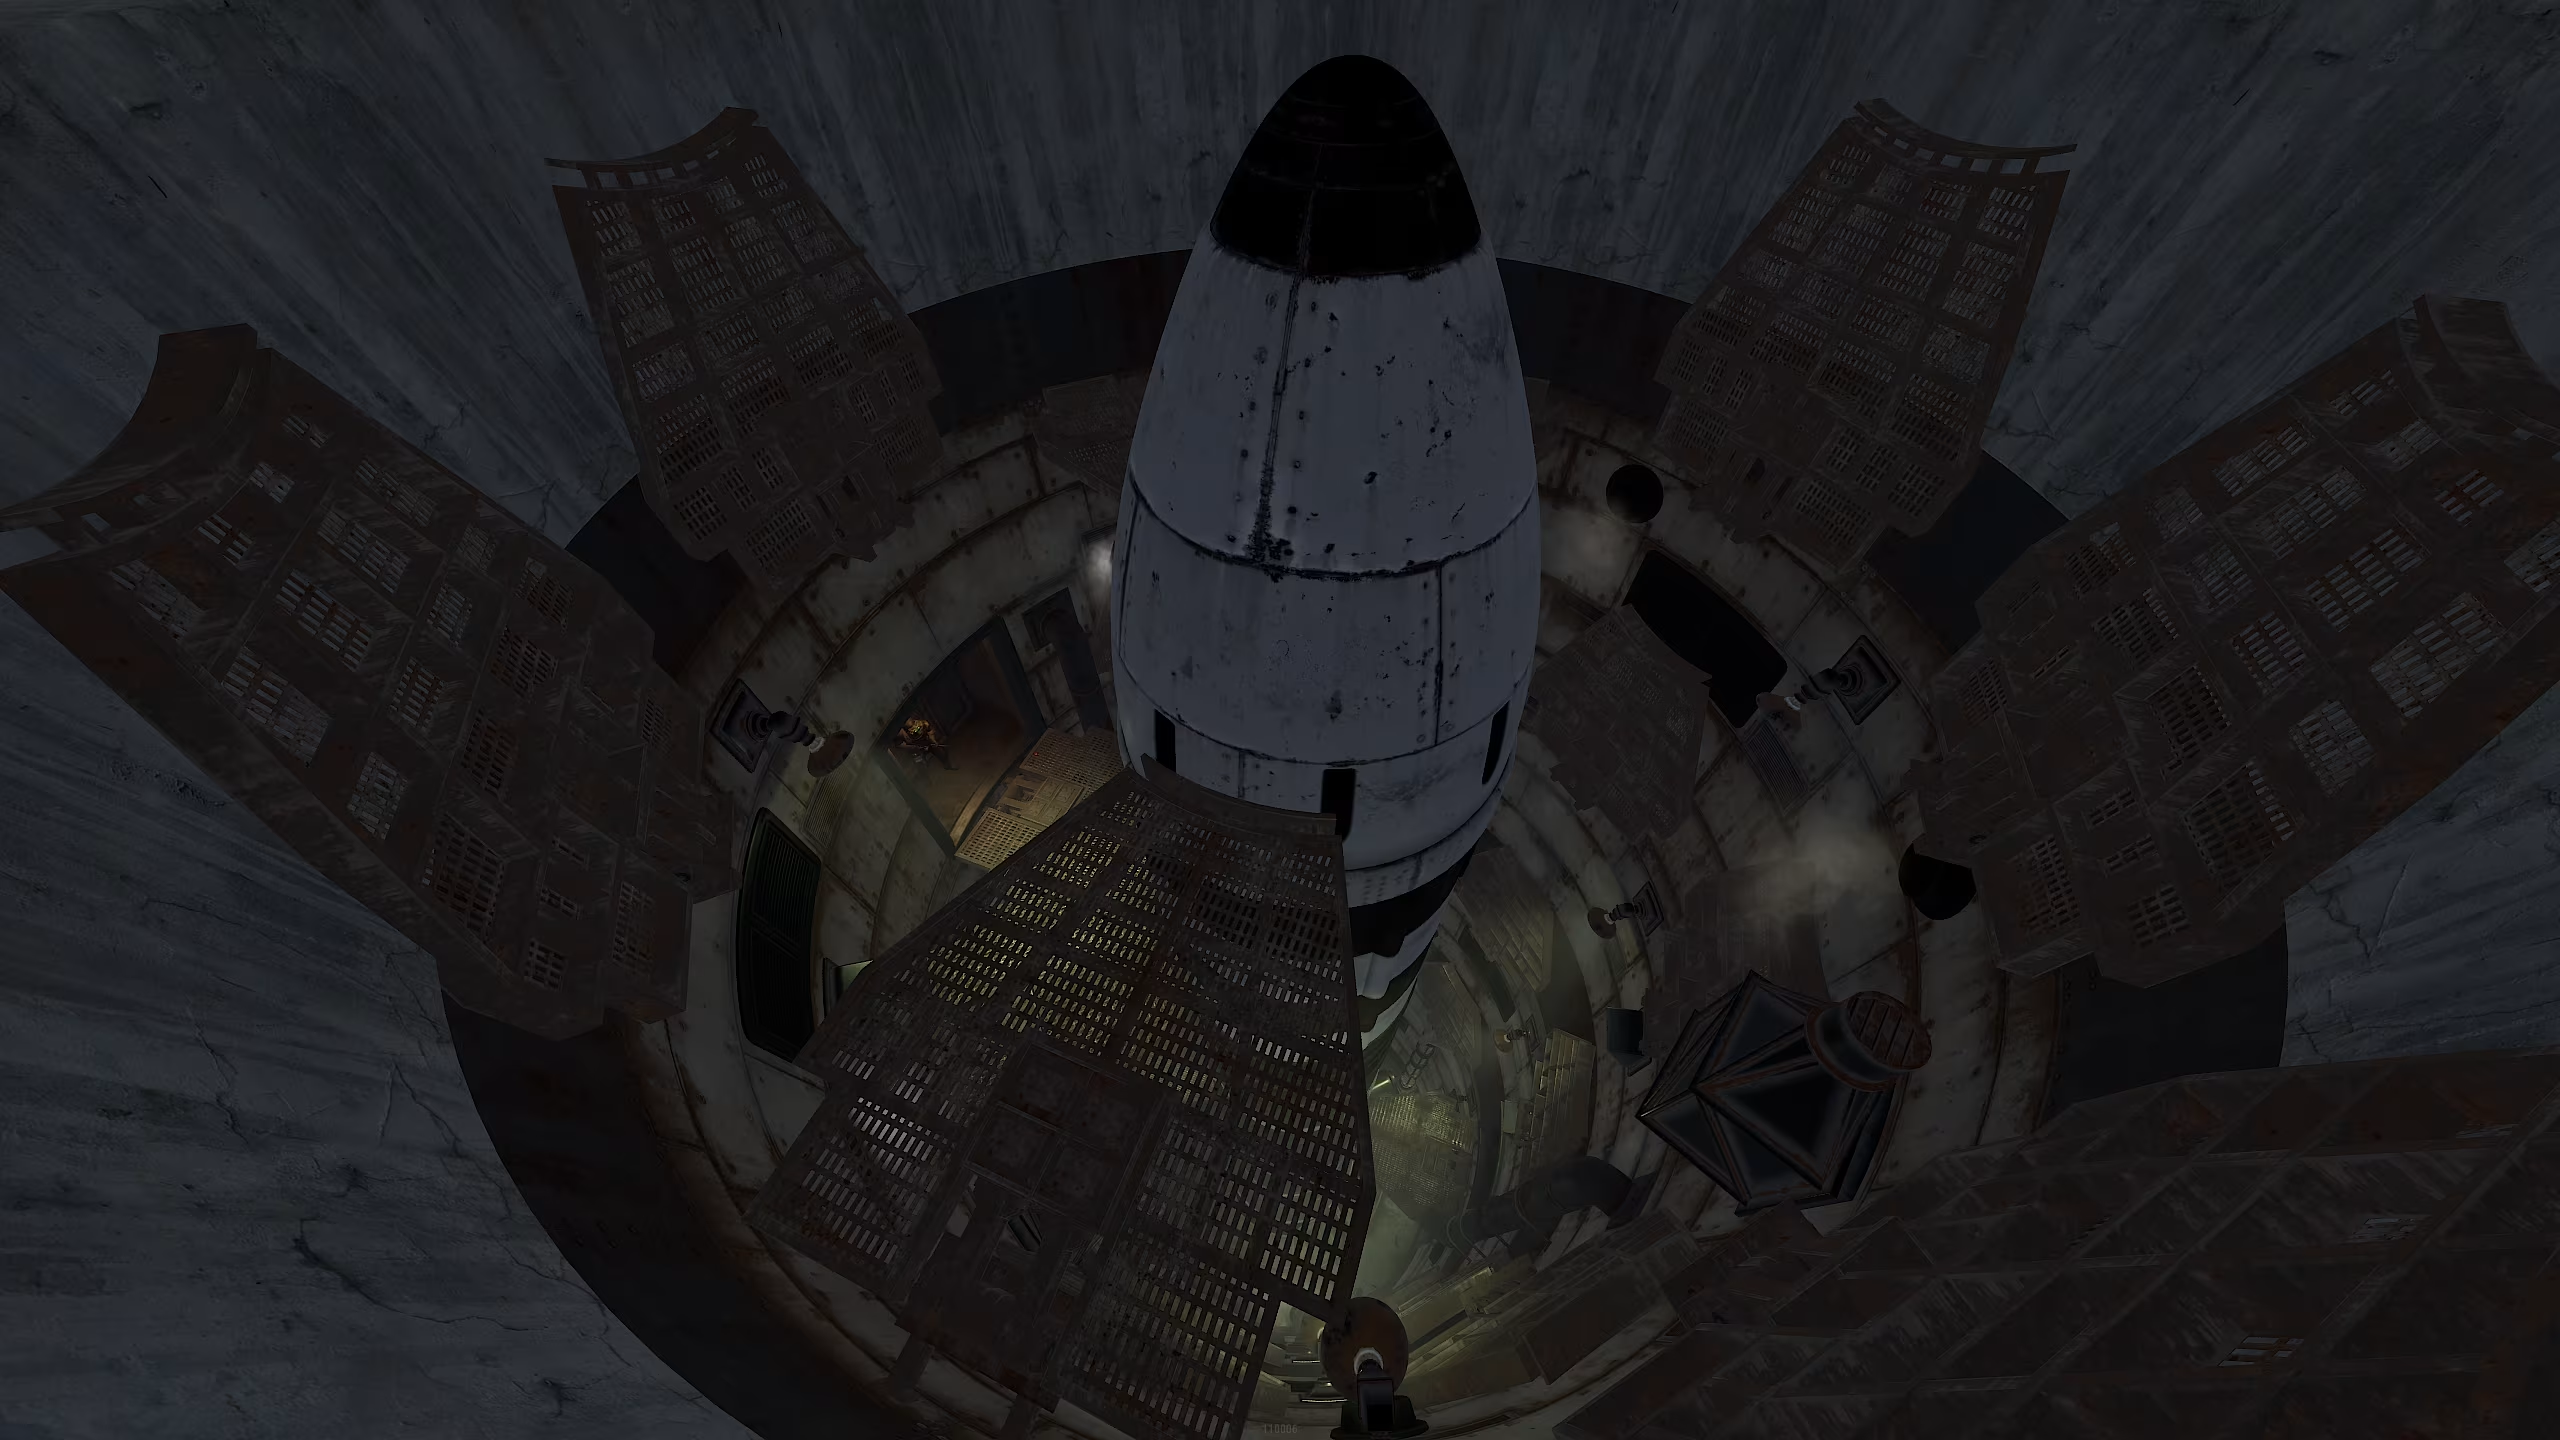
Then we run down the corridor into the silo.
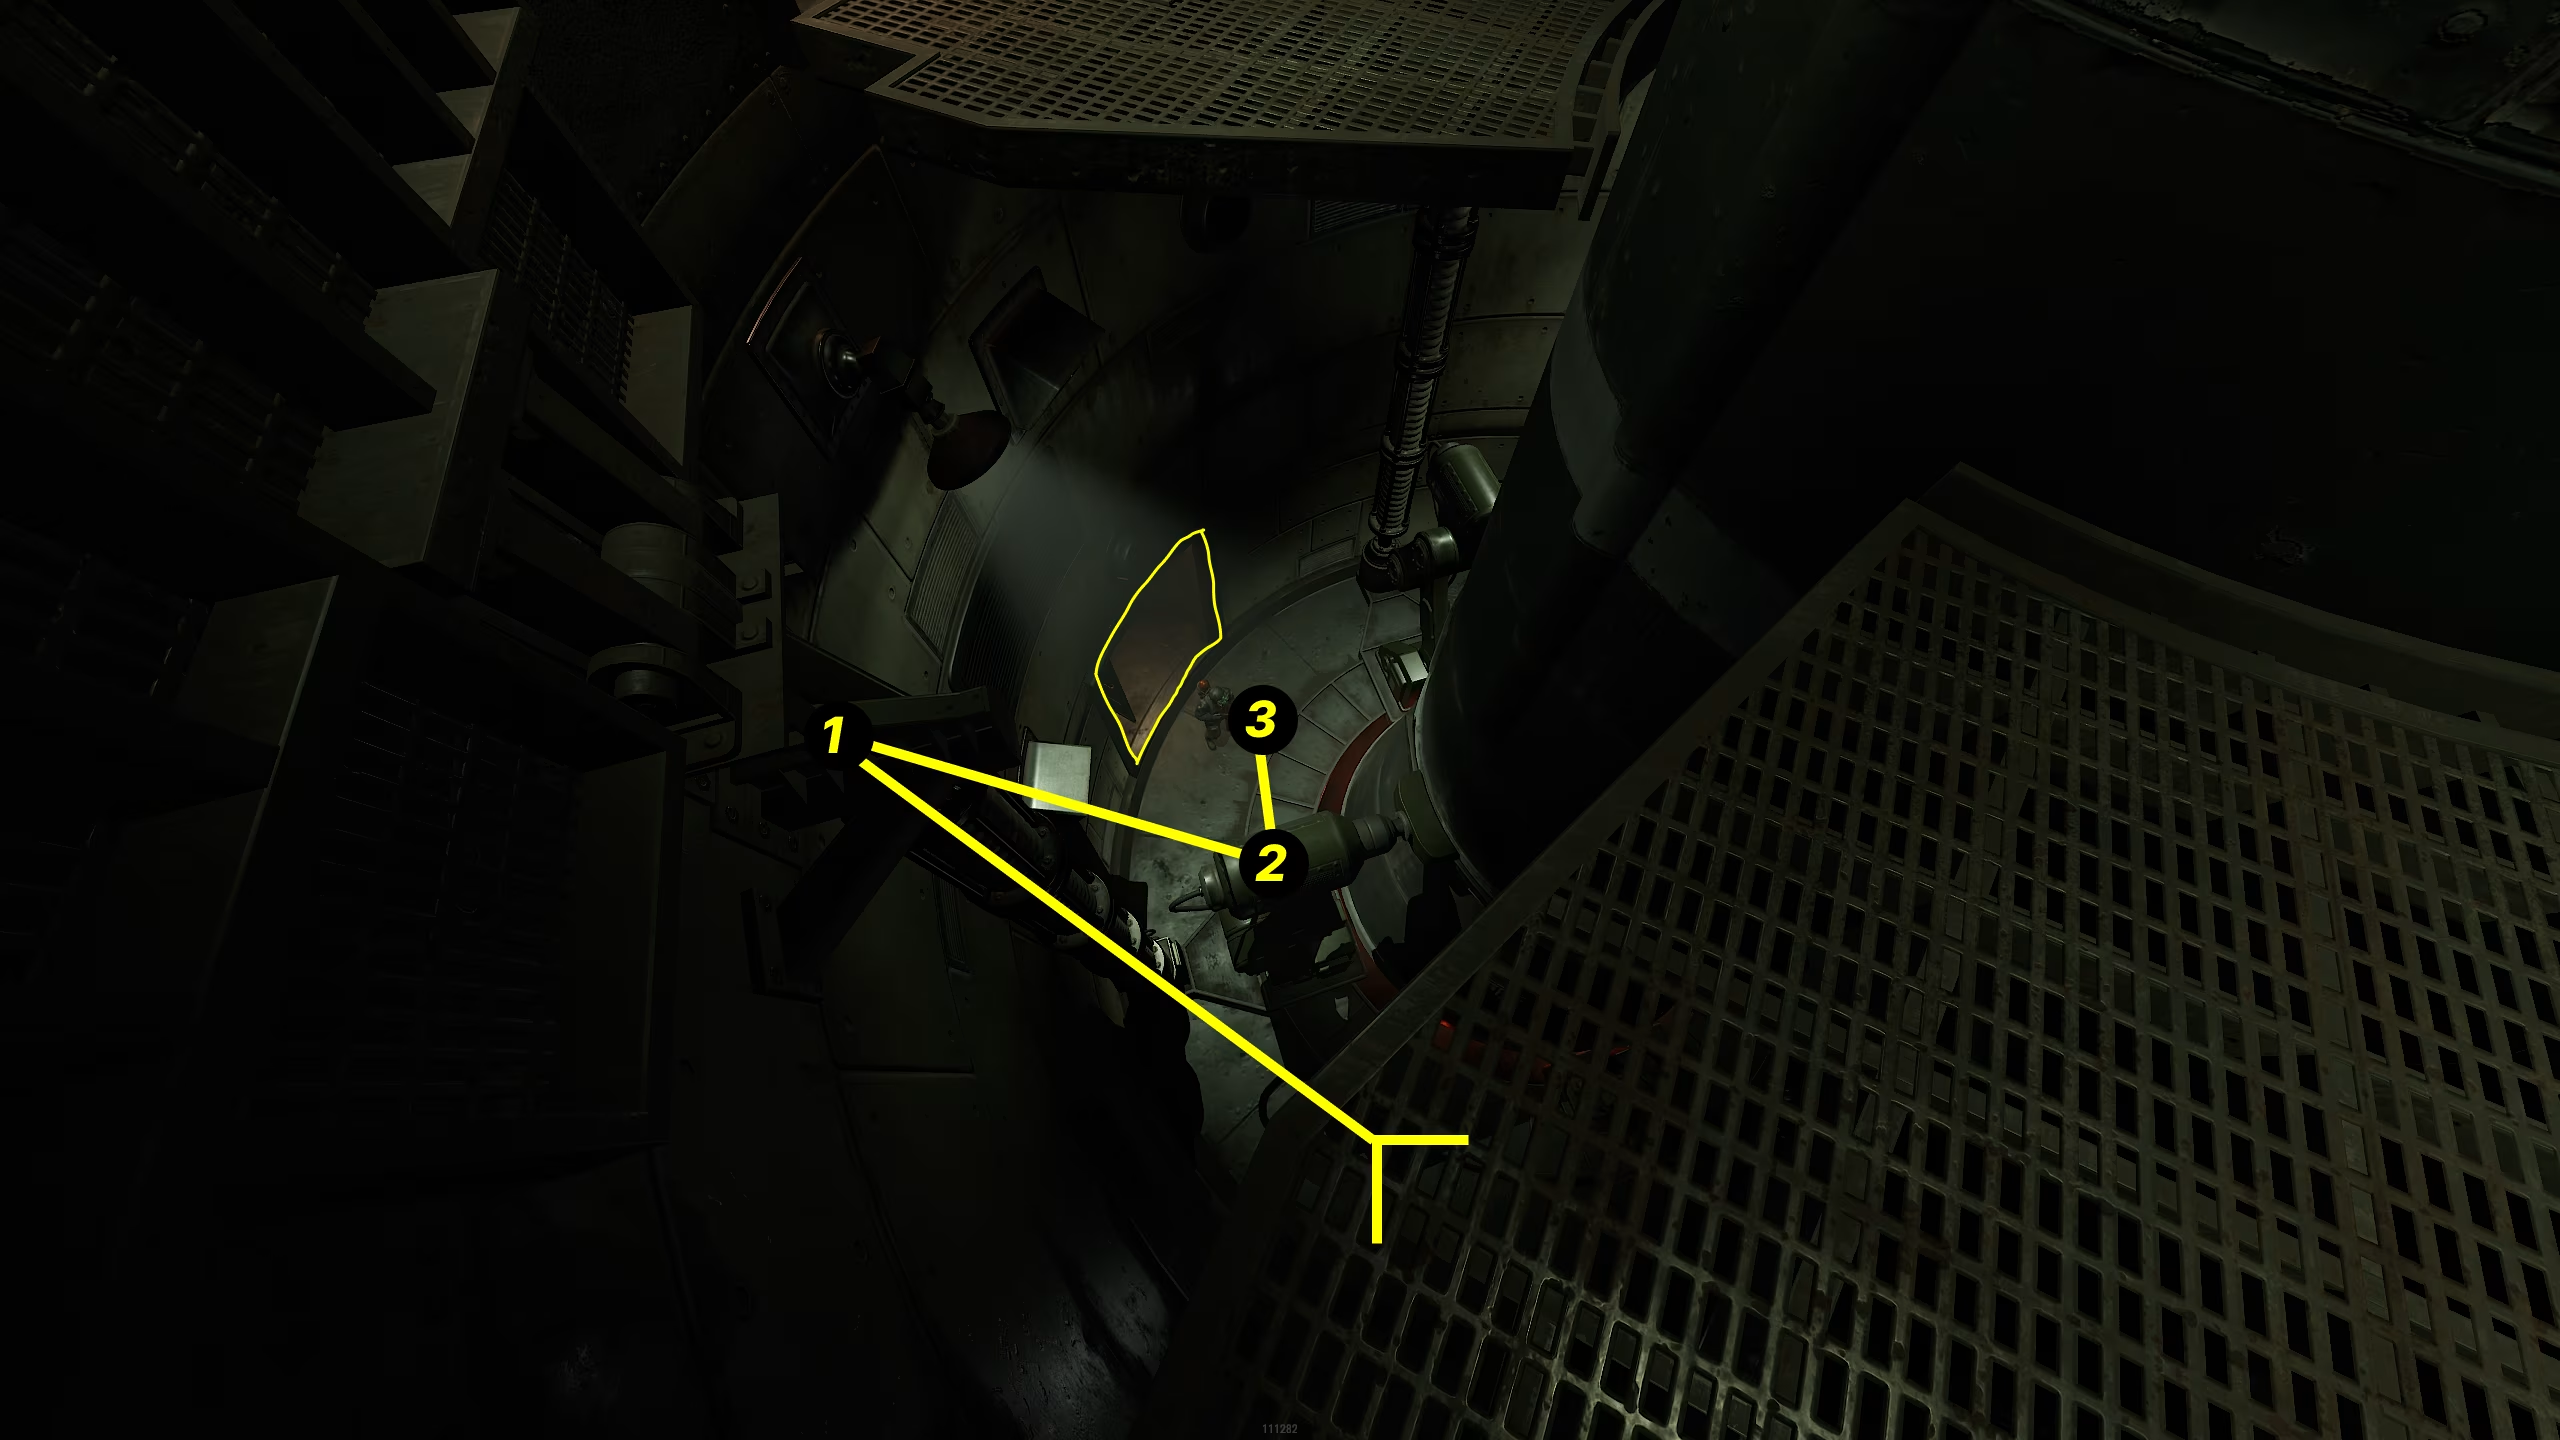
In the silo, we jump onto the second platform, where there is a crate, and then jump down using the ledges to the very bottom of the silo, to Level -5, and go into the tunnel marked on the screenshot.

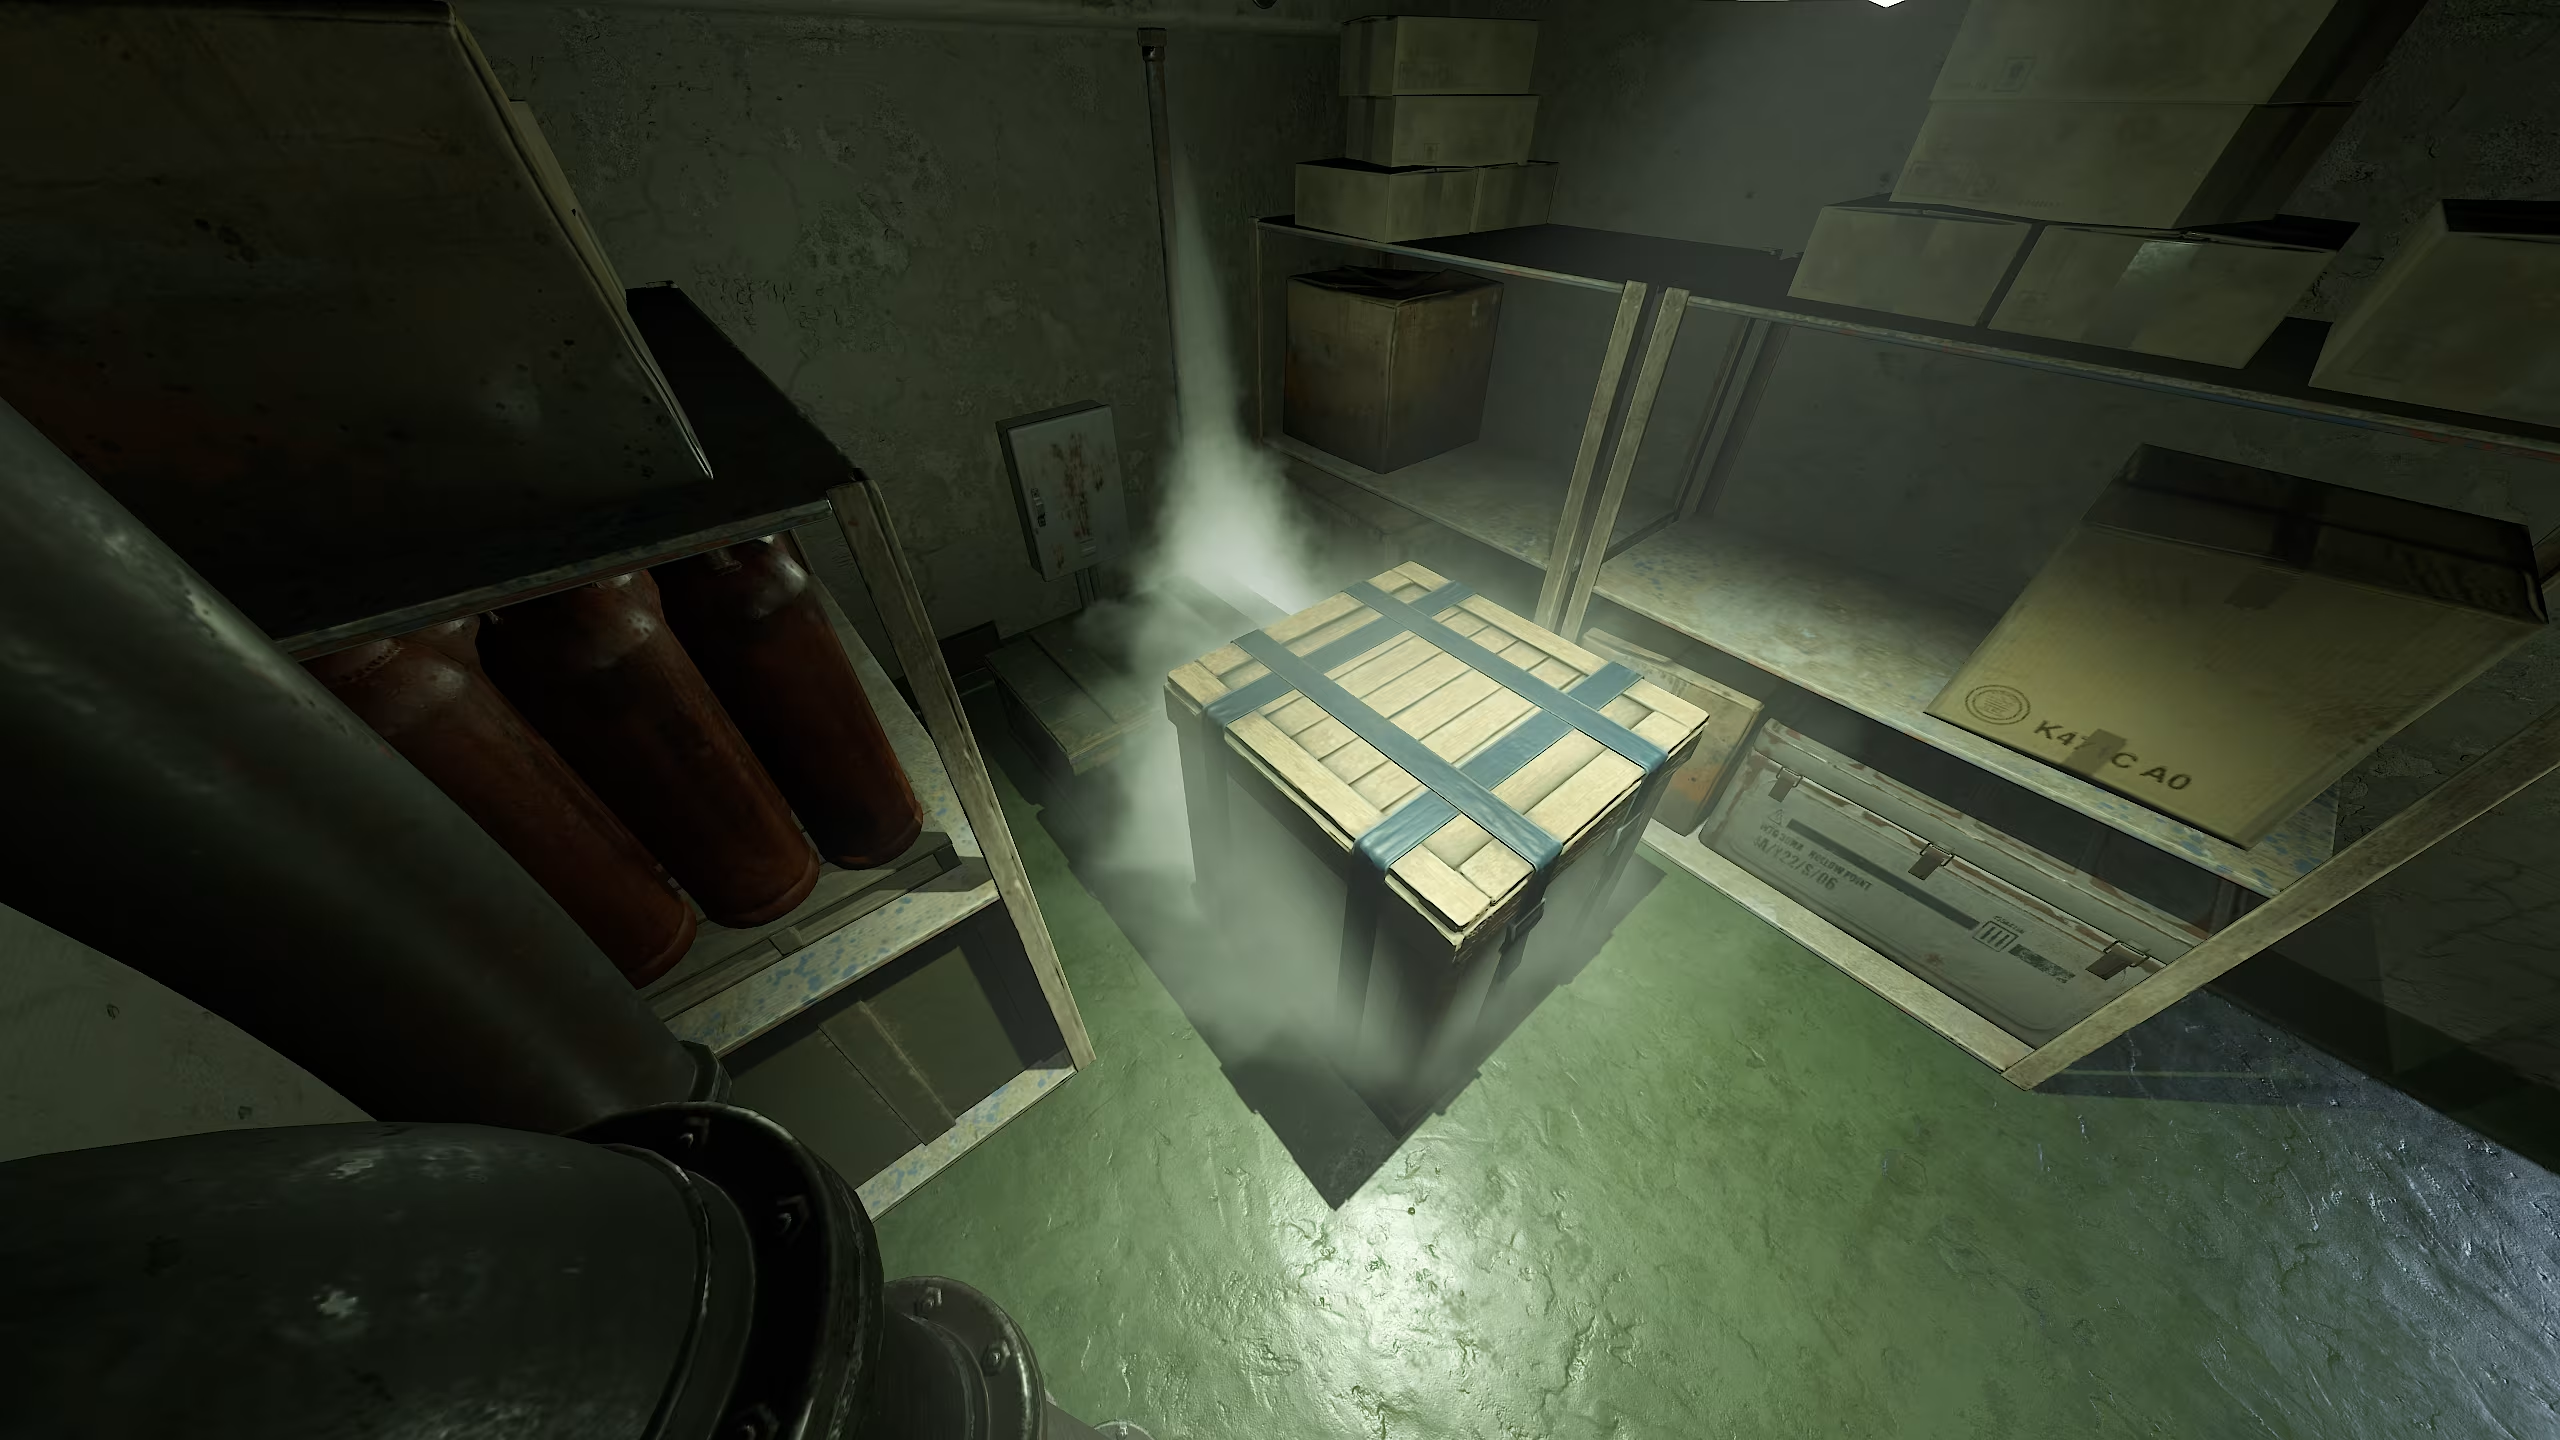
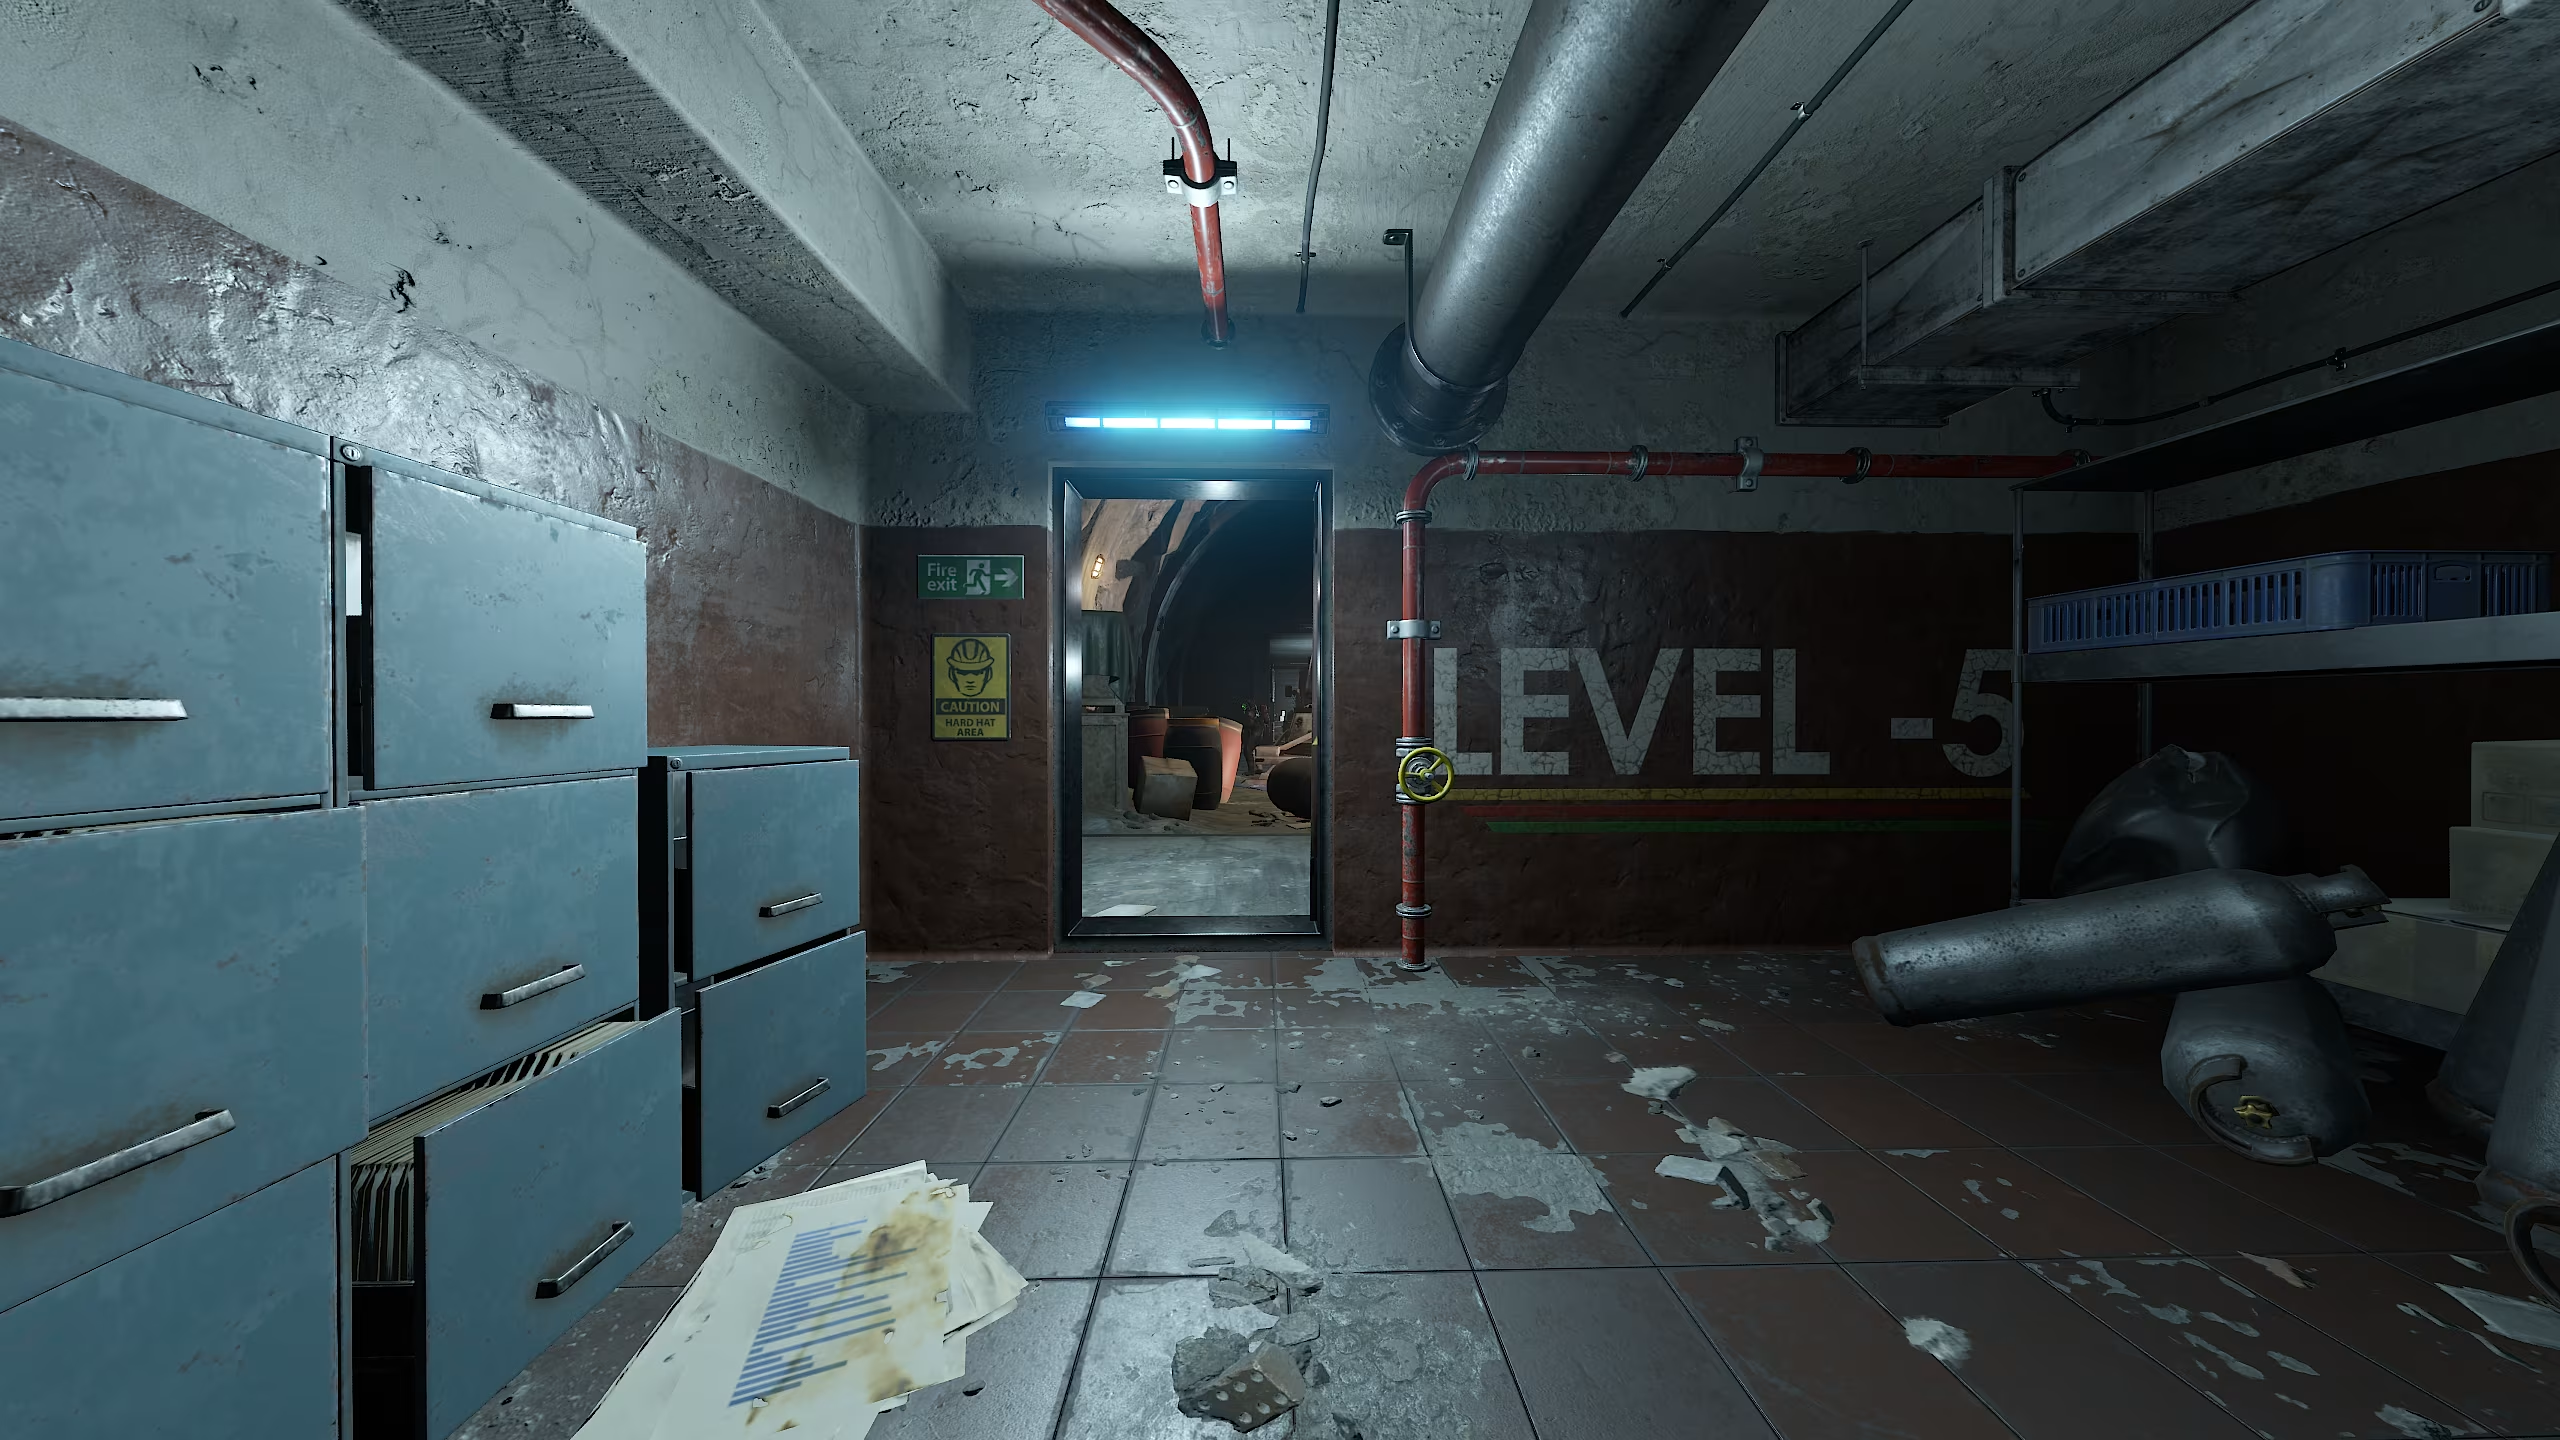
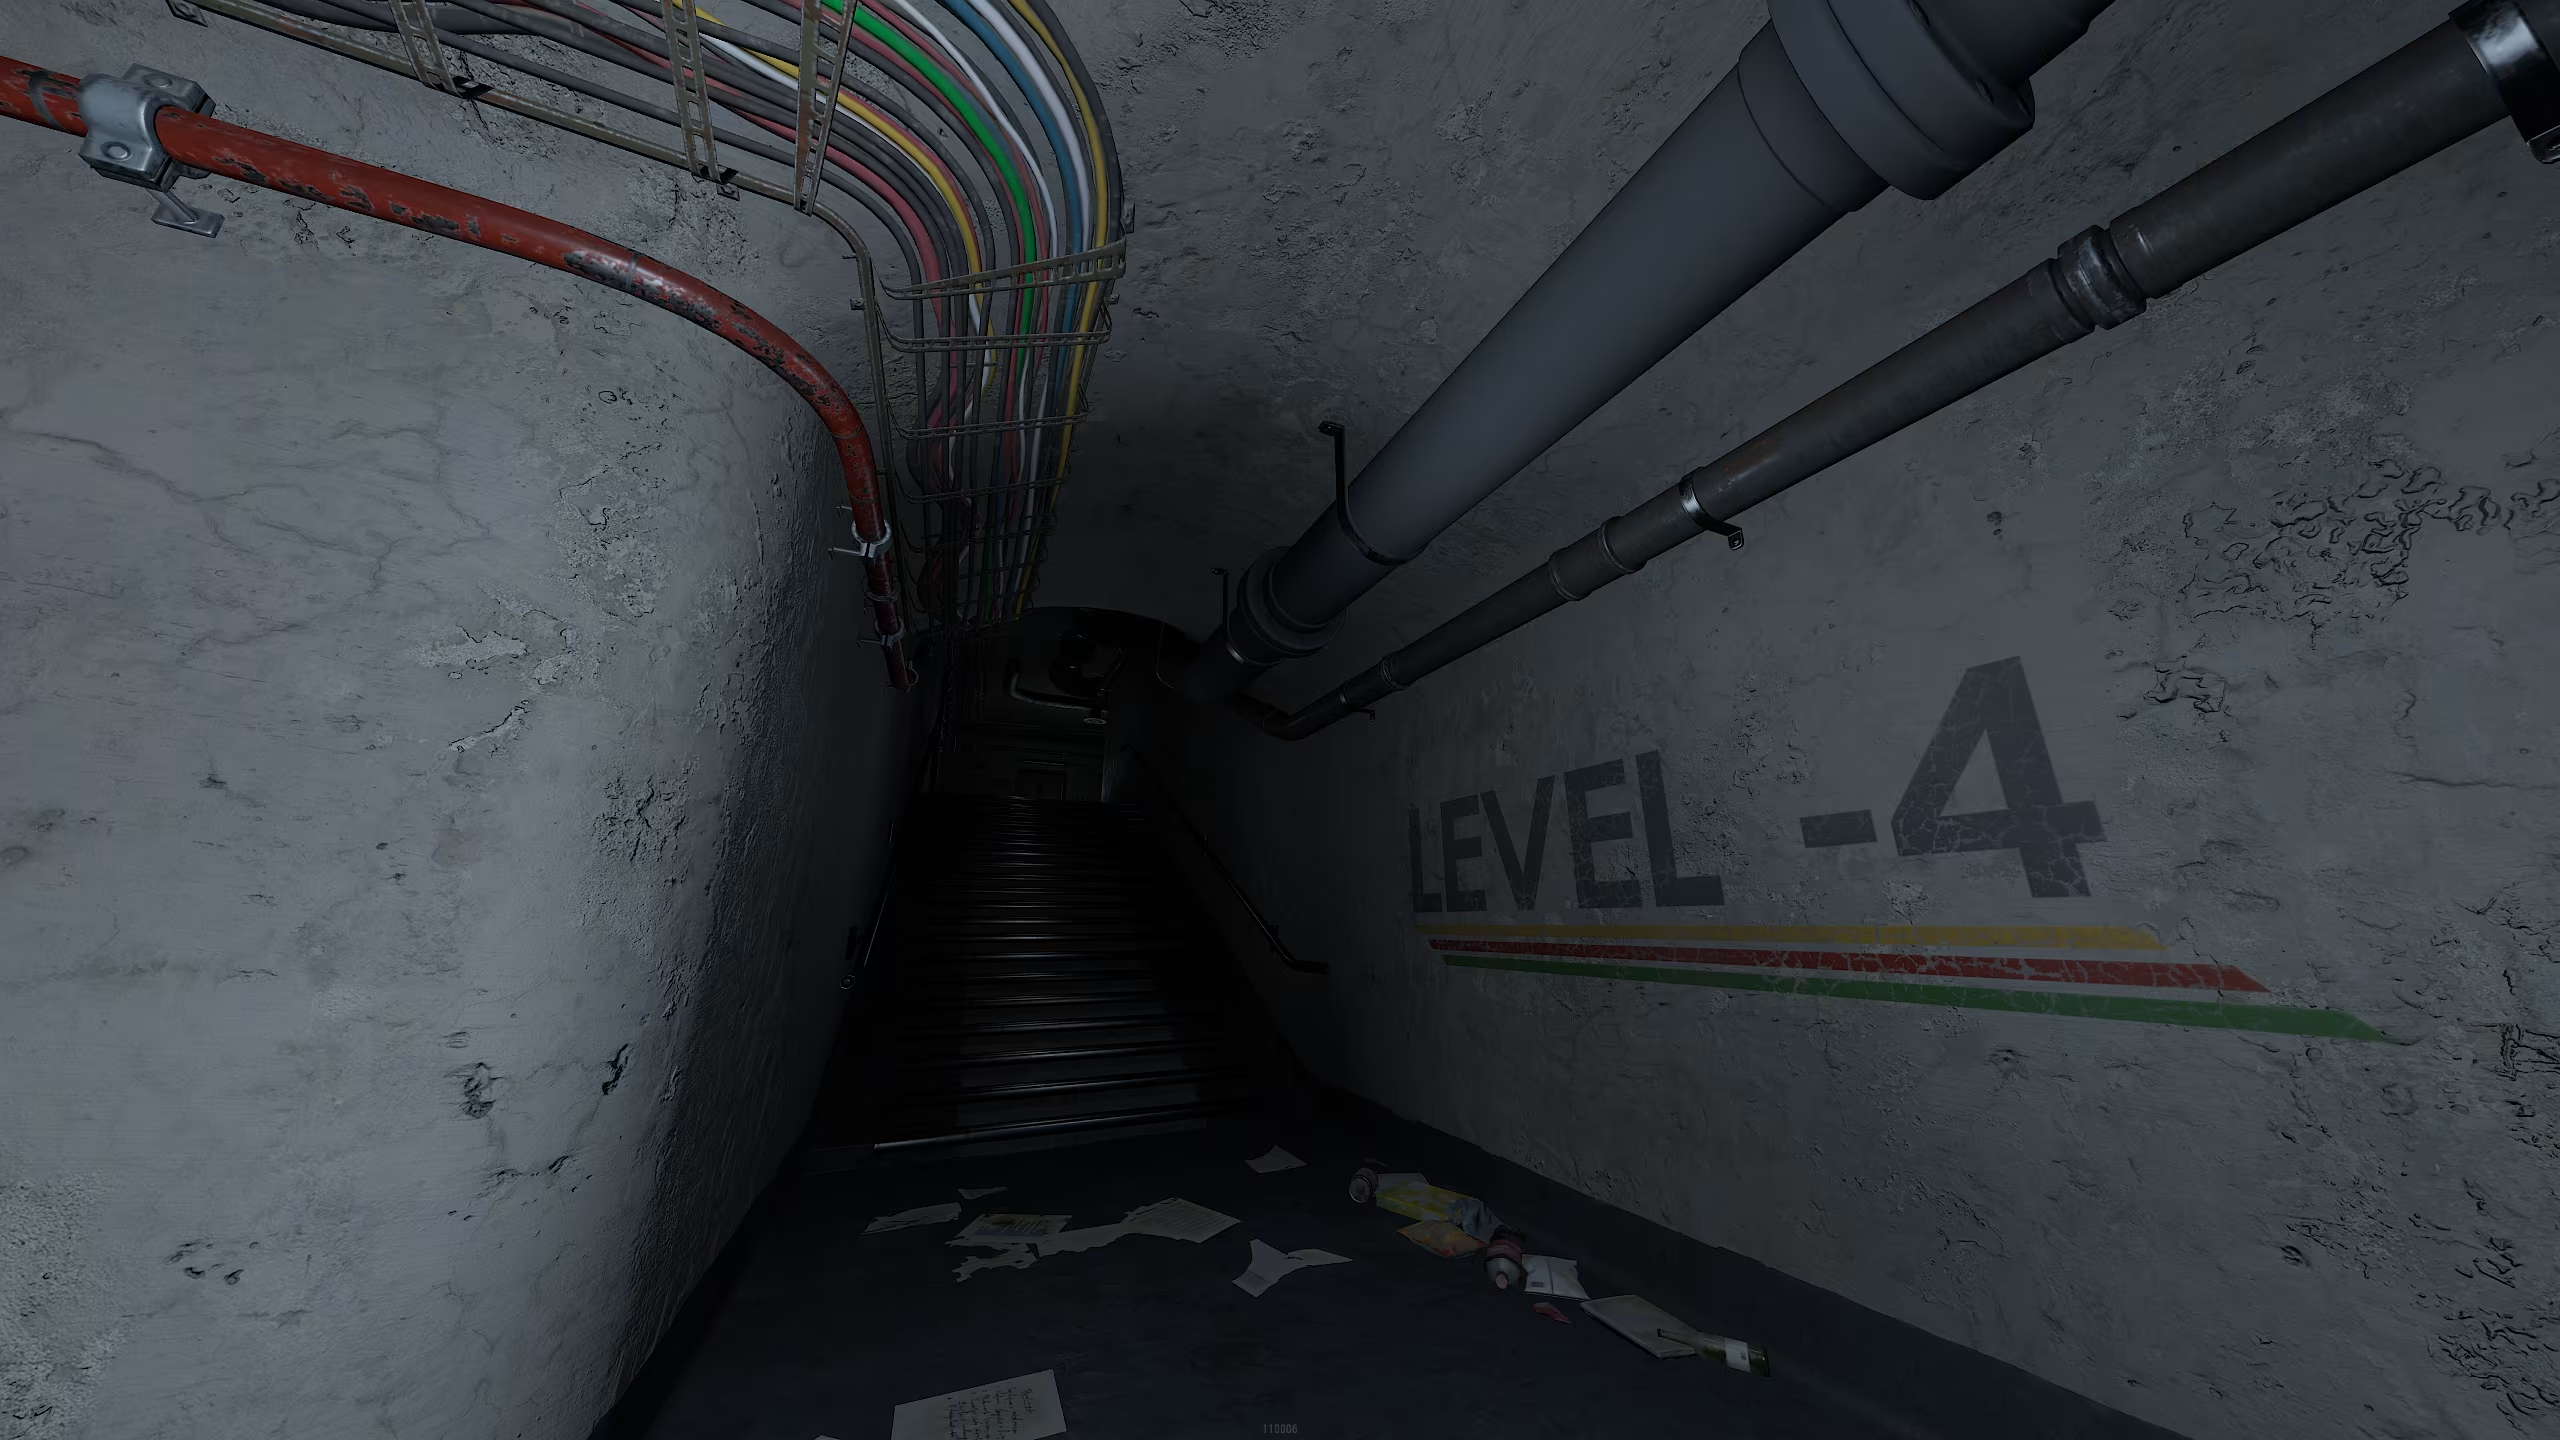
Level -5
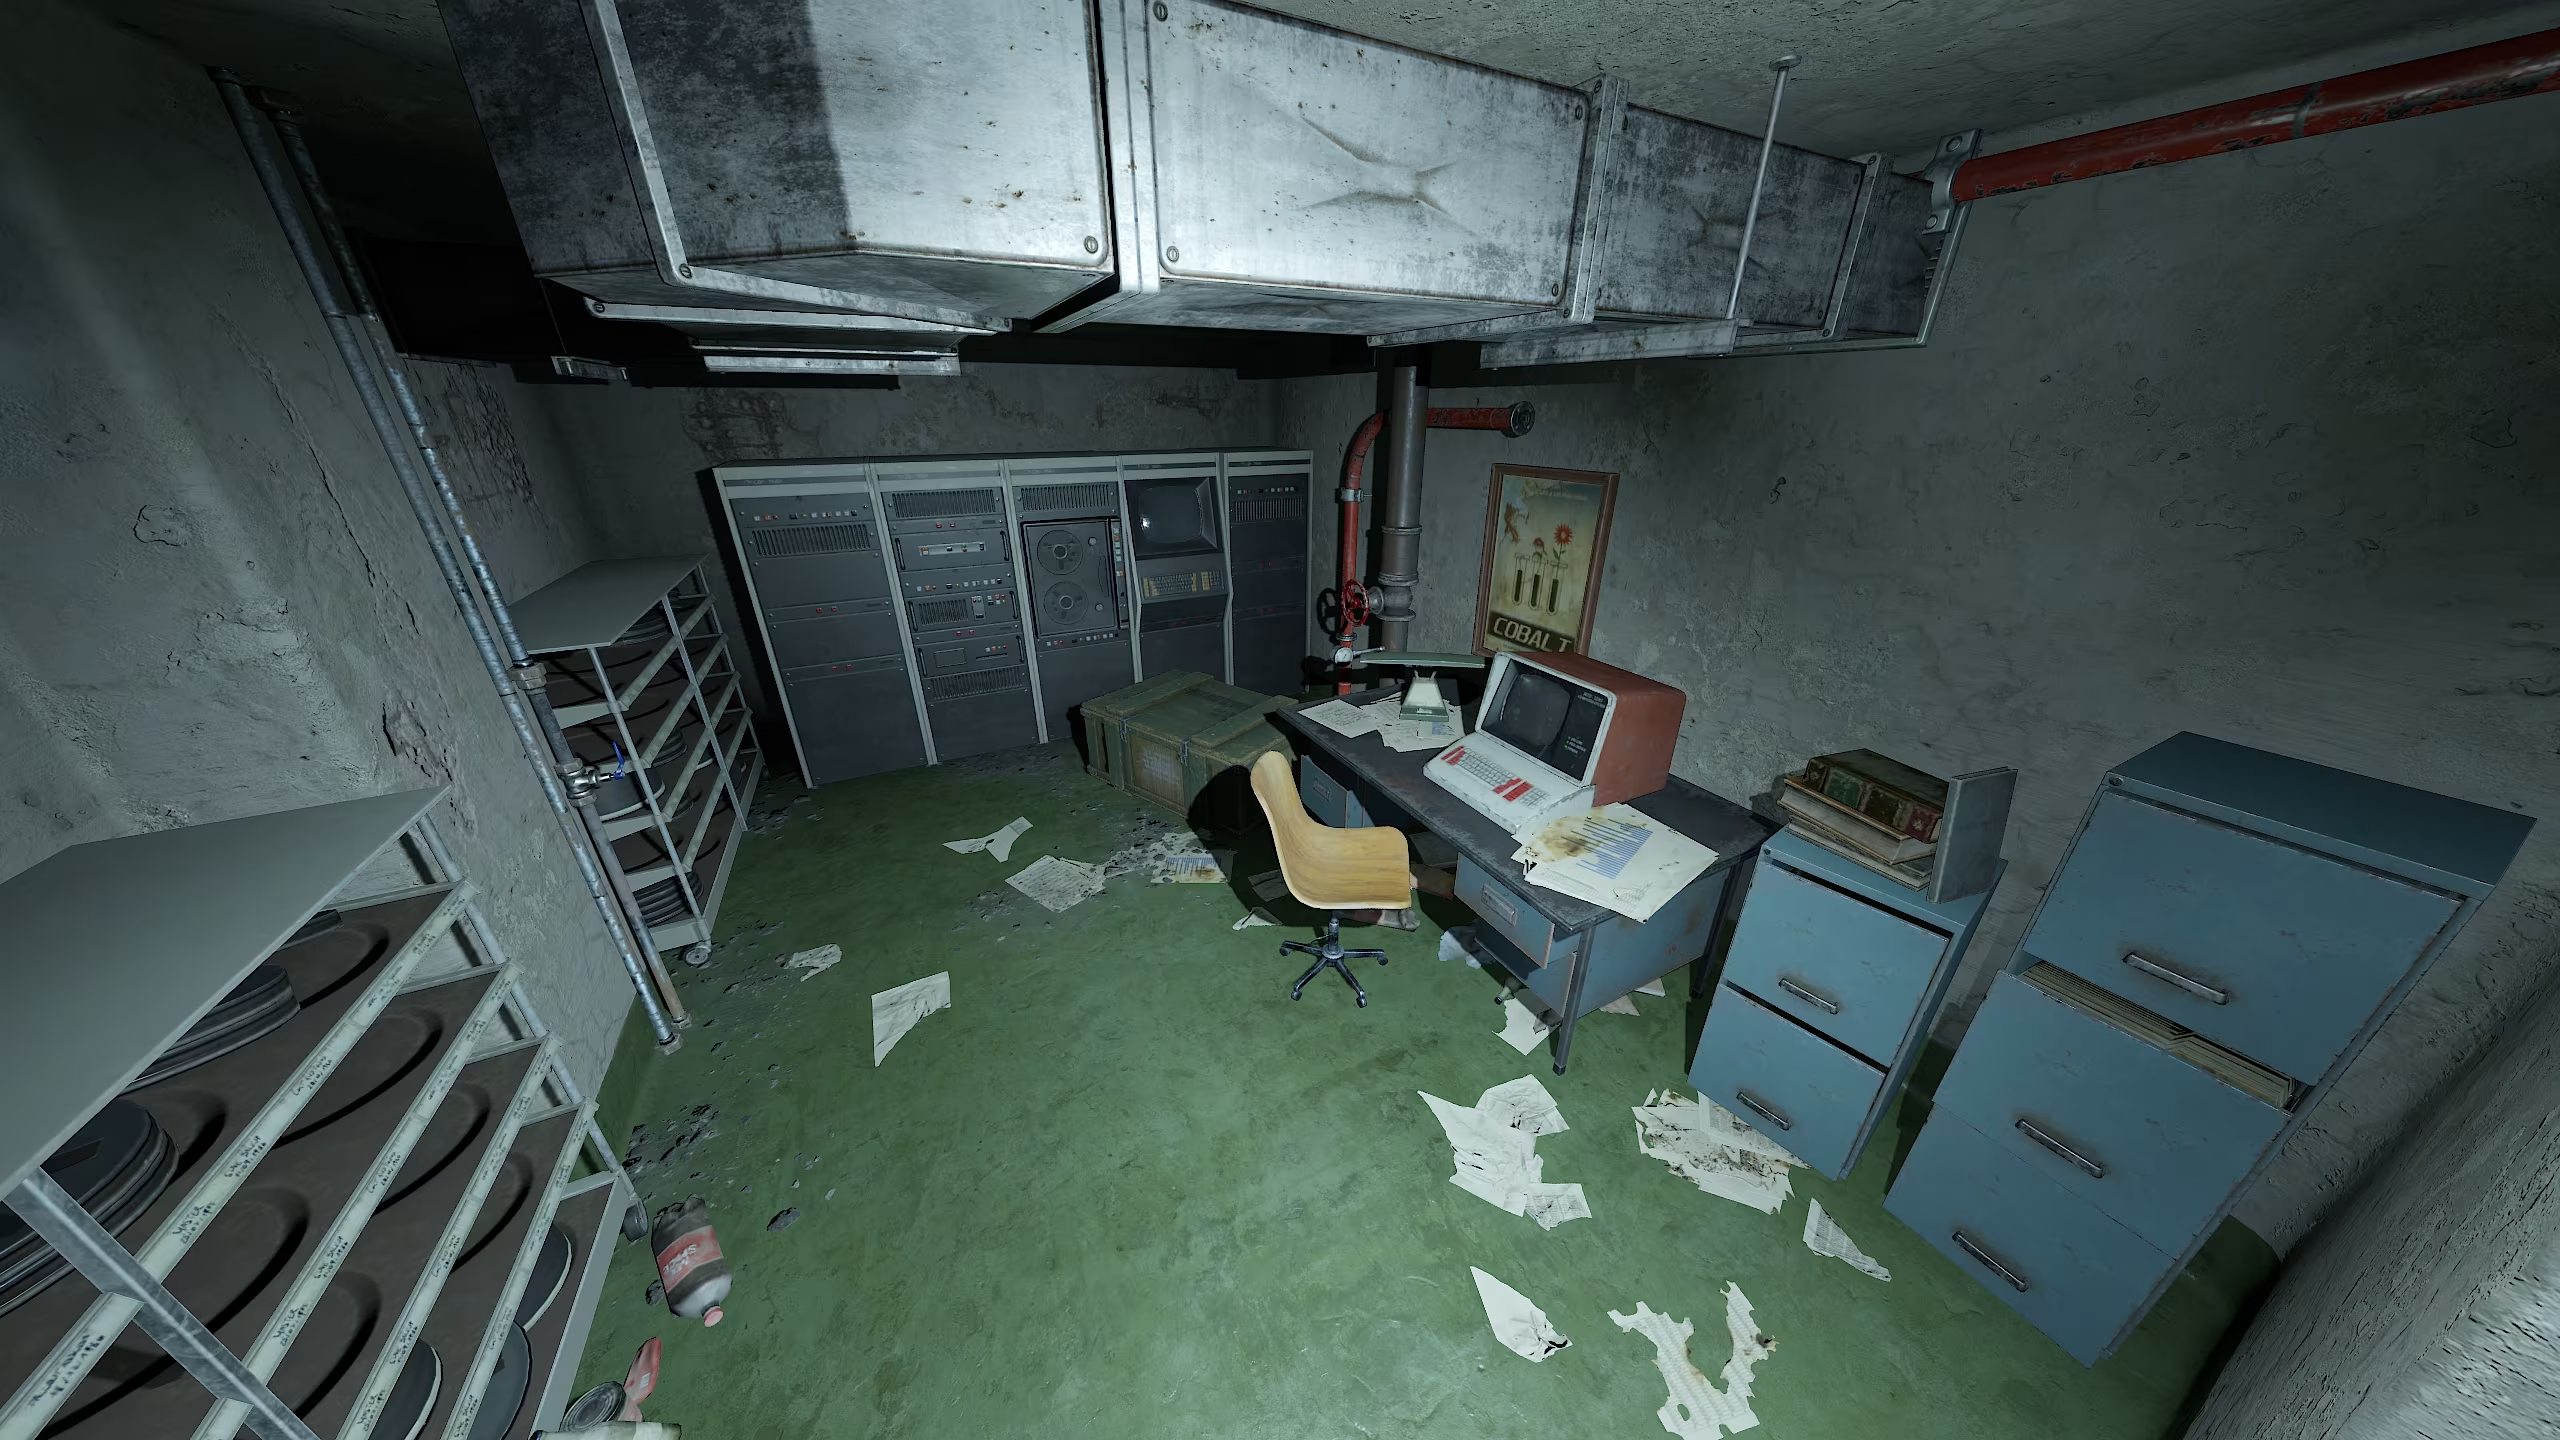
We go straight along the corridor to the door near the inscription "Level -5". After passing through the door, we find ourselves in a bunker, where in the center there is a warhead, to which a laptop is connected with wires, standing on a wooden box. By the way, the laptop shows the time until the end of the wipe and the beginning of the event.
Near the laptop, we find a red card, which is very useful for looting other monuments.
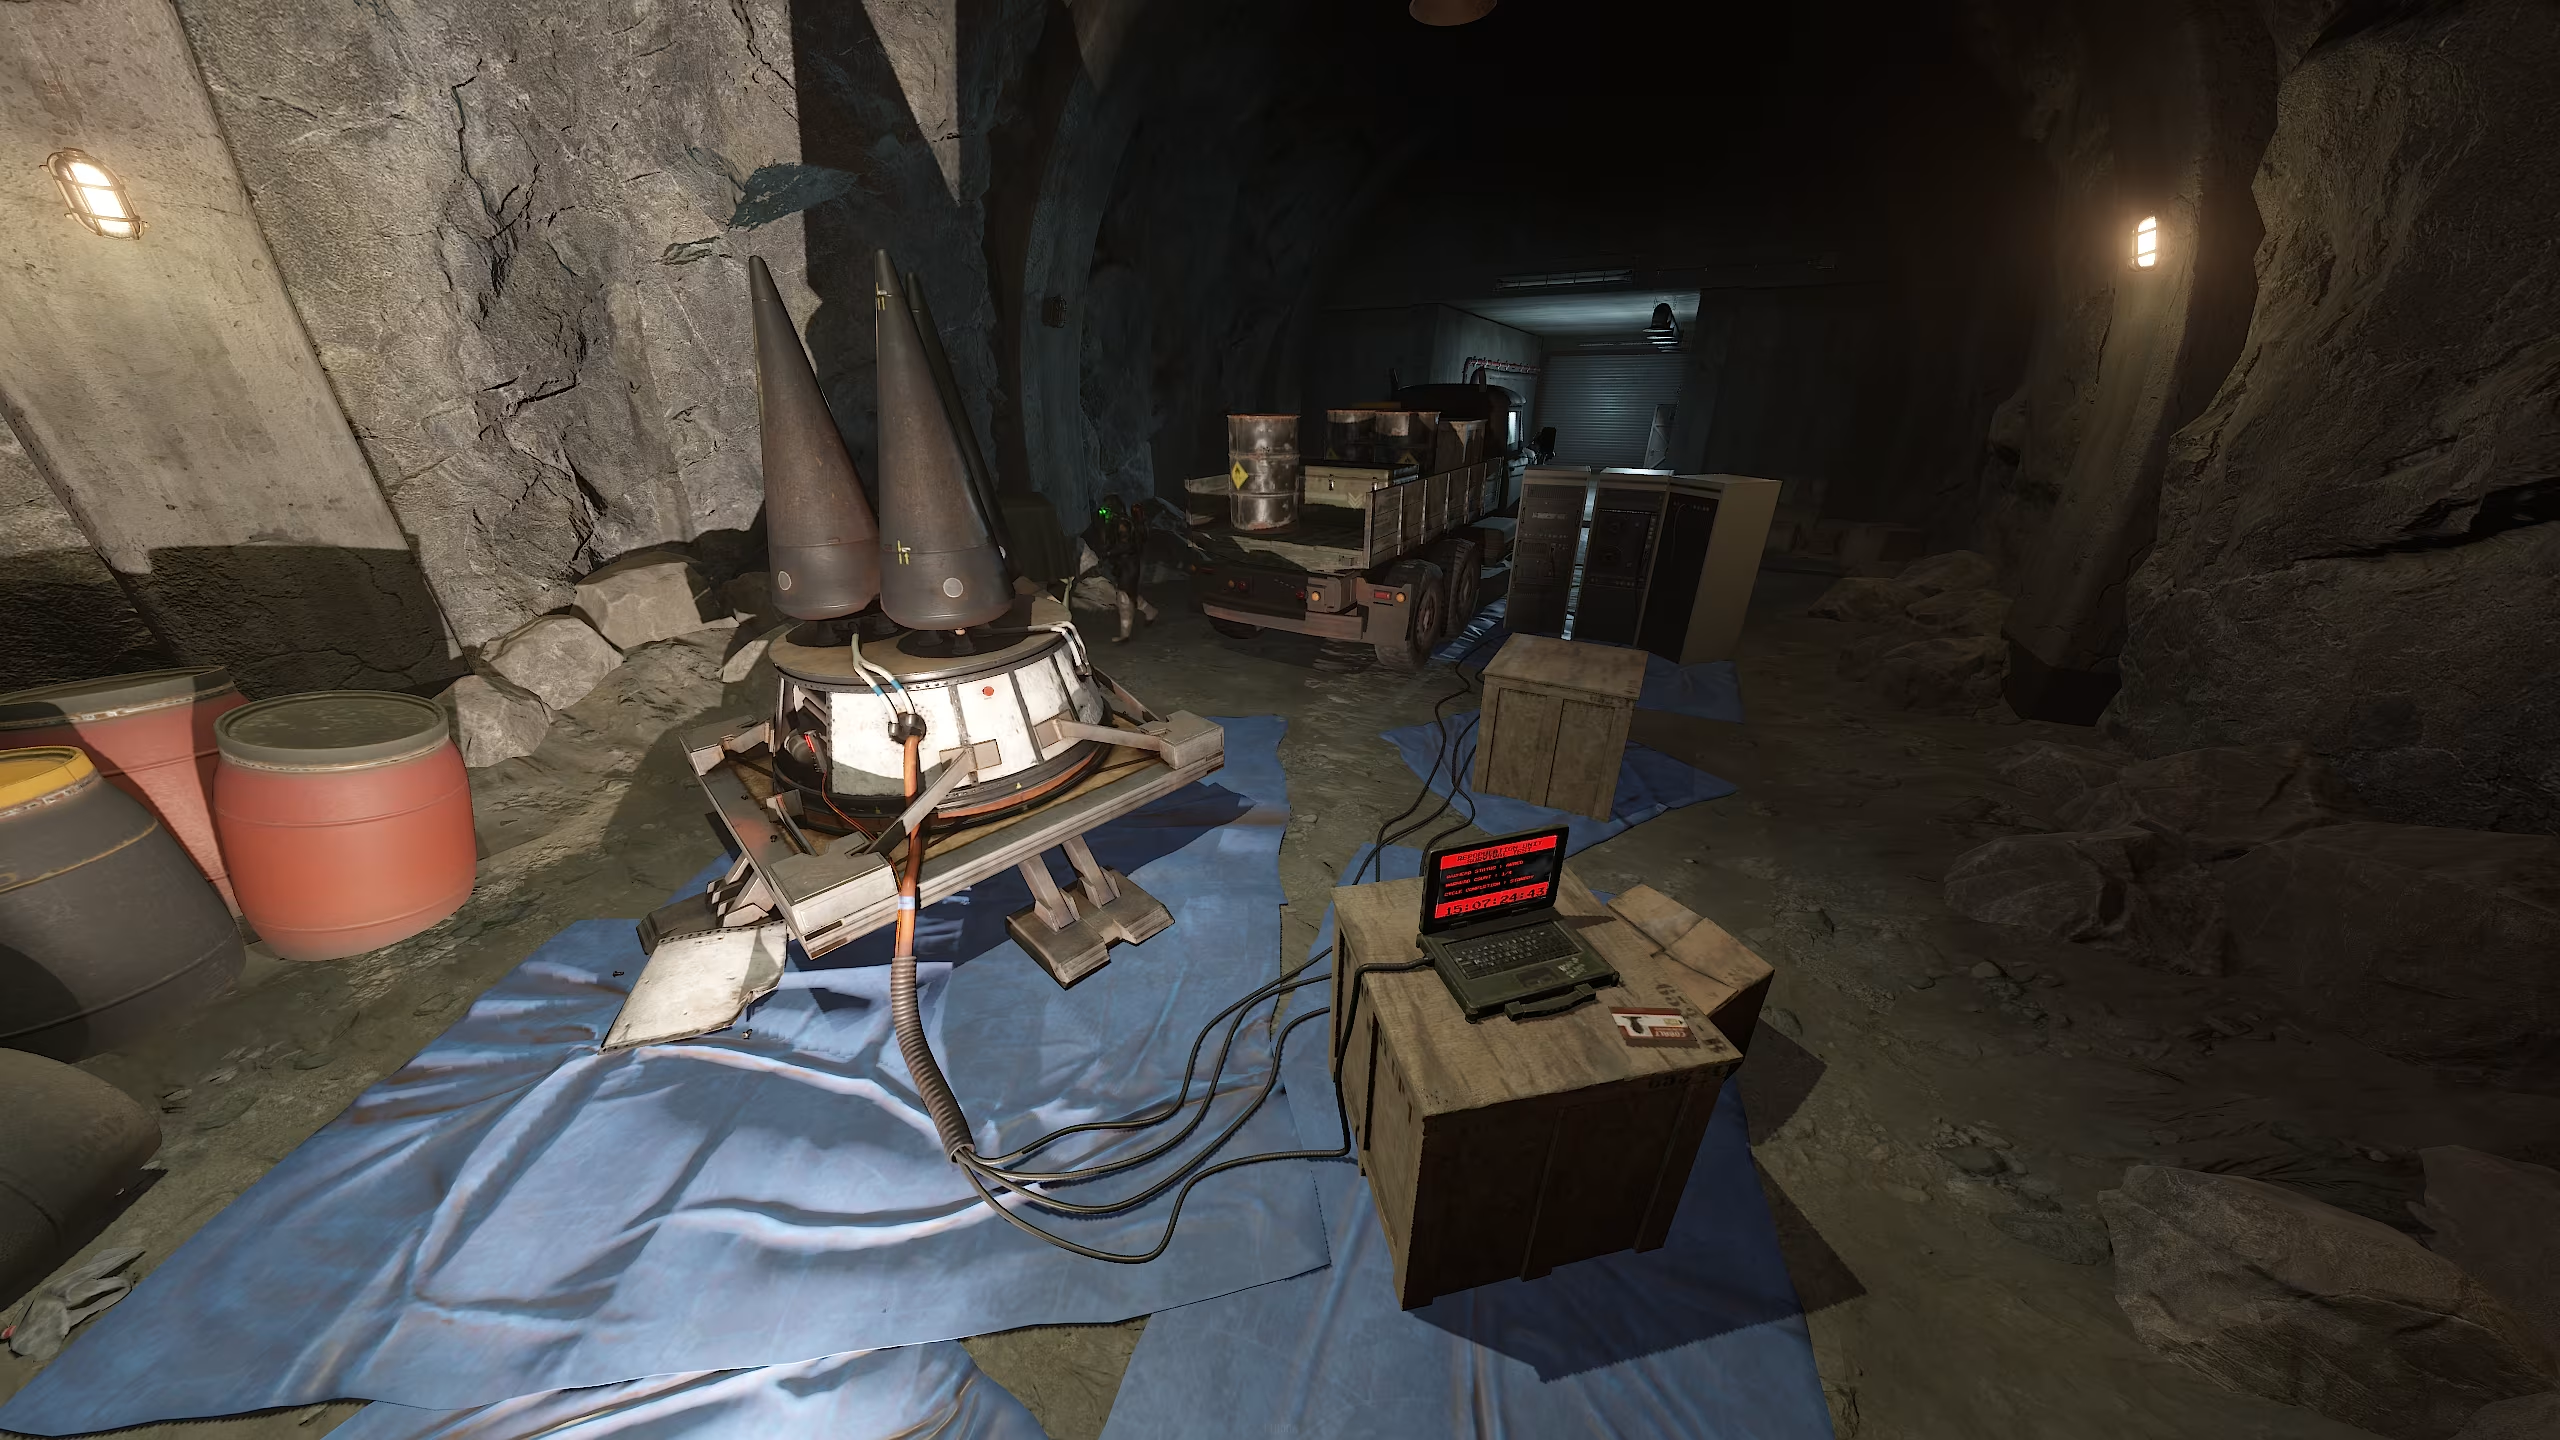
Next, we loot three barrels of diesel and an elite box in the trailer of the truck. Then we run into the door behind the truck. We go up the stairs.
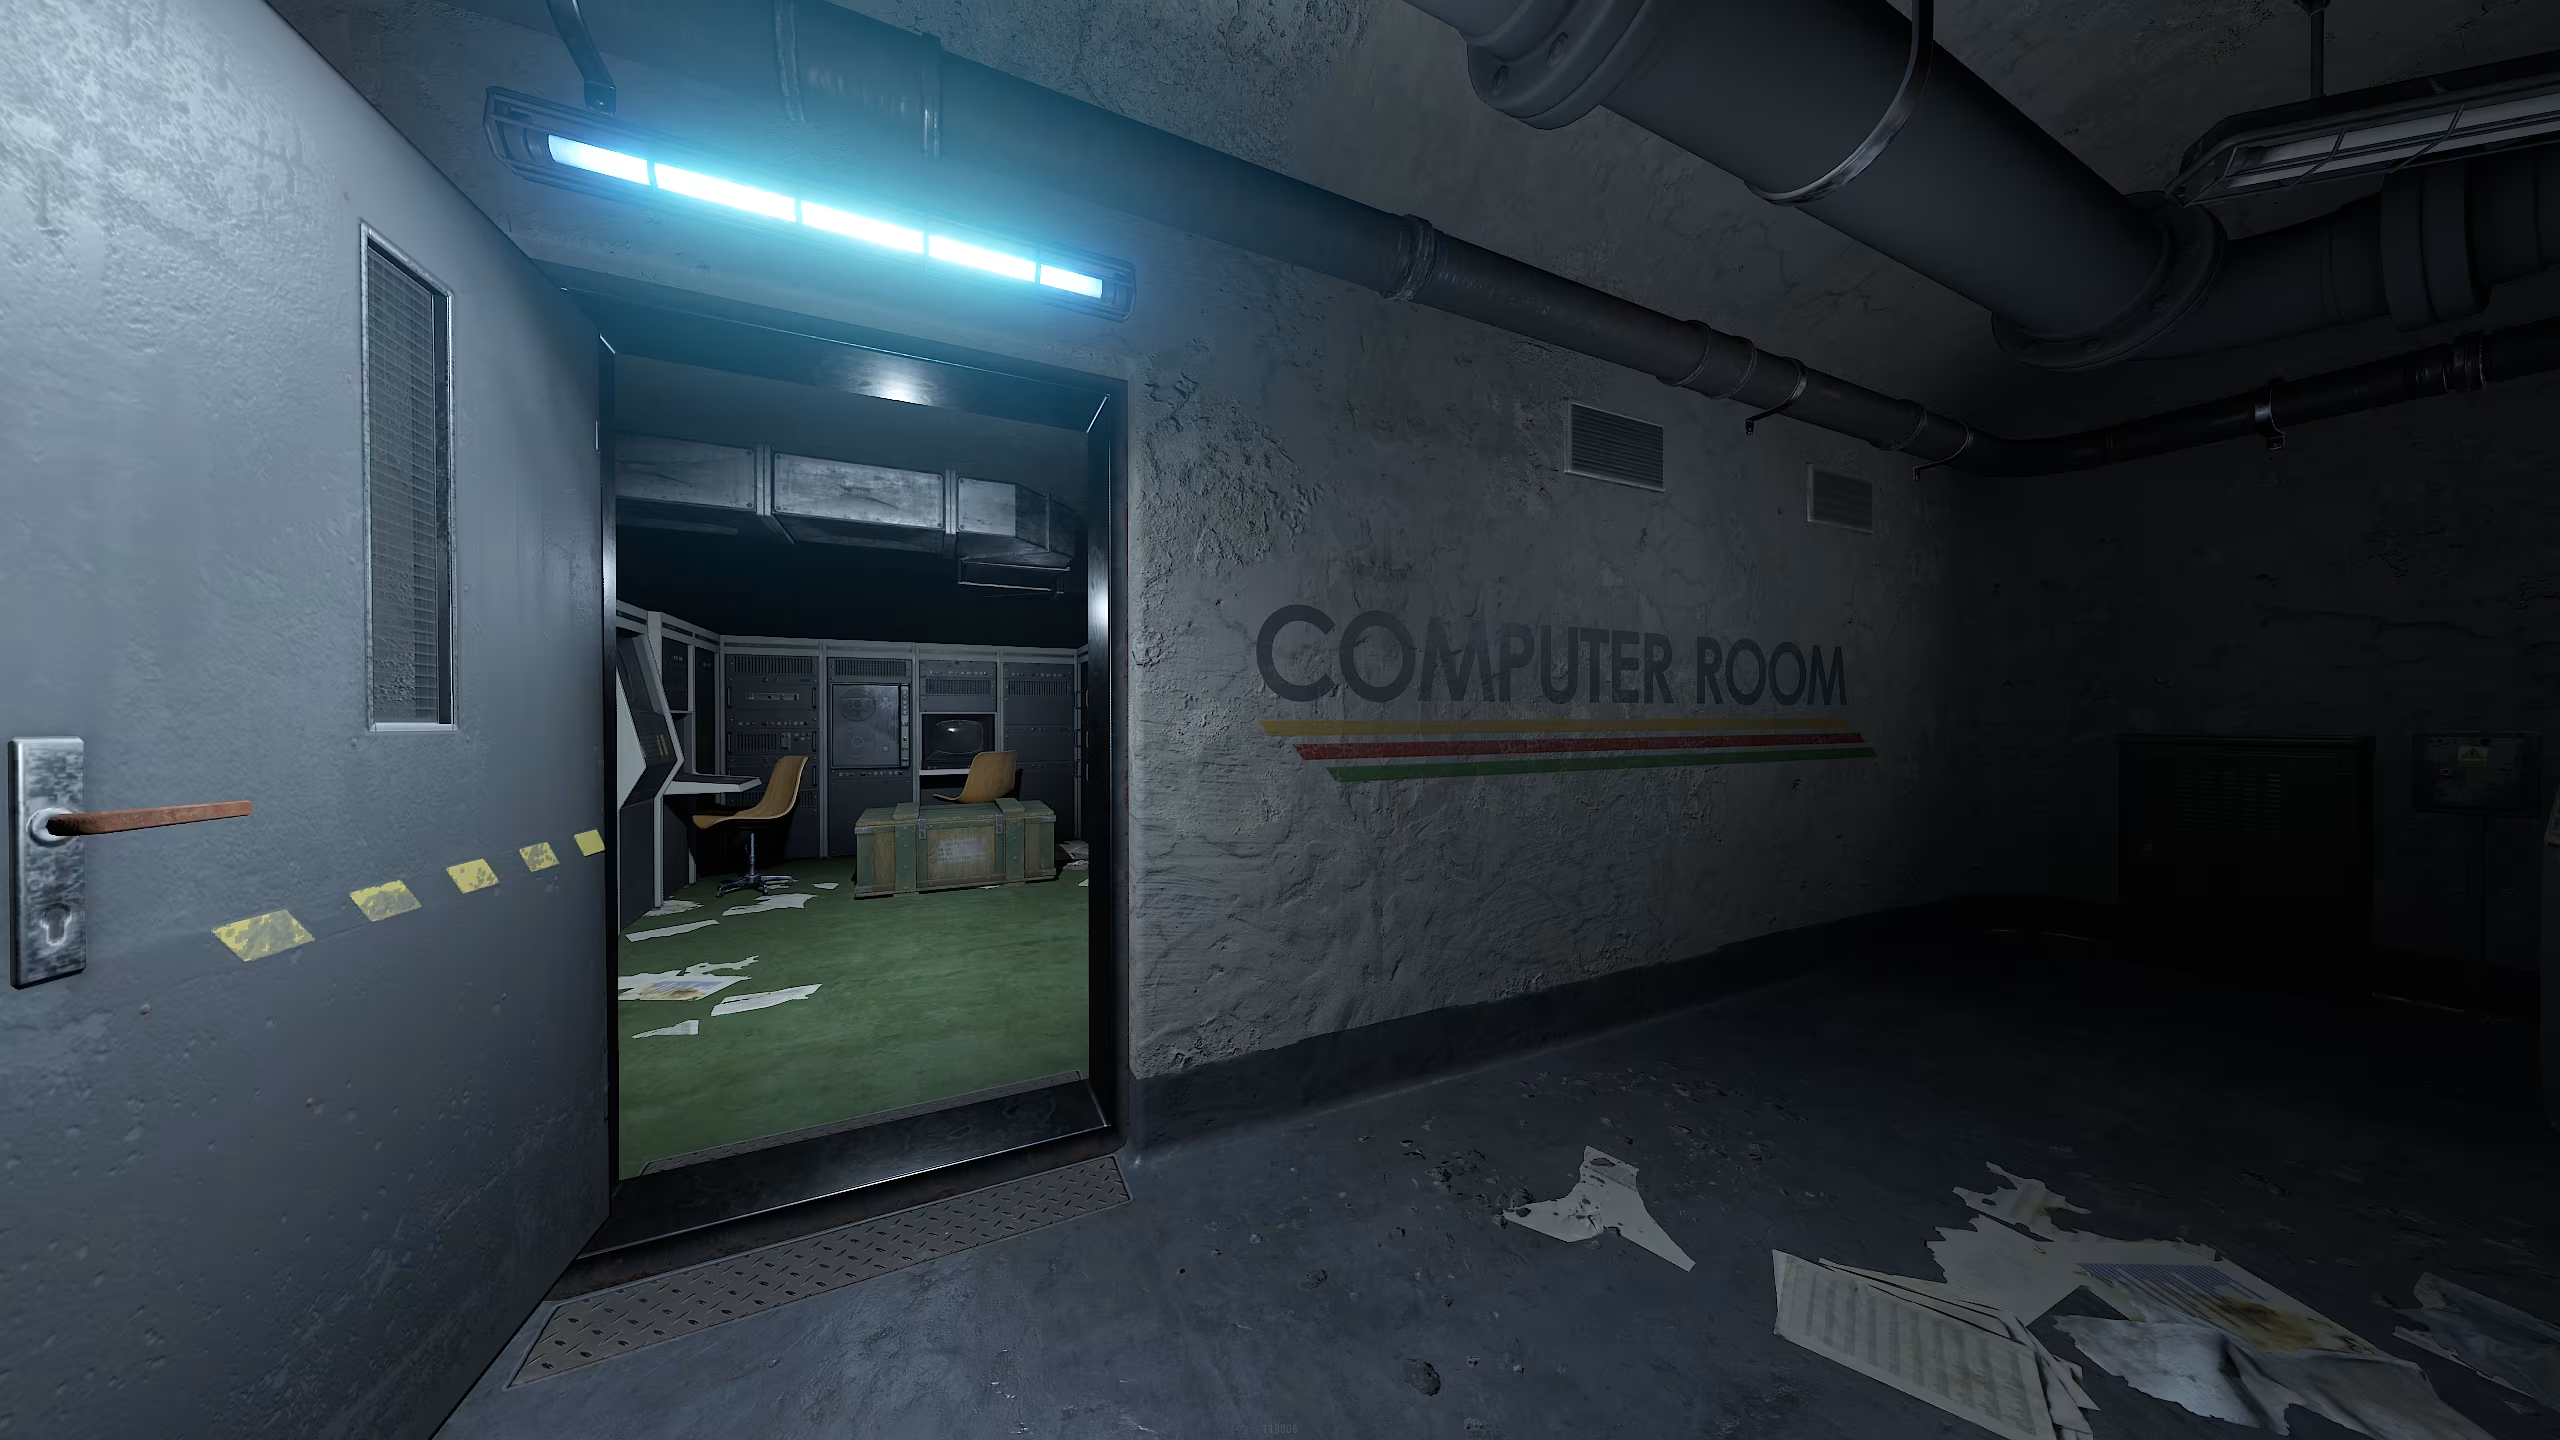
Level -4
This level consists of one room.
We go into the computer room, loot the box there and go further up the stairs to level -3
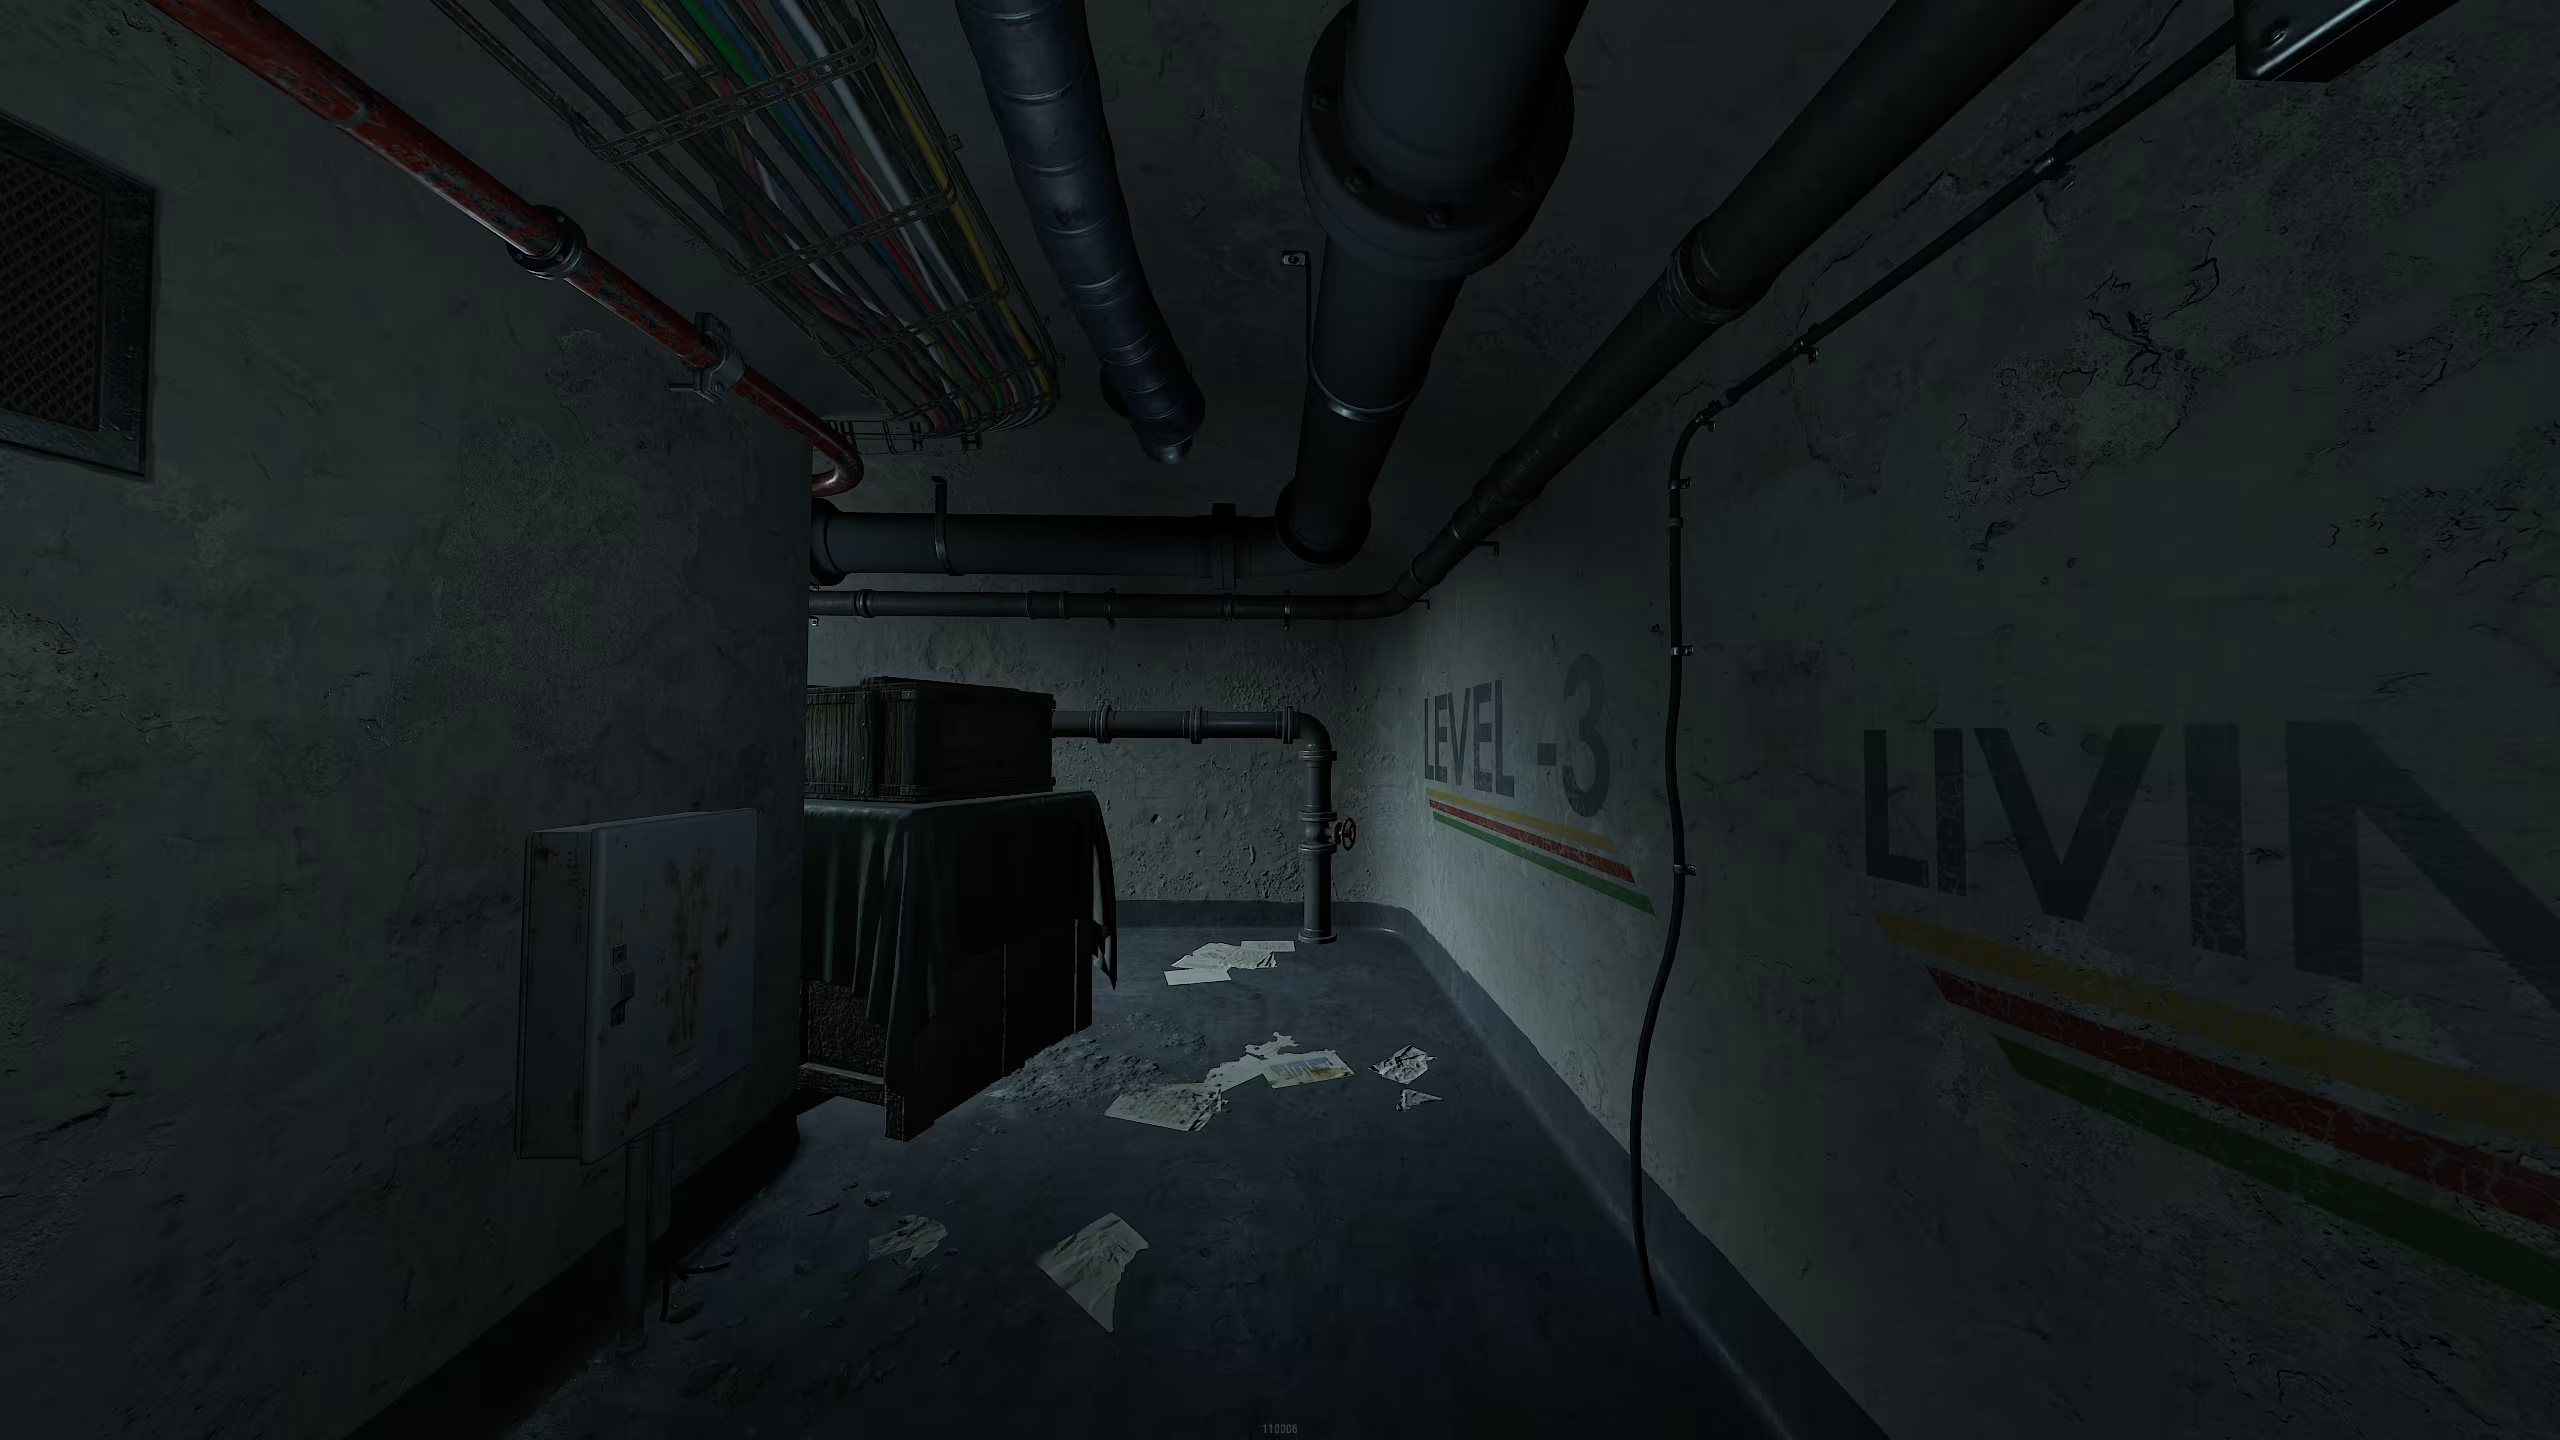
Level -3
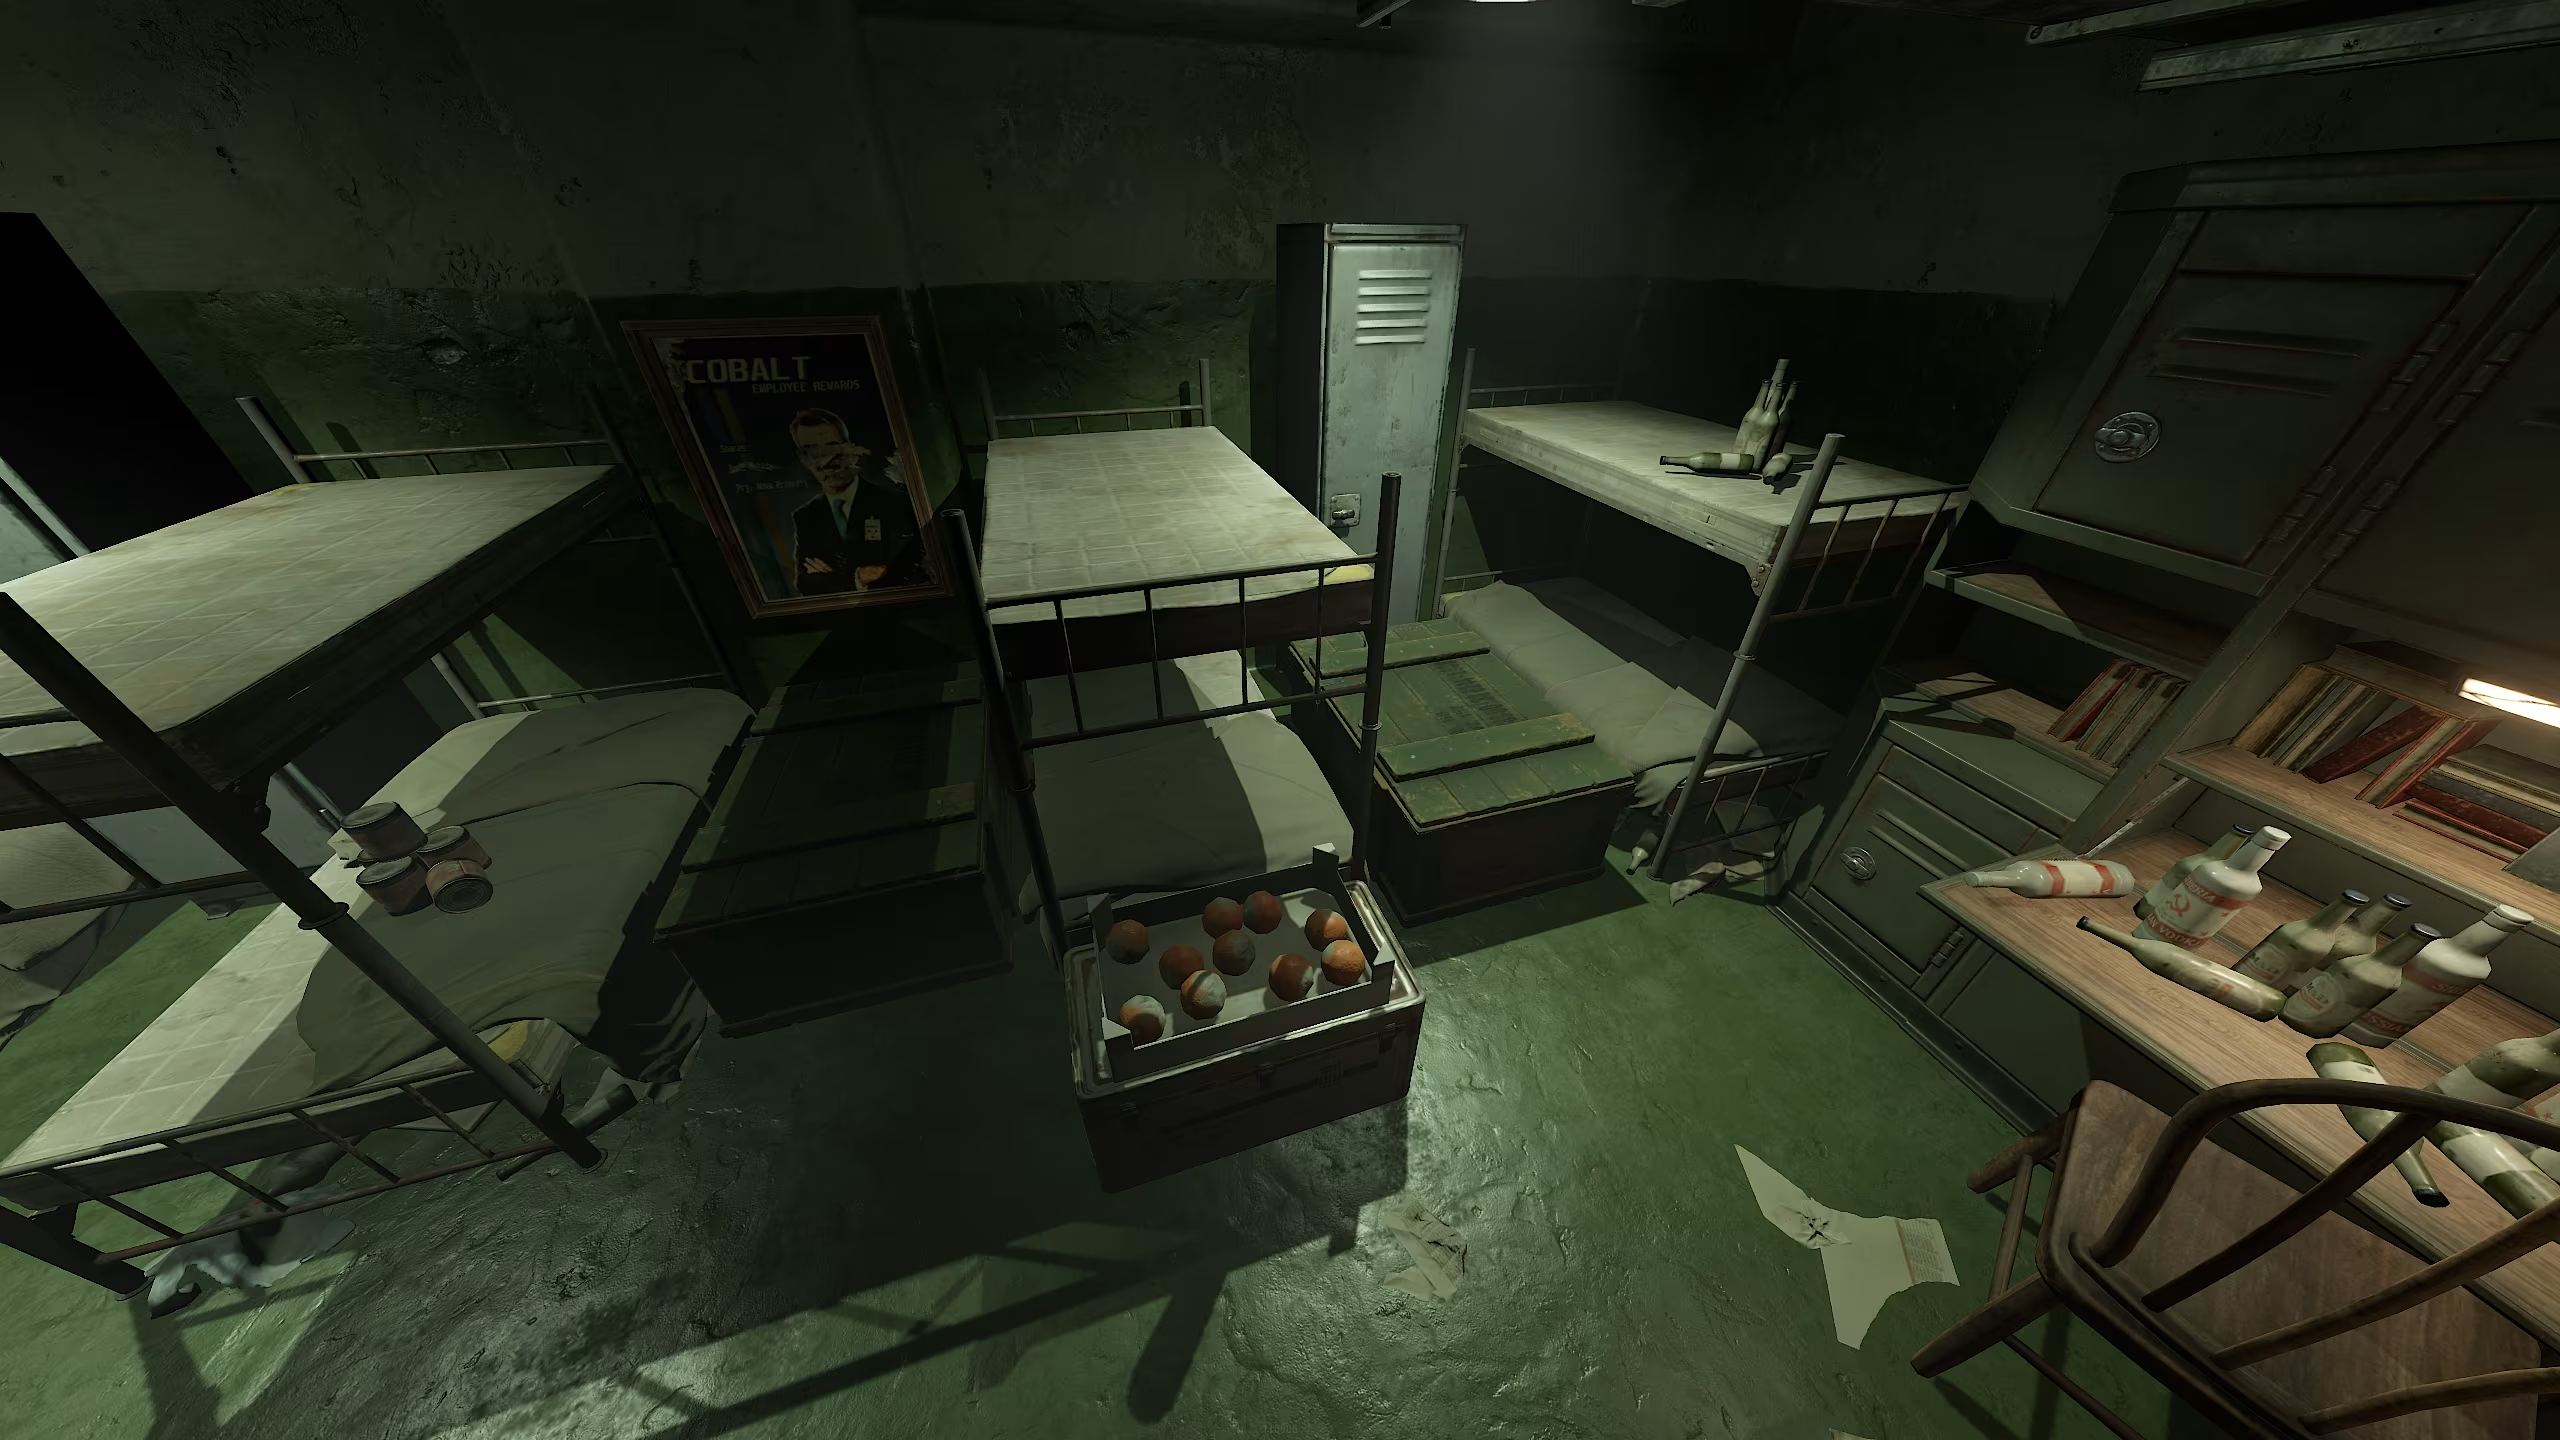
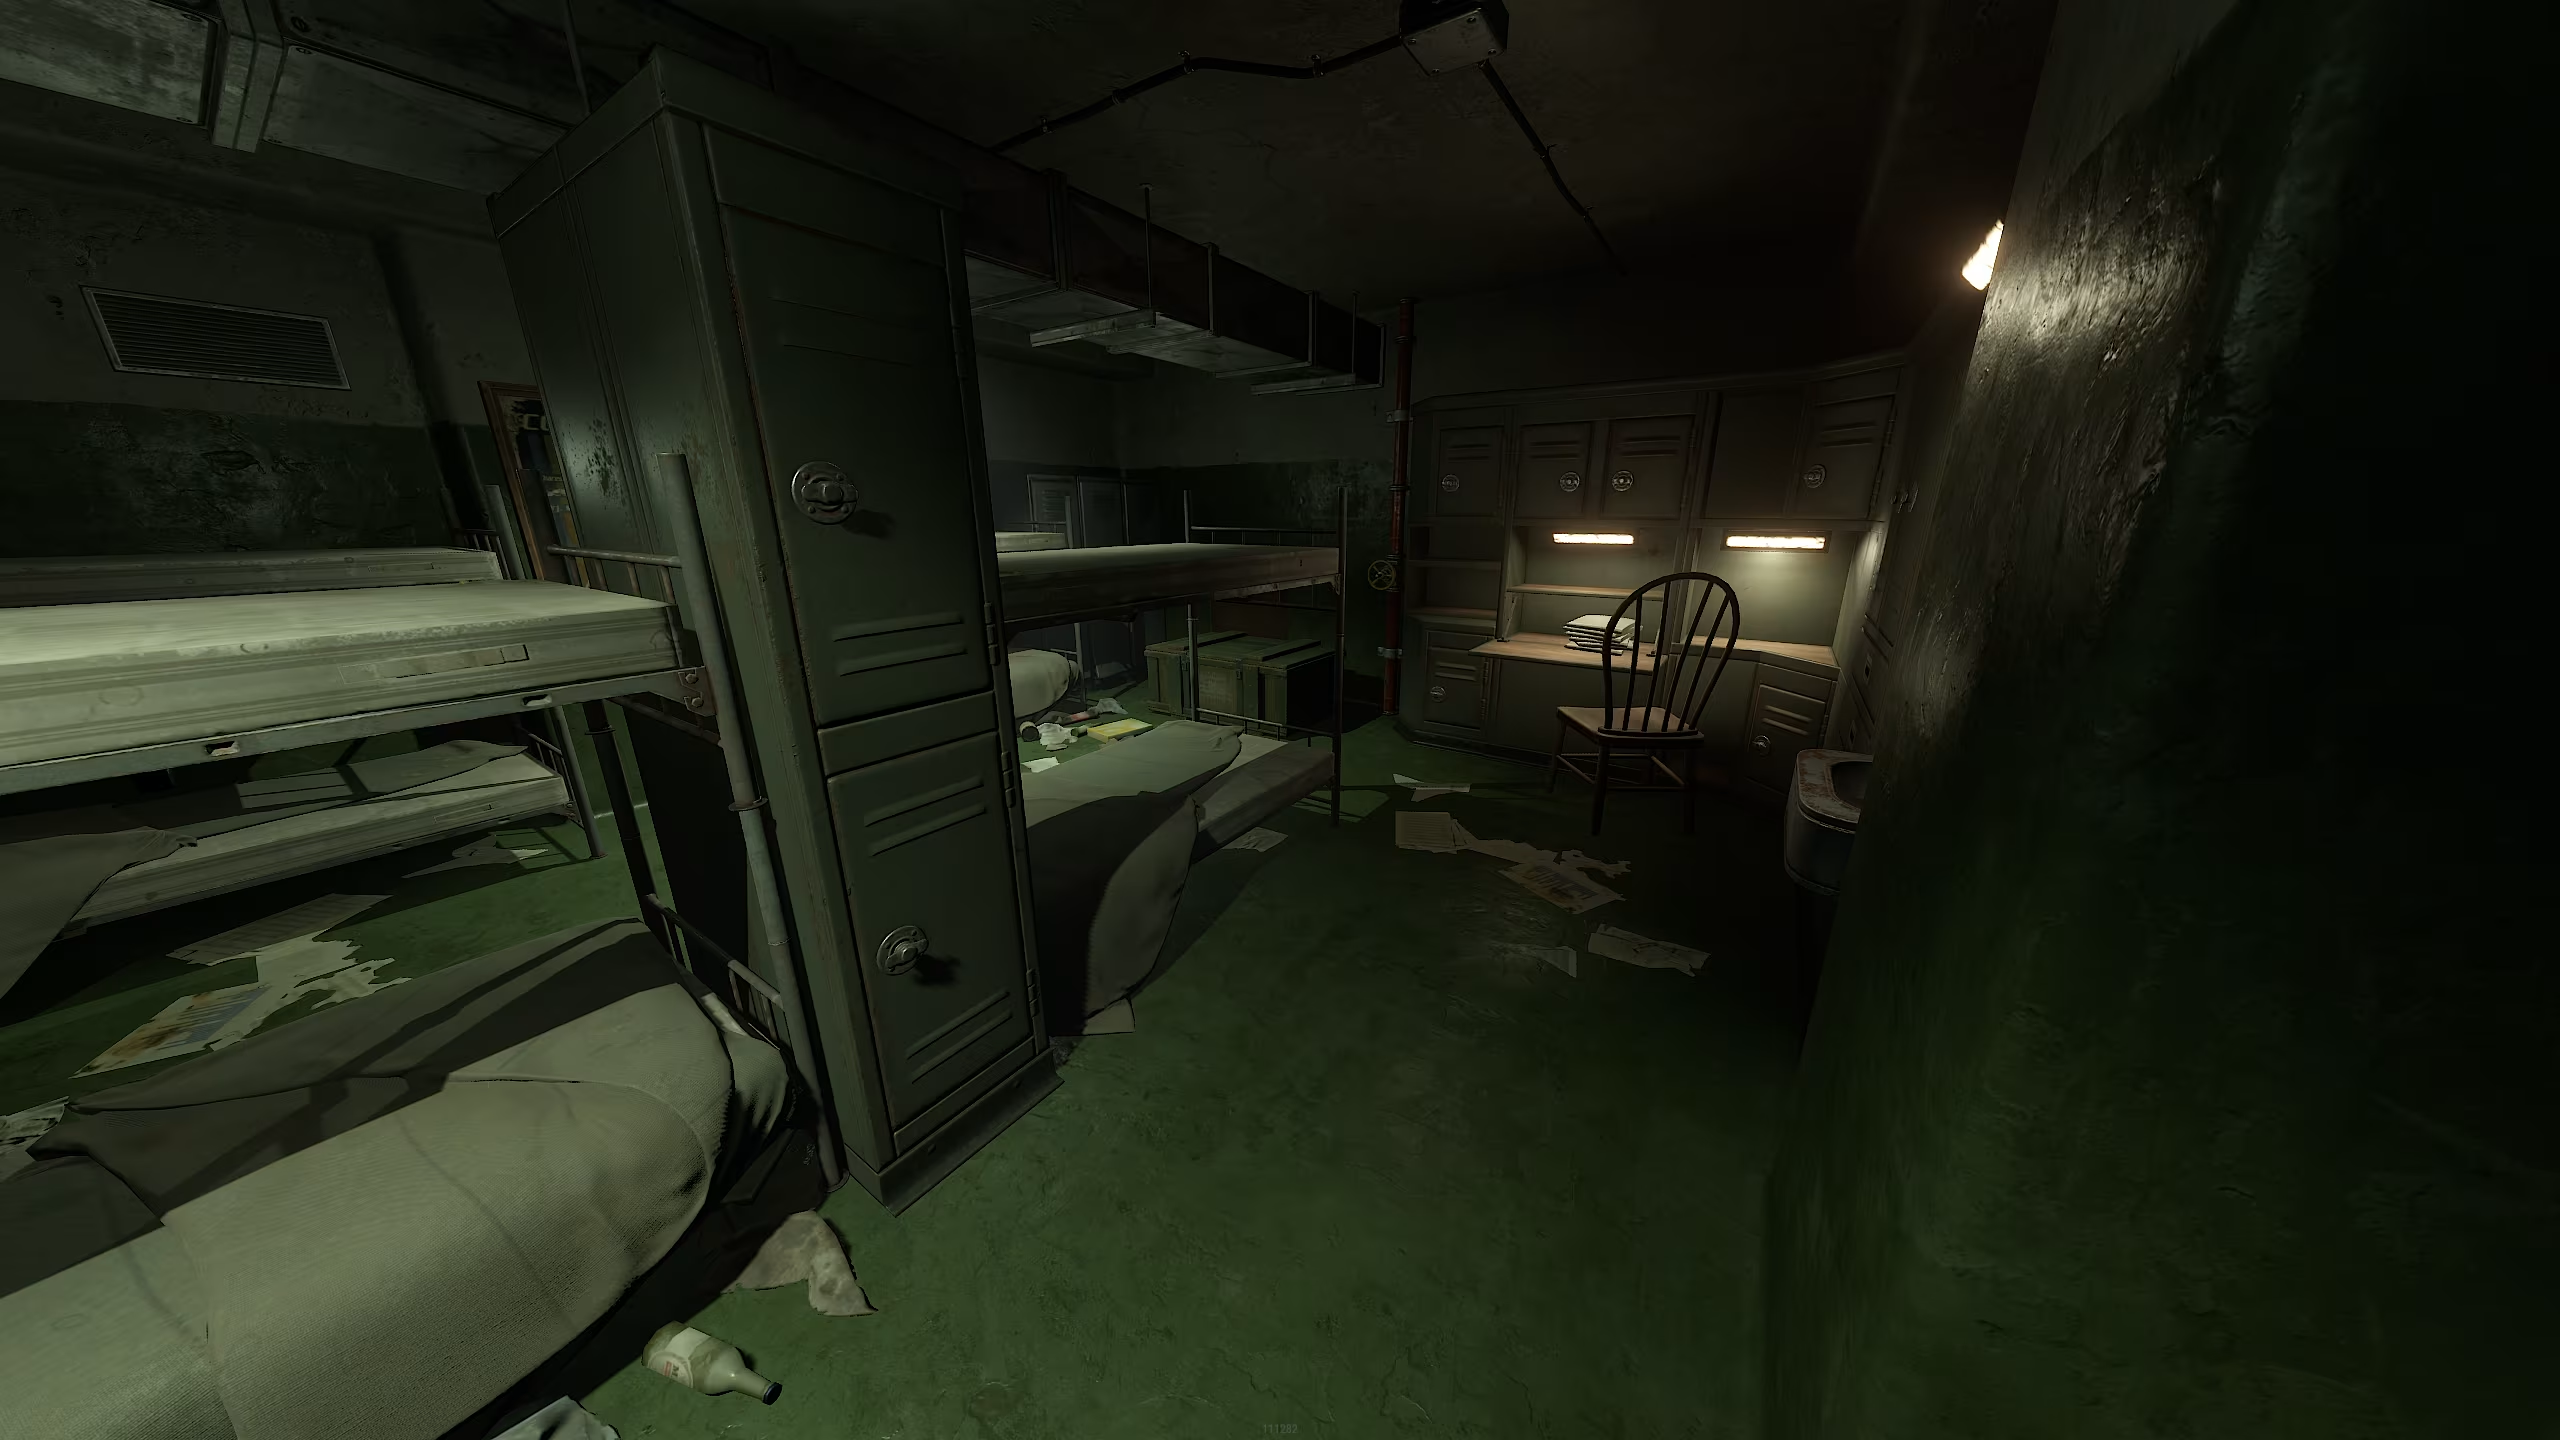
After going up the stairs we will see 2 rooms with the name on the wall “Living quarters”
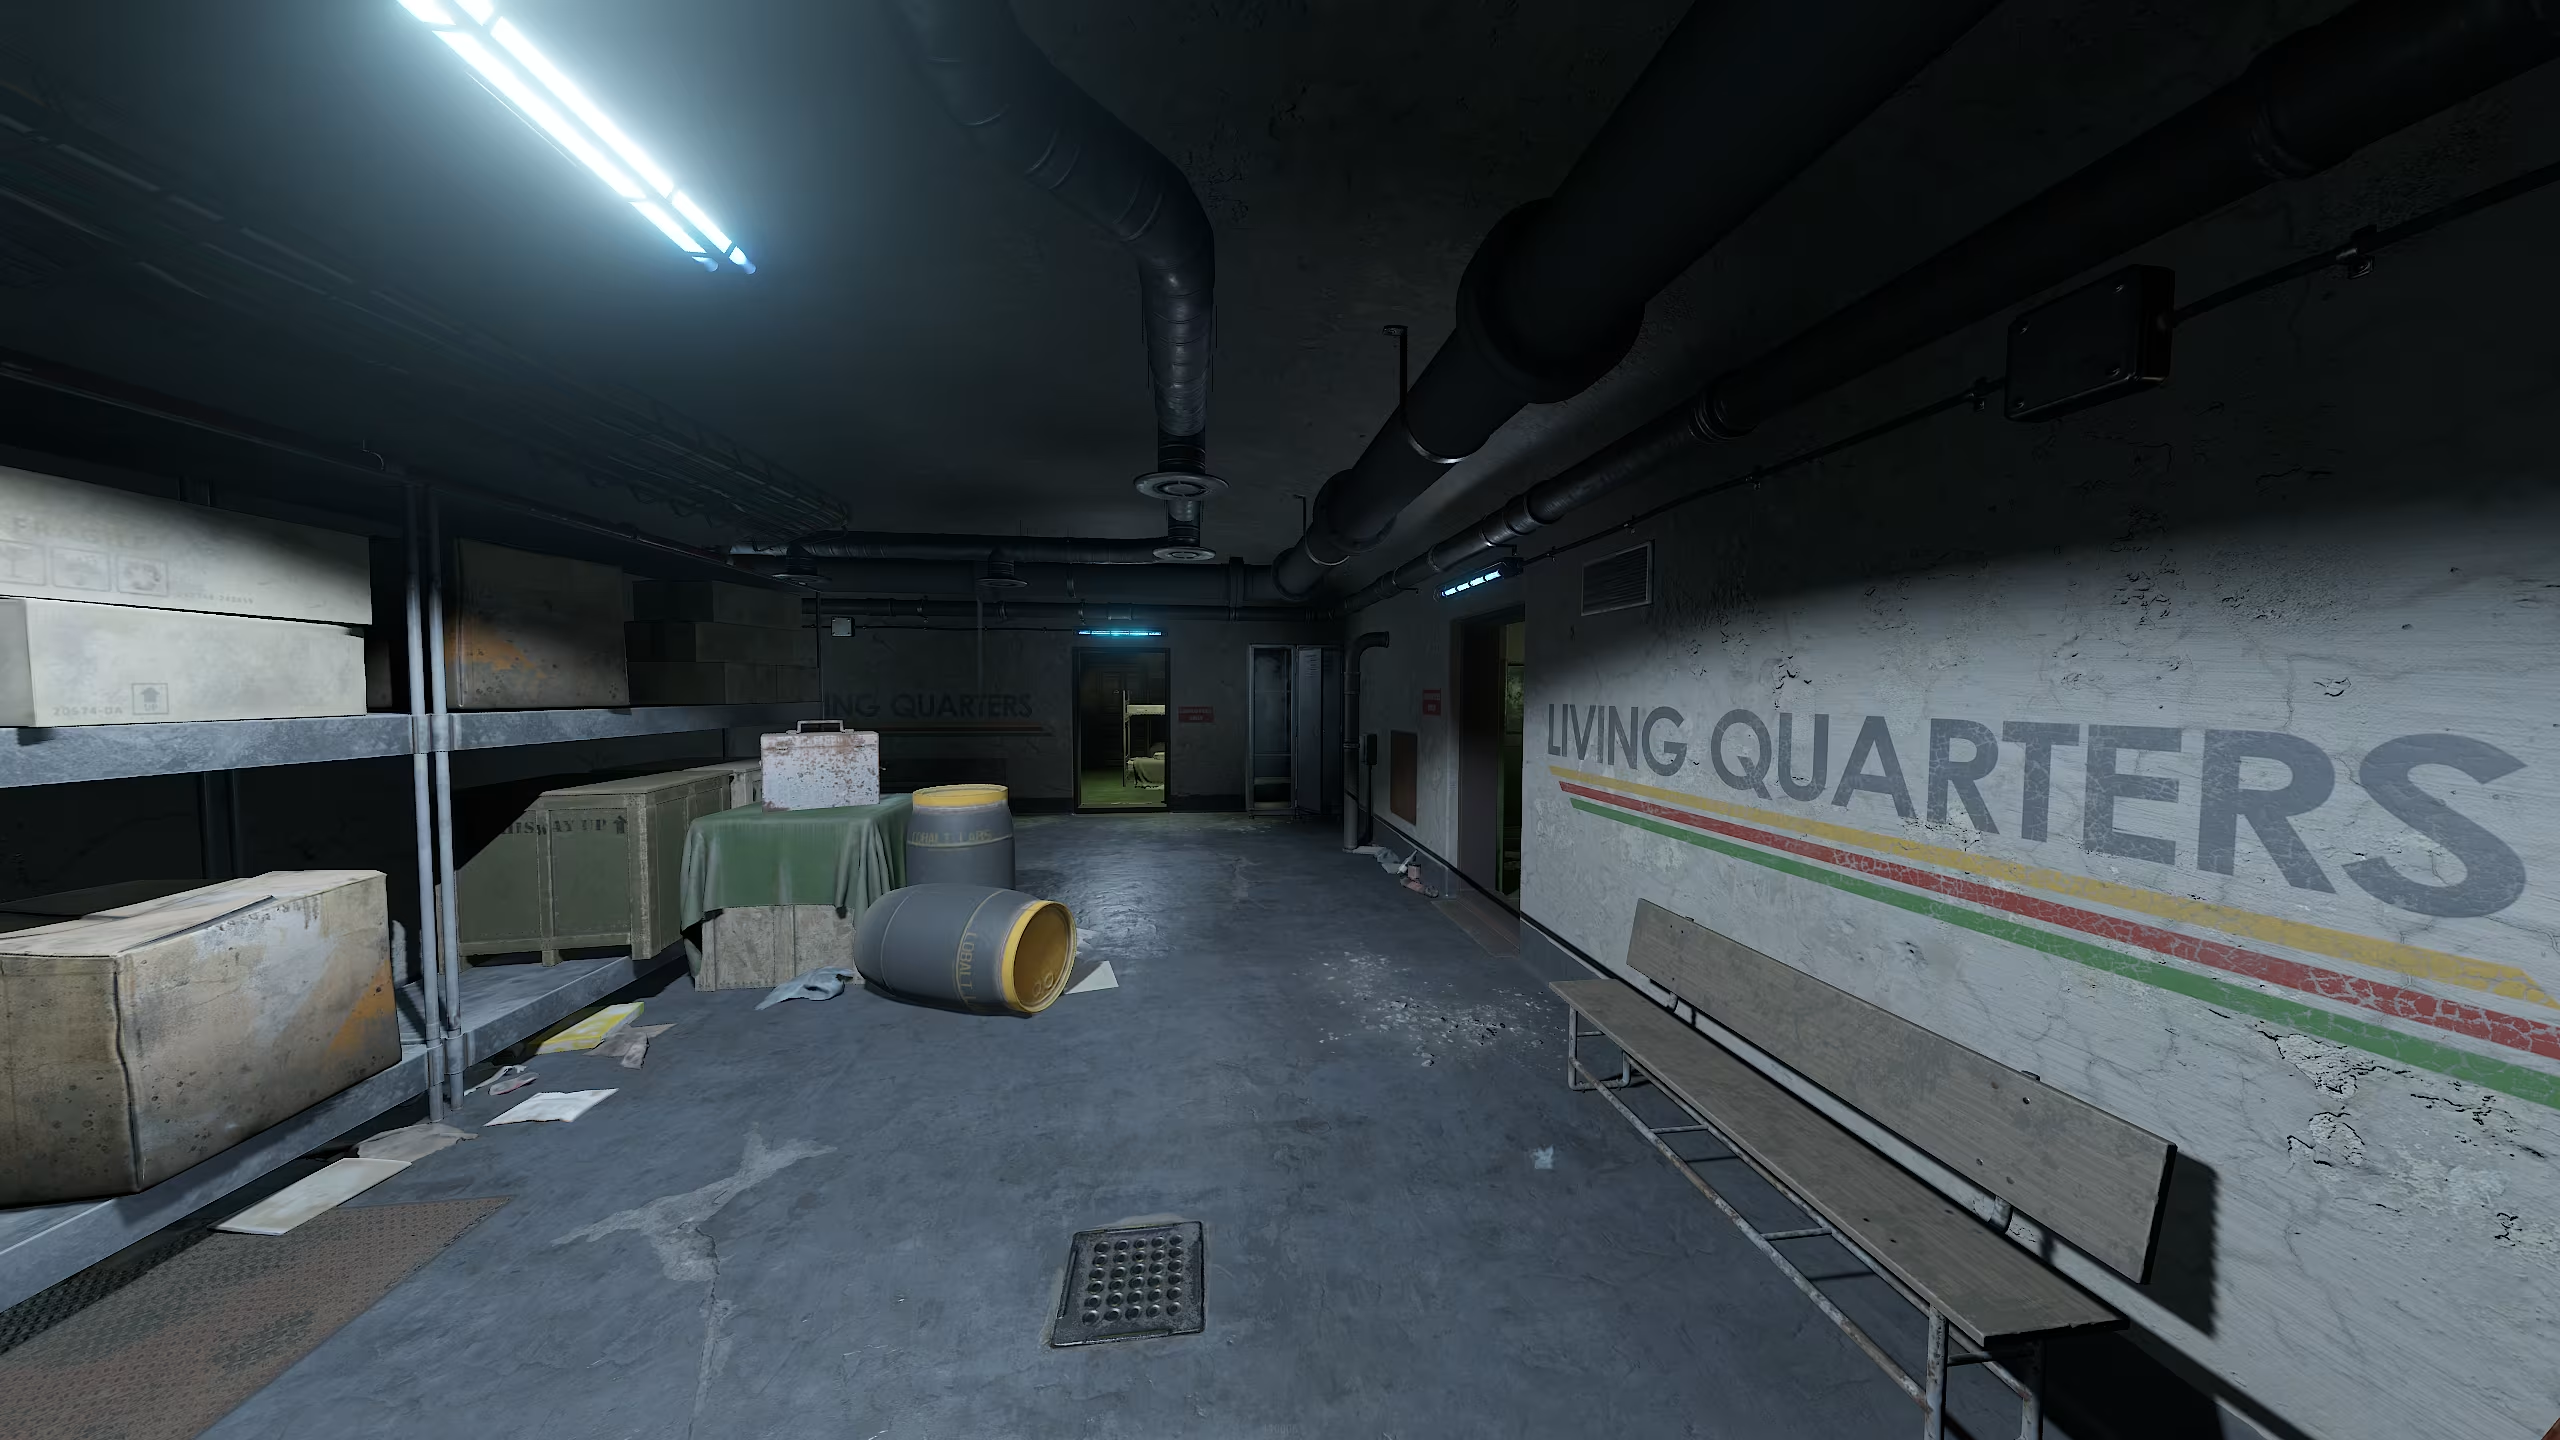
We go into the nearest room which is located along the right wall and loot two boxes there. Then we go to the next room and take another box there located behind the beds.
Next we loot one box near the stairs and go up to level -2
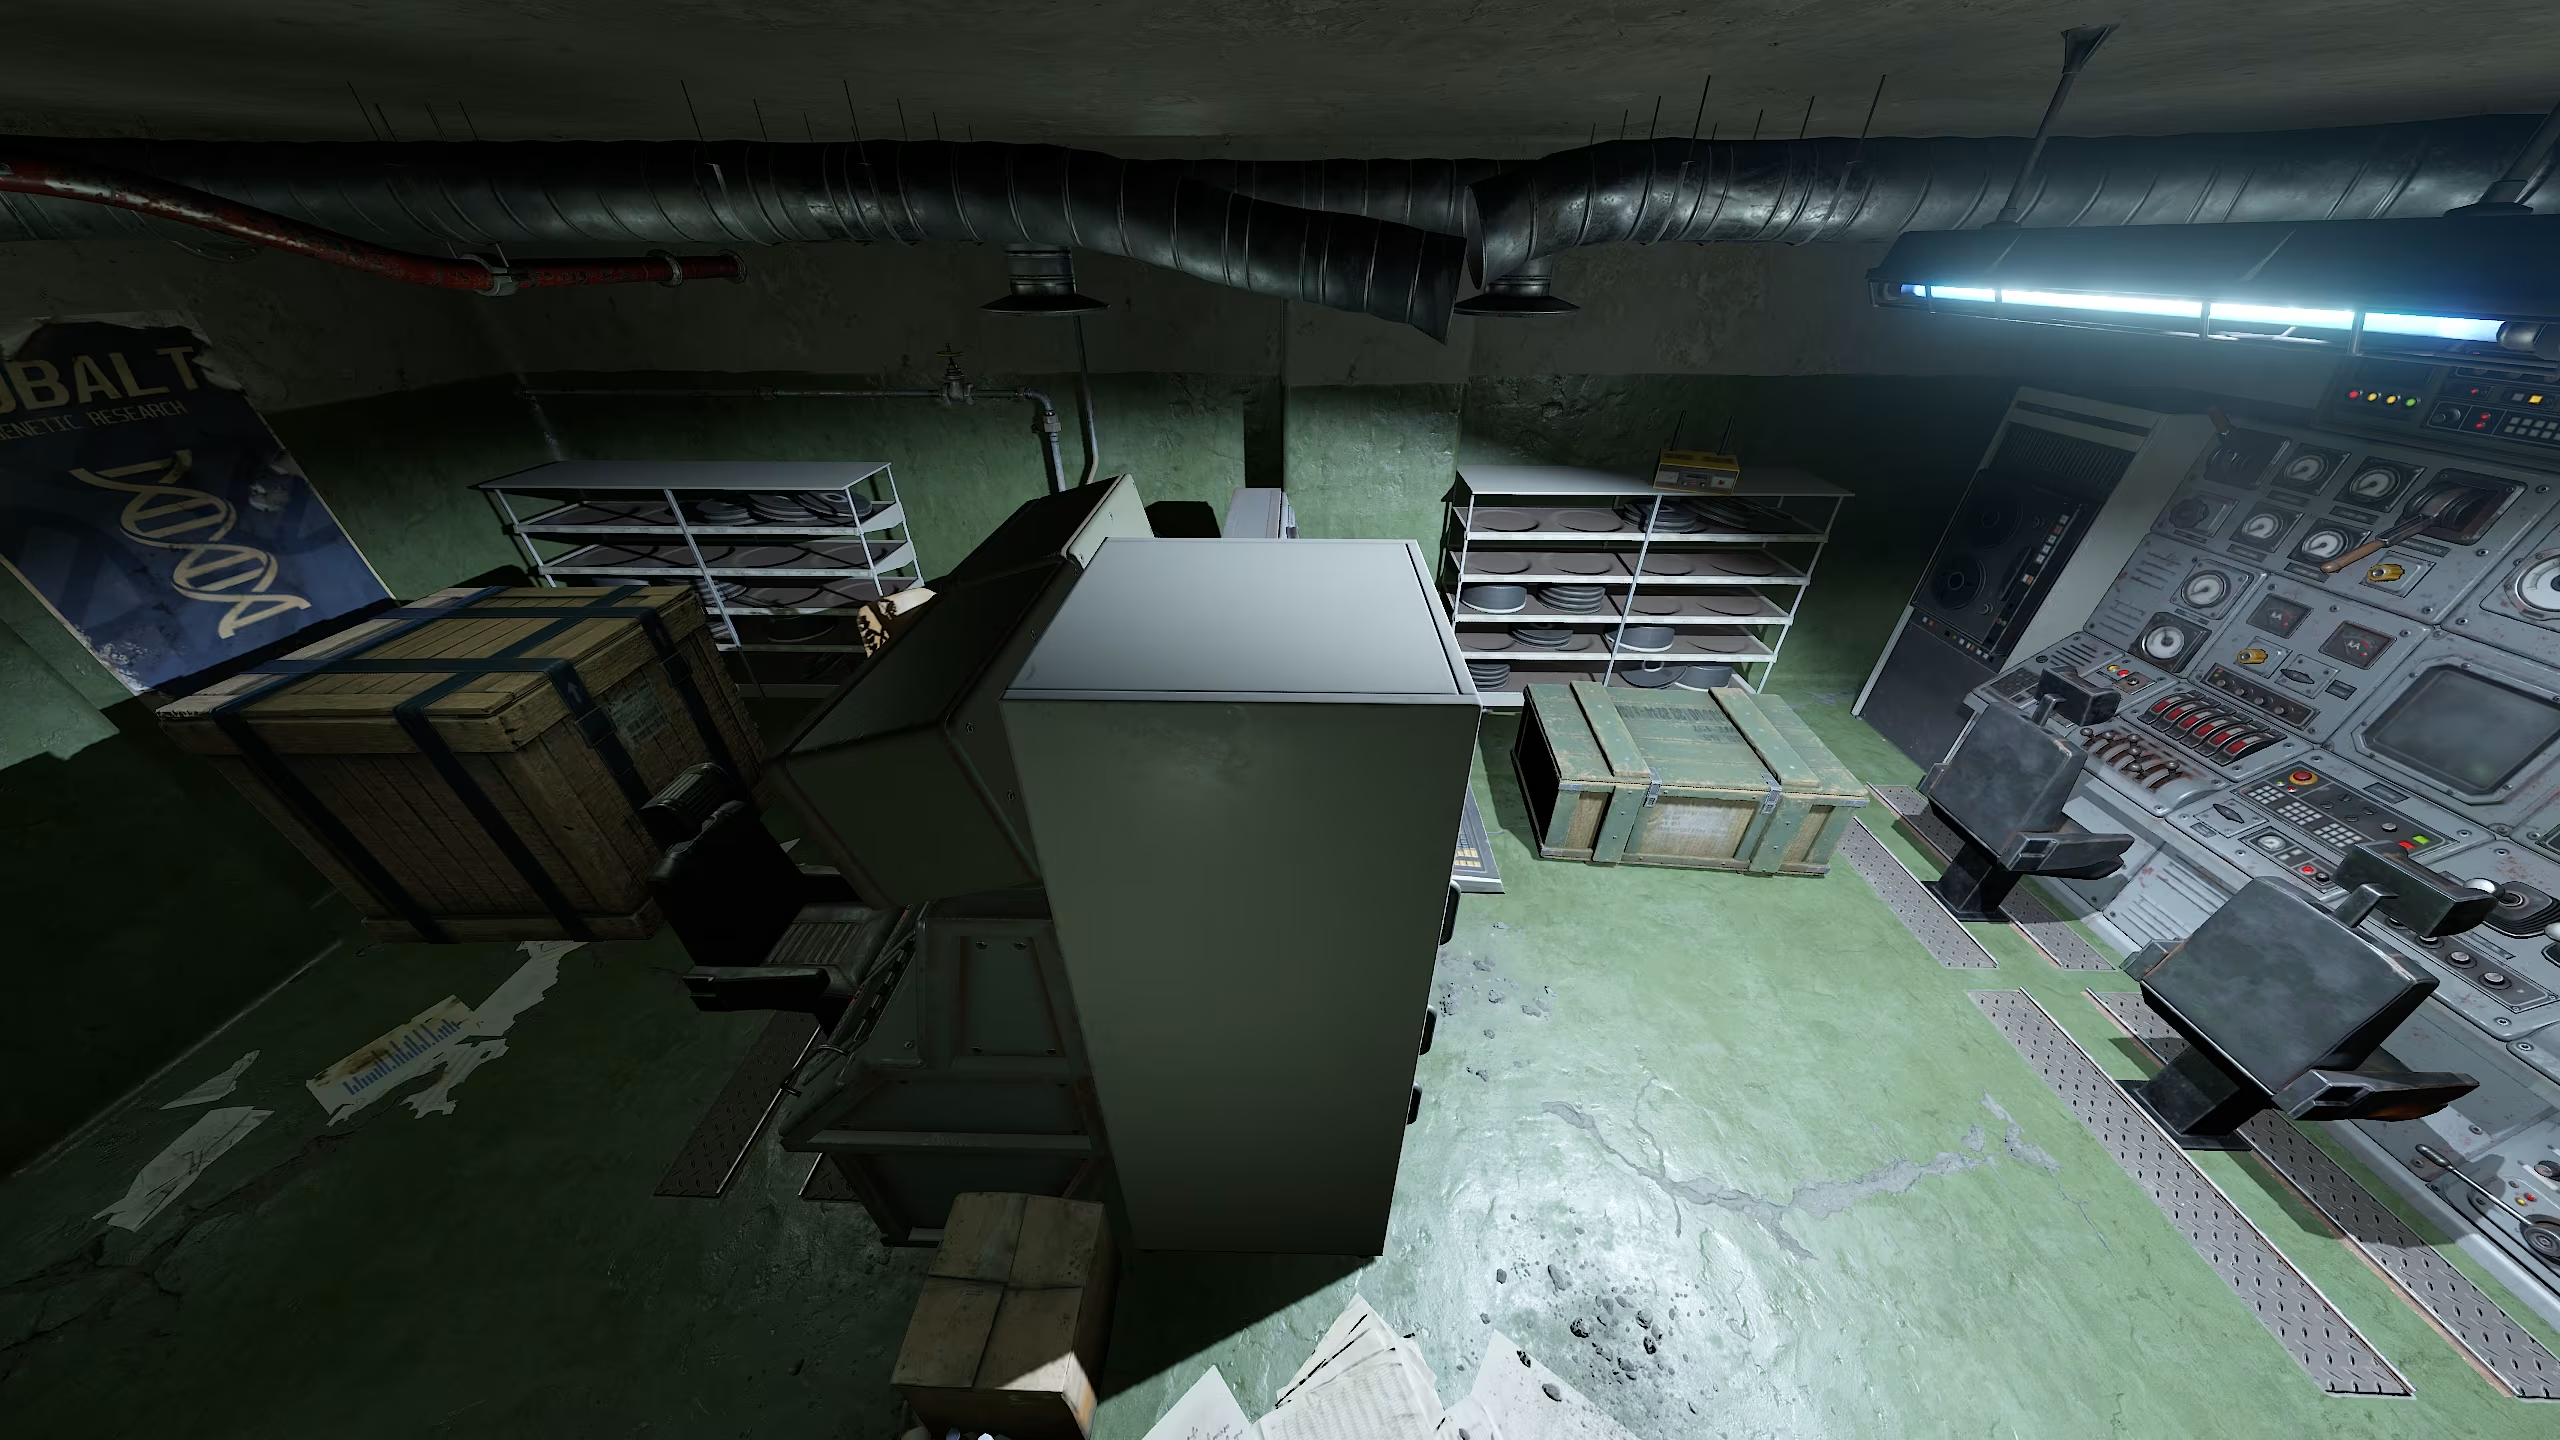
Level -2
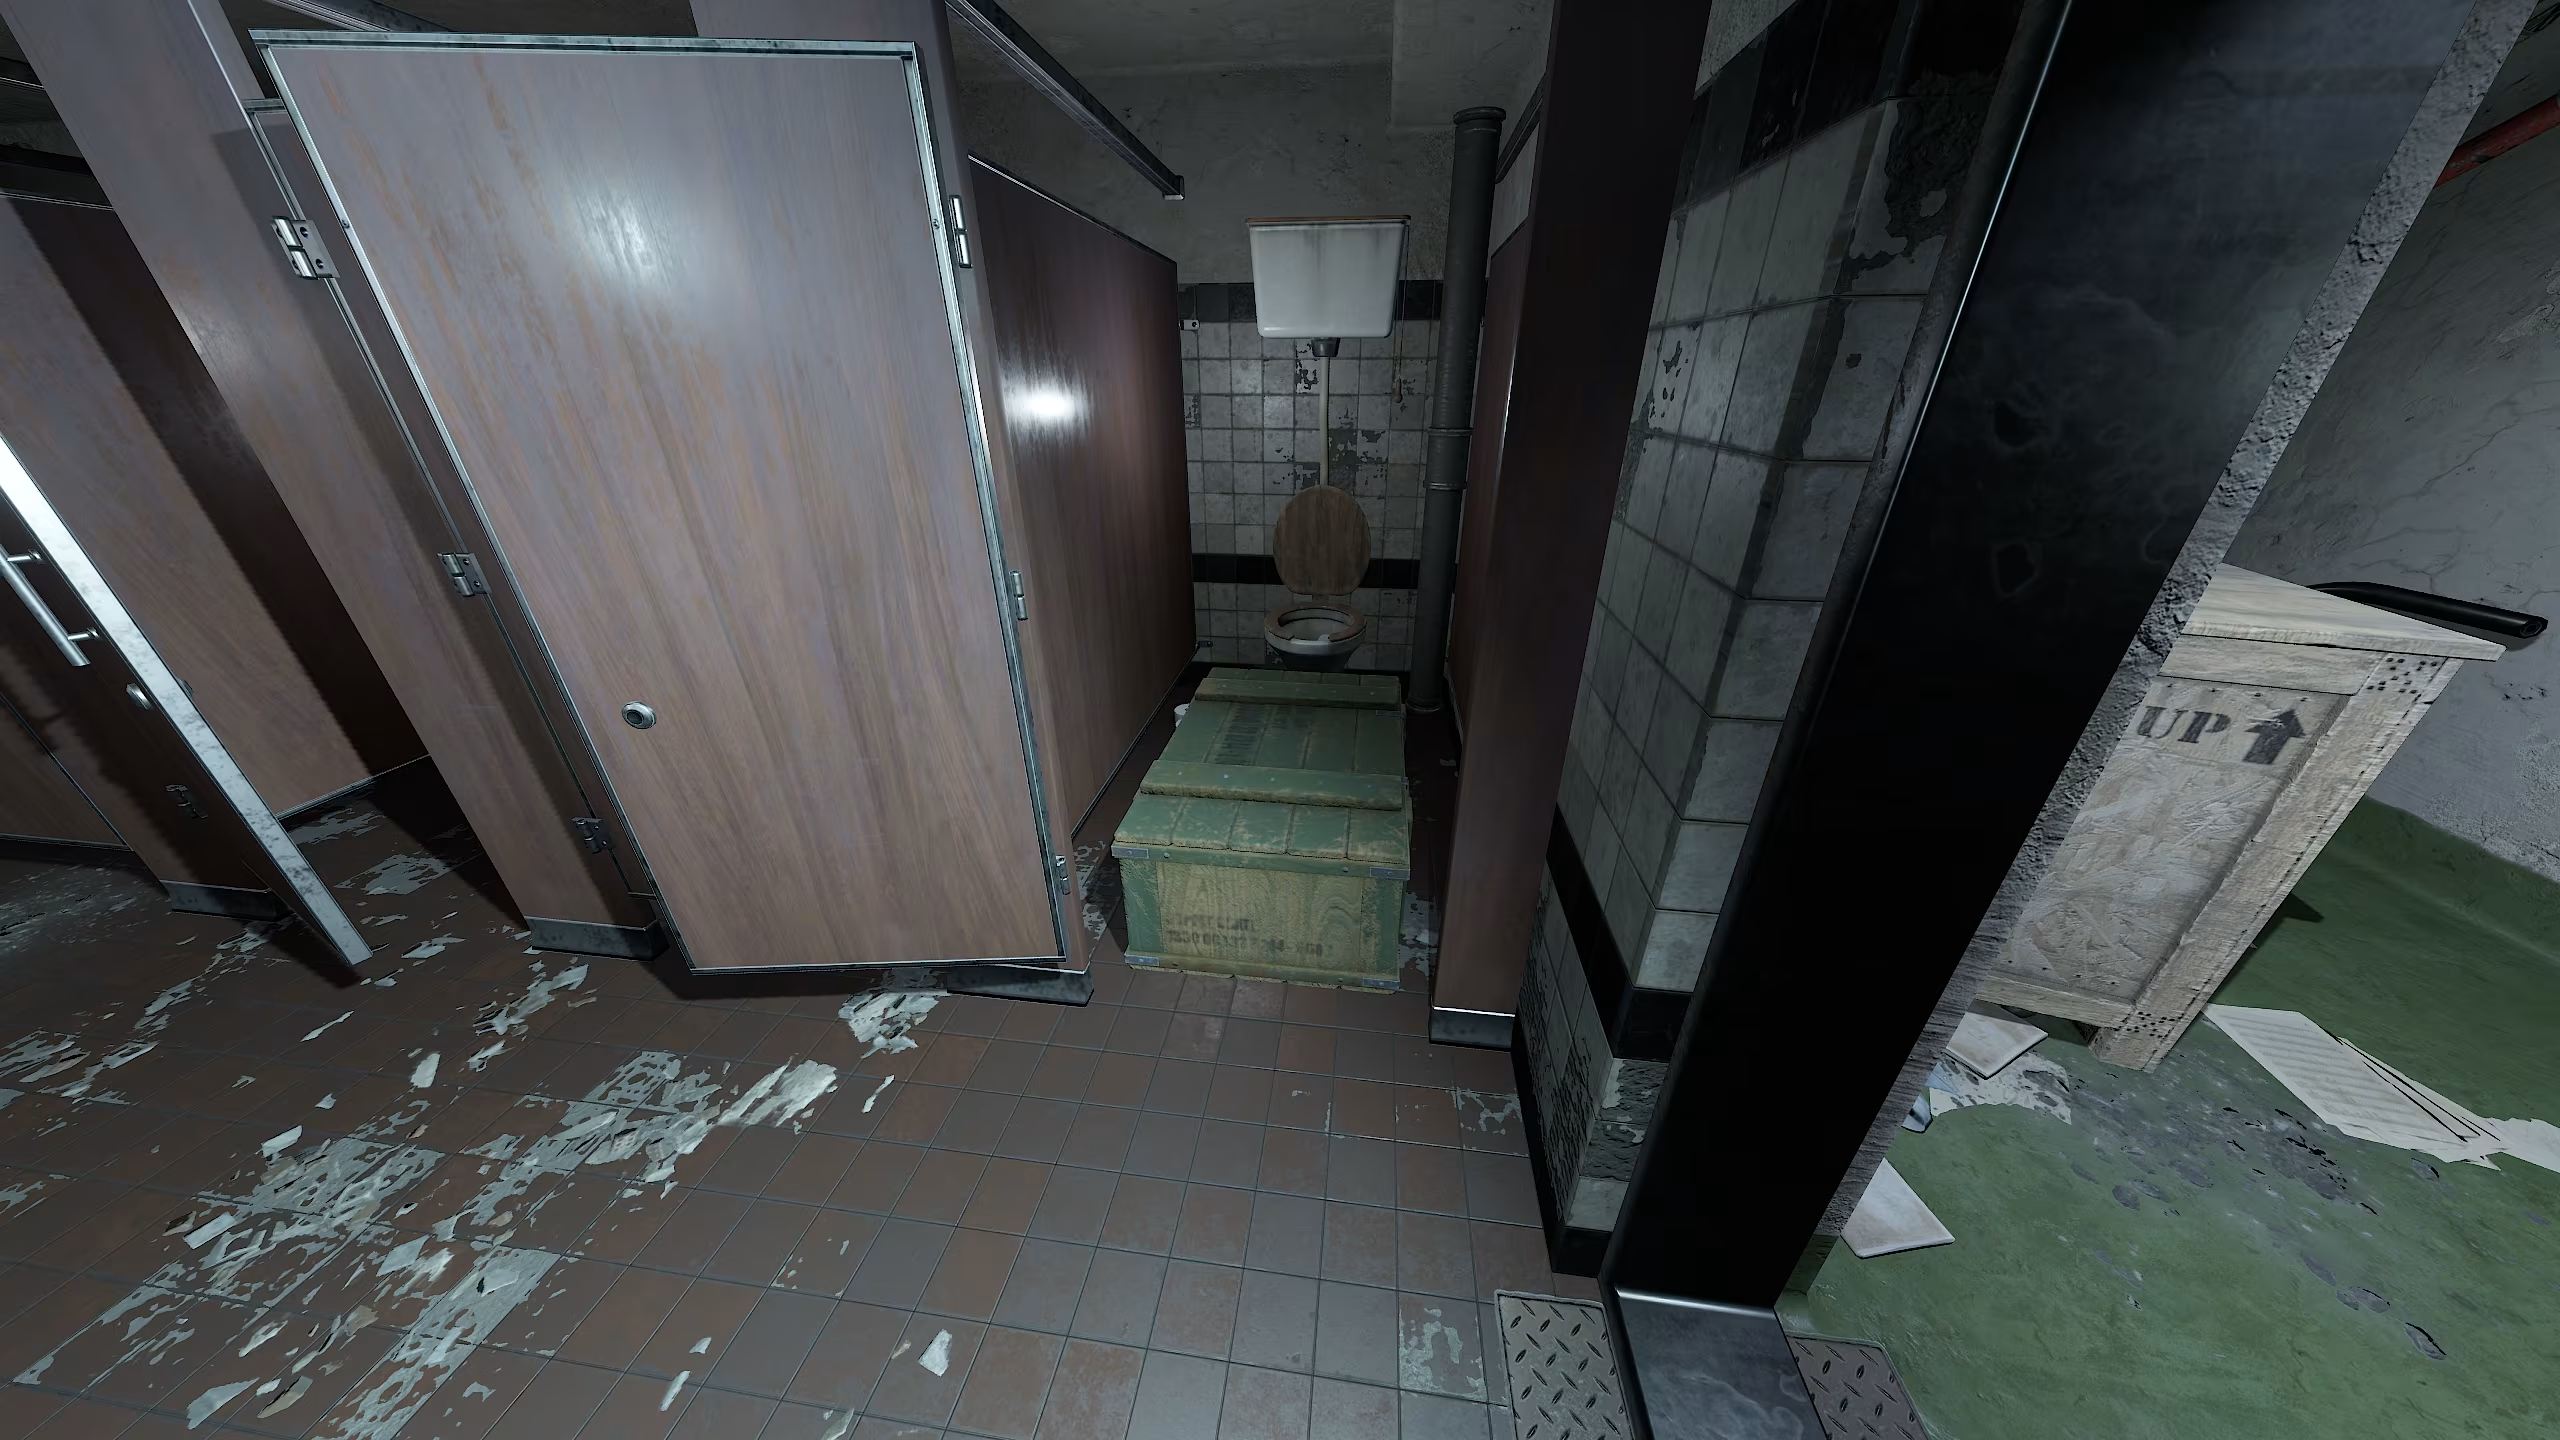
After going up the stairs we go straight into the open storage room behind the box. After that, we go out of it to the left into the toilet, where another box will be waiting for us. There is also an elevator on this floor that will take us to the exit from the silo, but we don’t go into it yet.
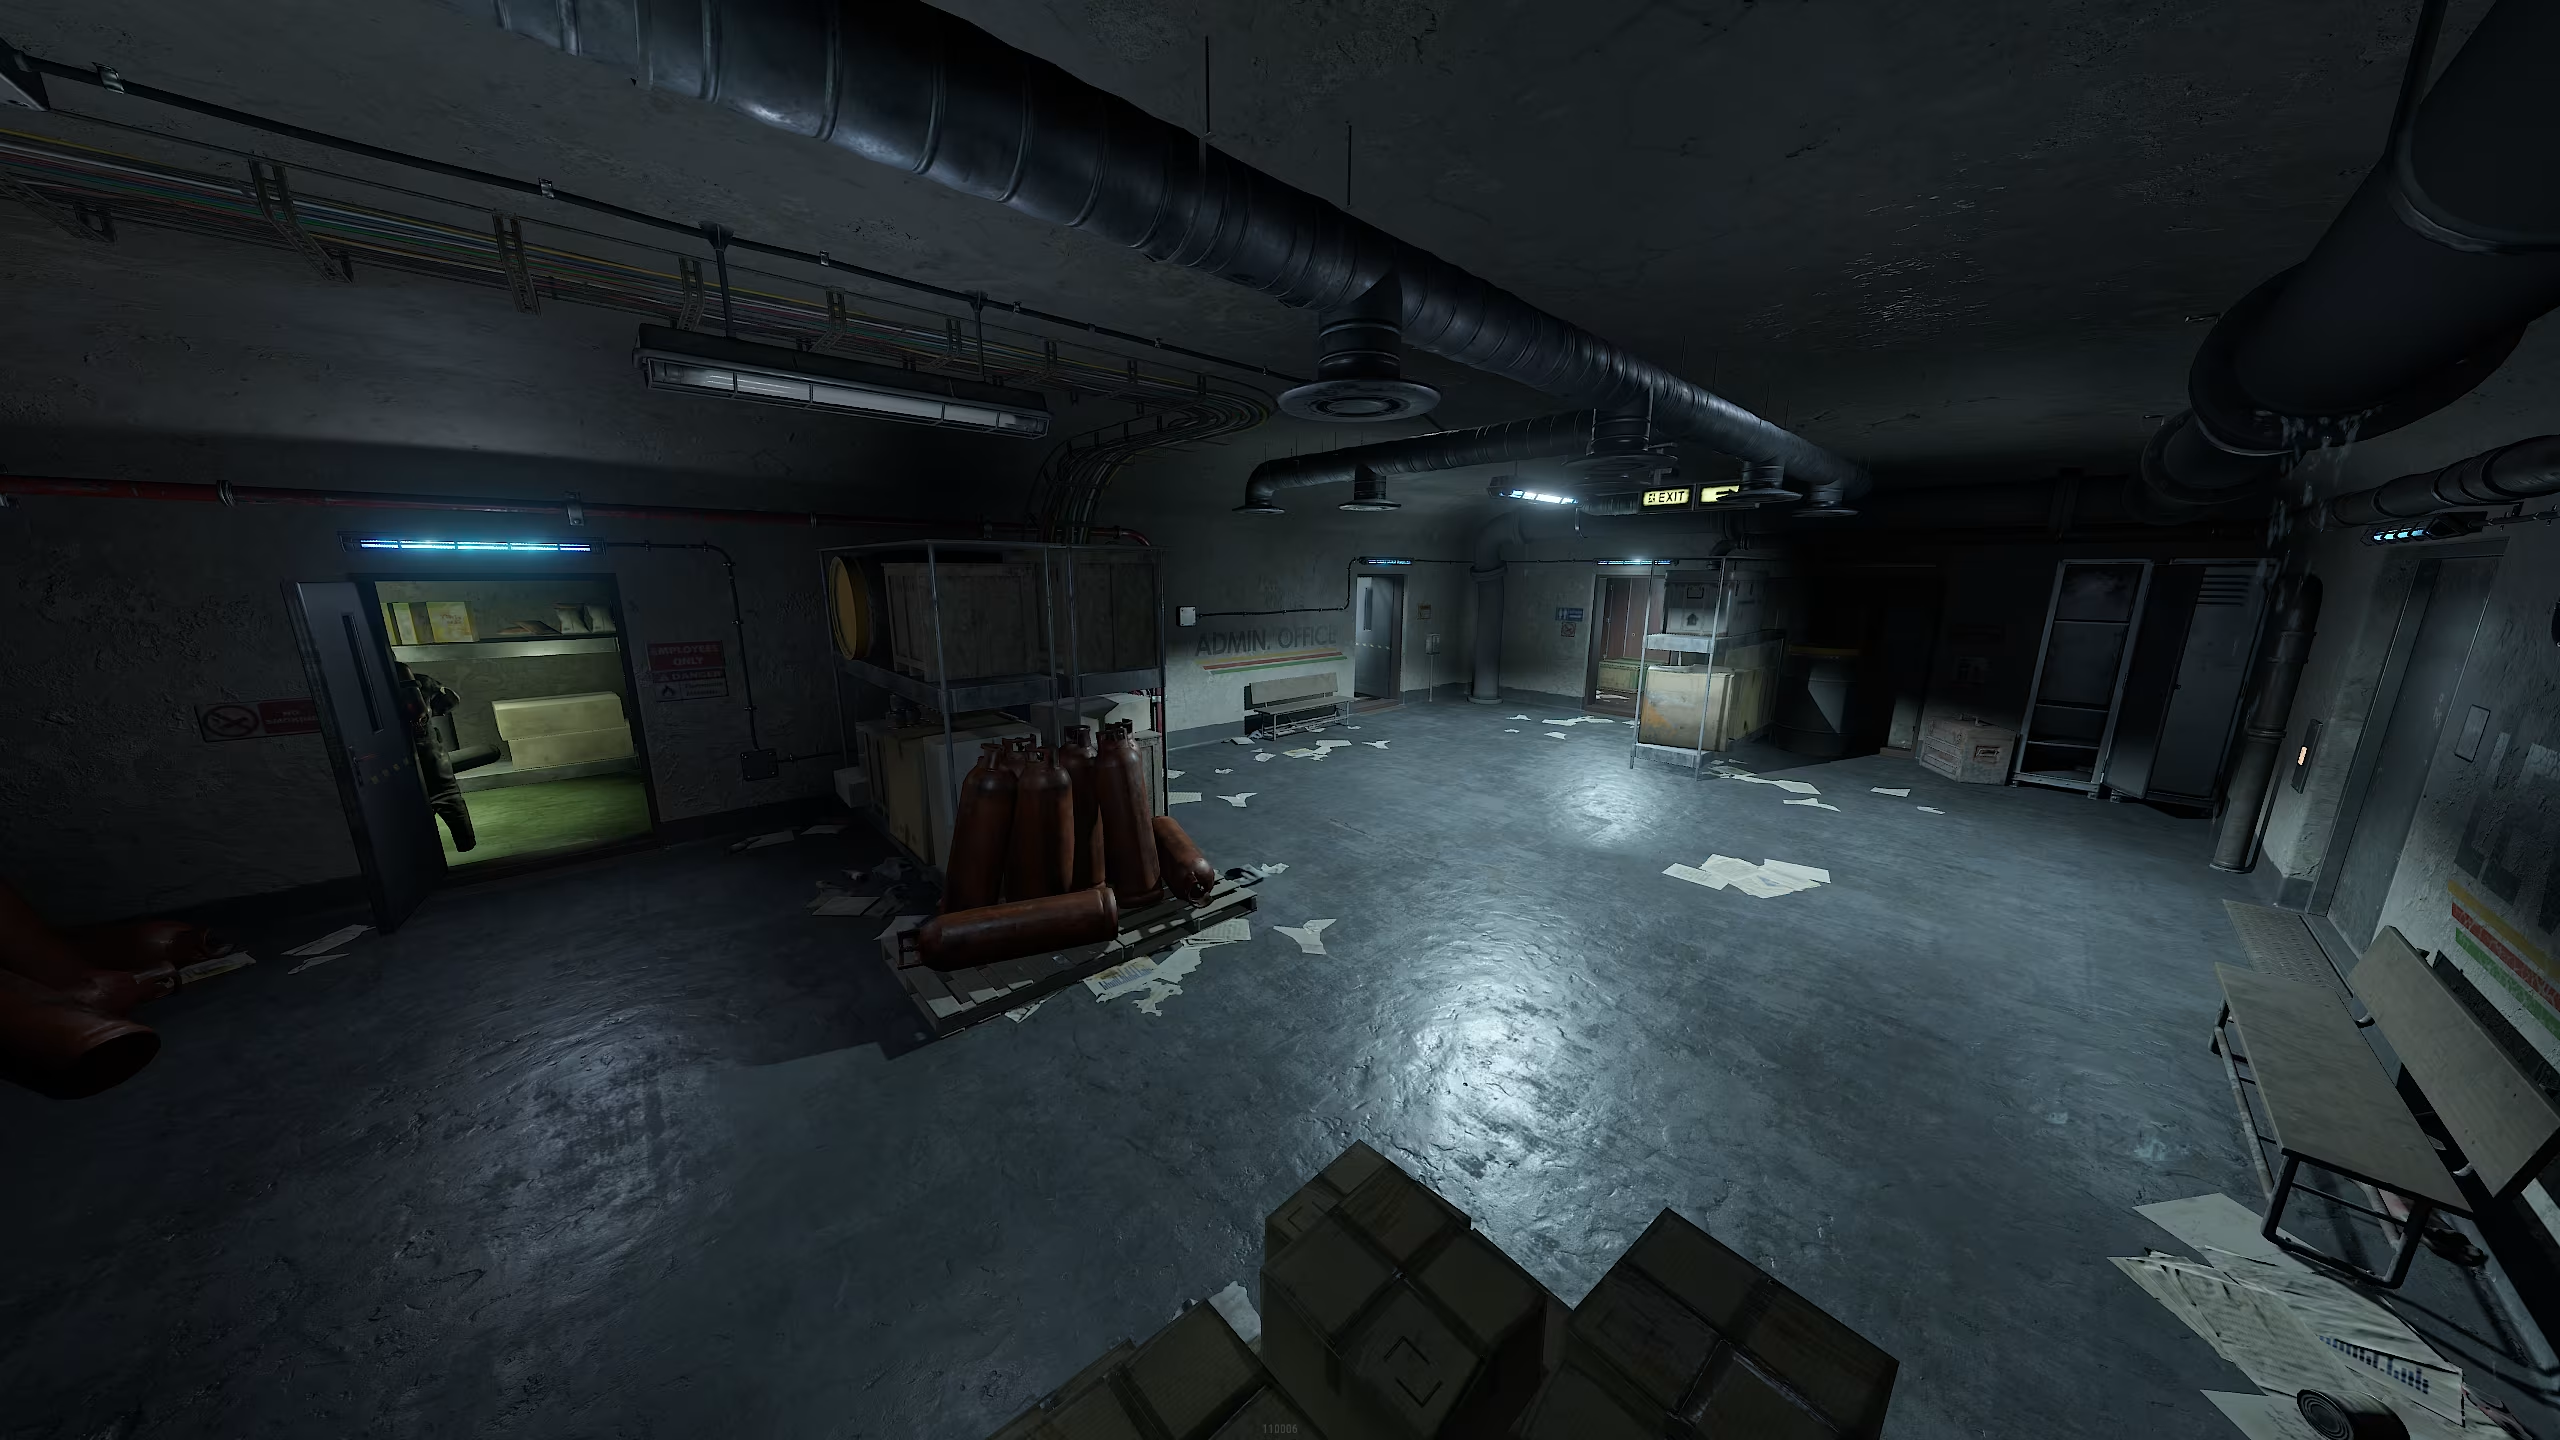
We go out of the toilet to the right and go to the “Administration Office”. There is no loot there, so we clear out the bots and go through it.
Right at the exit from it there is a rack with two boxes.
Now you can safely go back through the offices towards the elevator. We go into the elevator and press the button.
Exit from the location
We arrive by elevator to floor -1. Then we clear out the last 3 bots and go up the stairs to the exit to level 0. There will be no more loot in the location, so you can safely head to the exit.
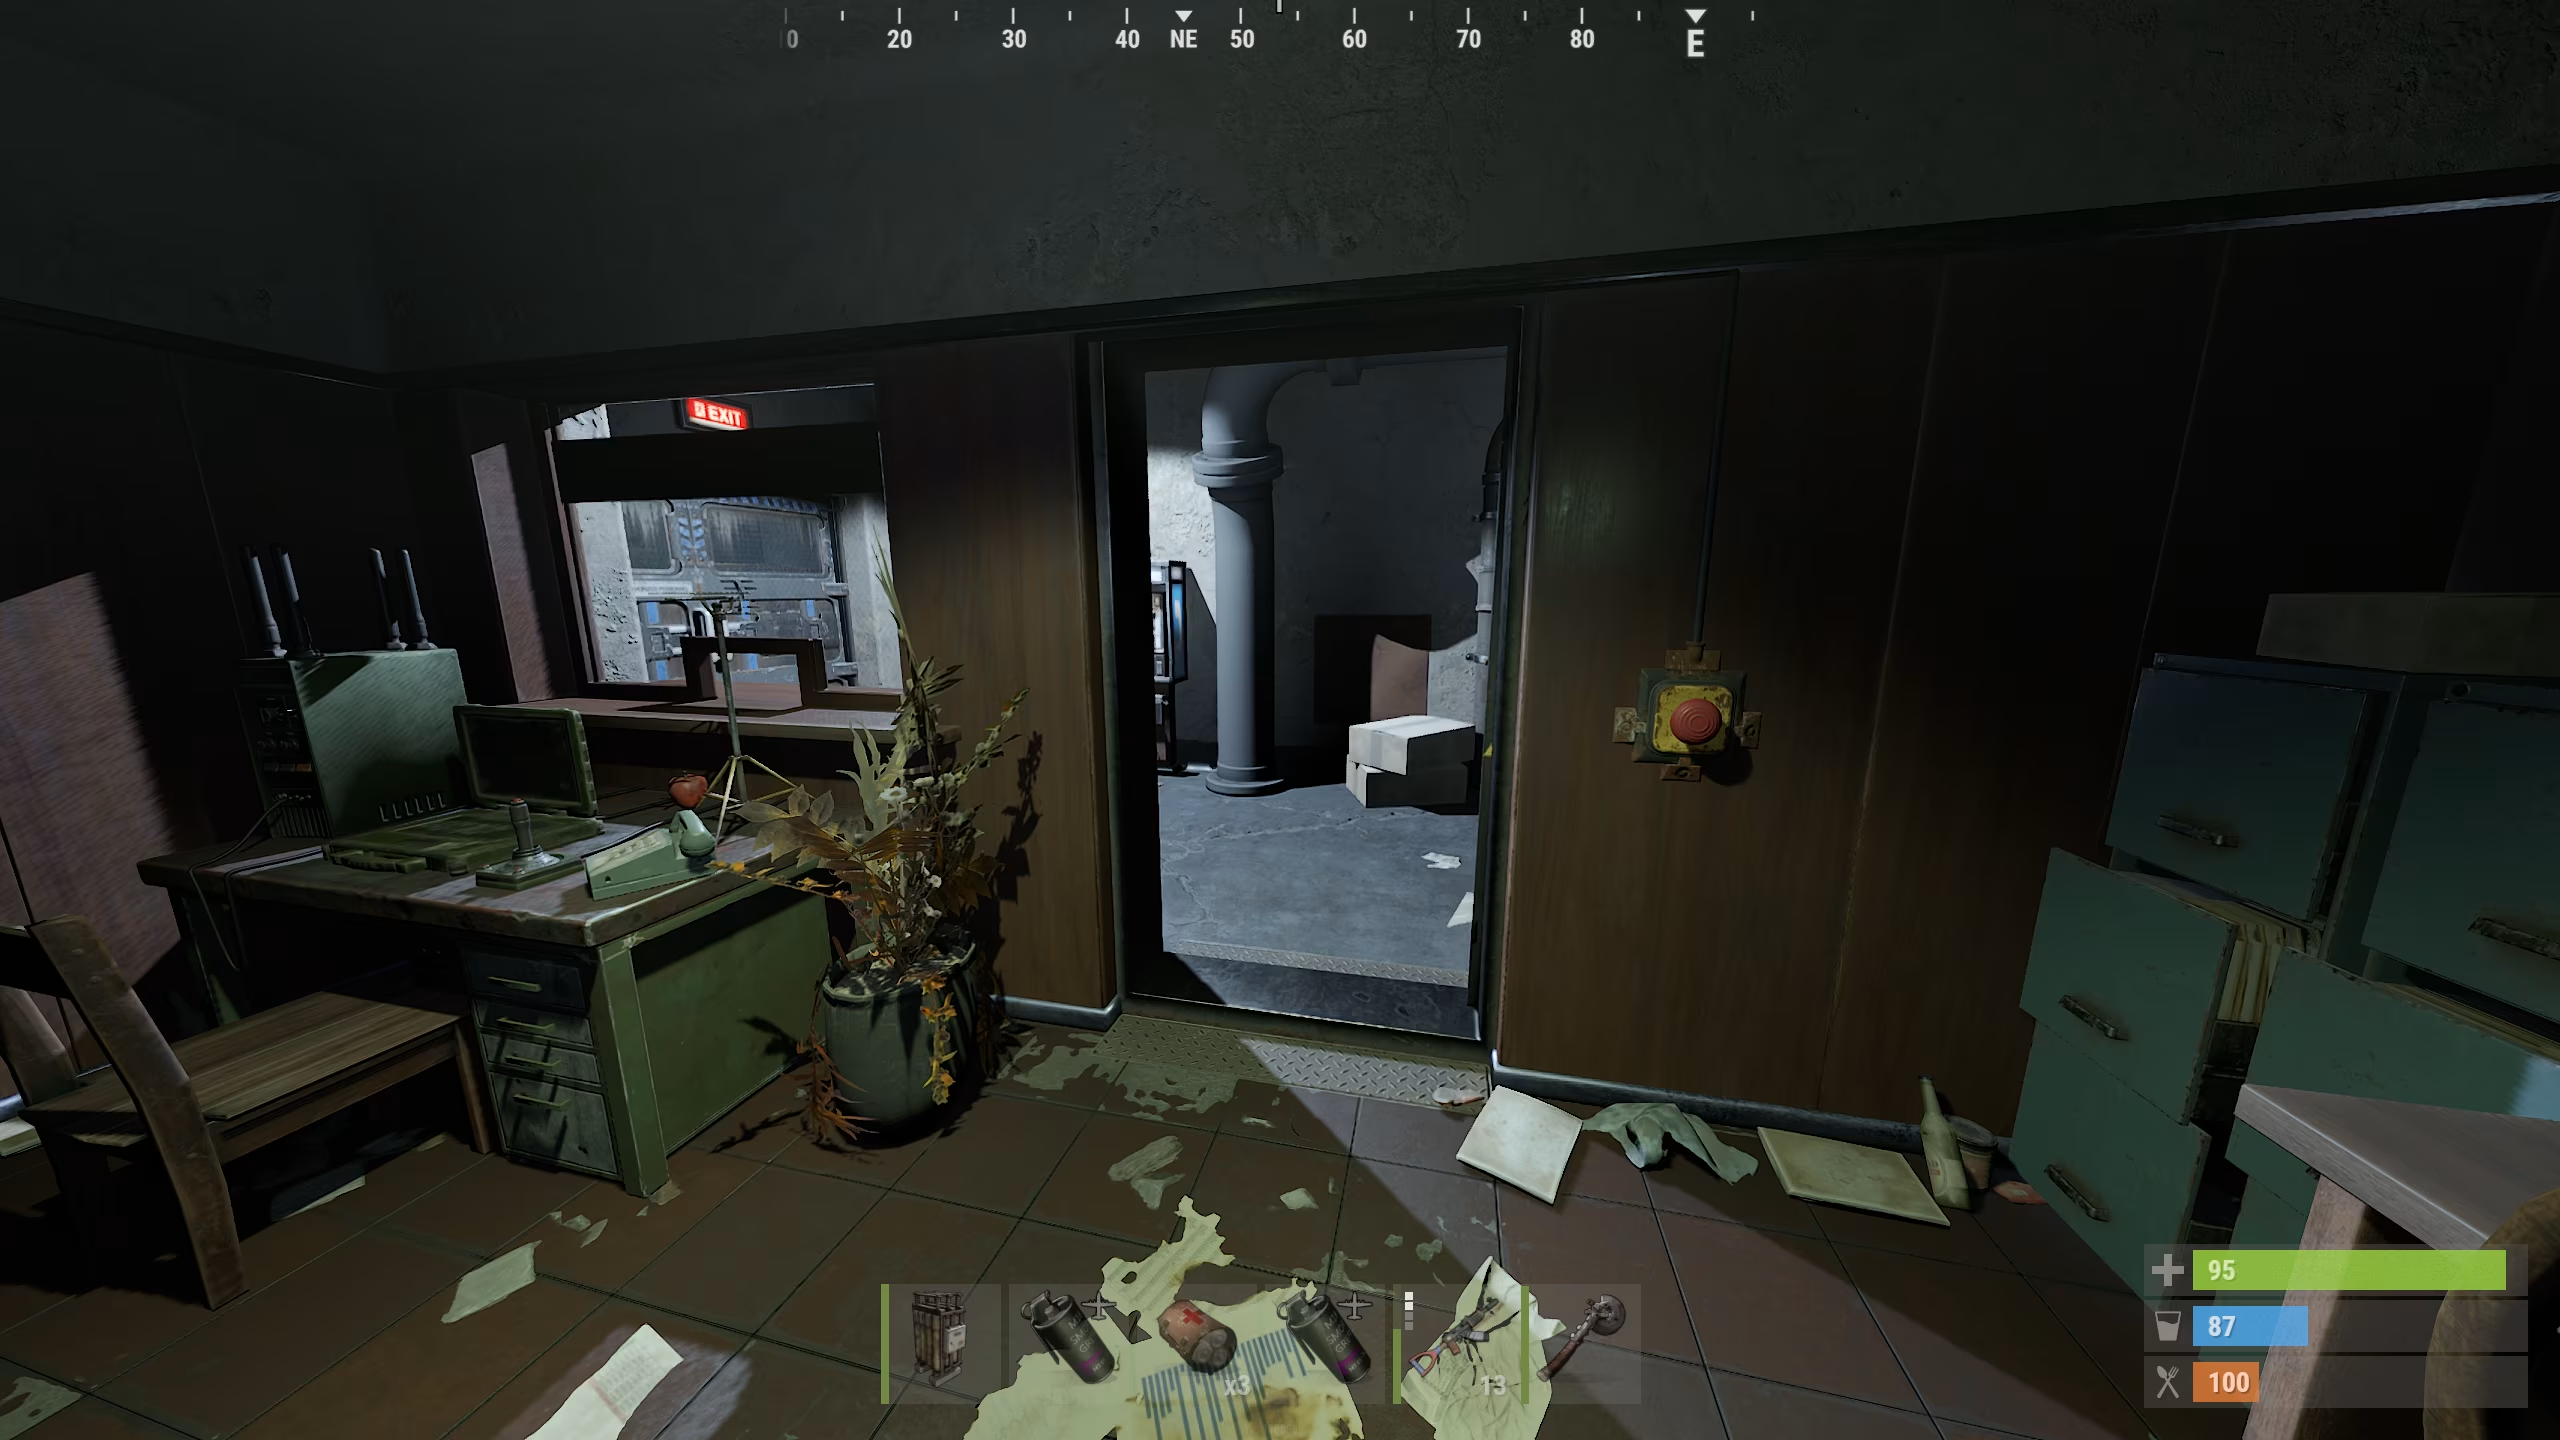
Climbing the stairs, we notice the door itself to the exit from the mine and the room located to the left of it, that’s where we need to go.

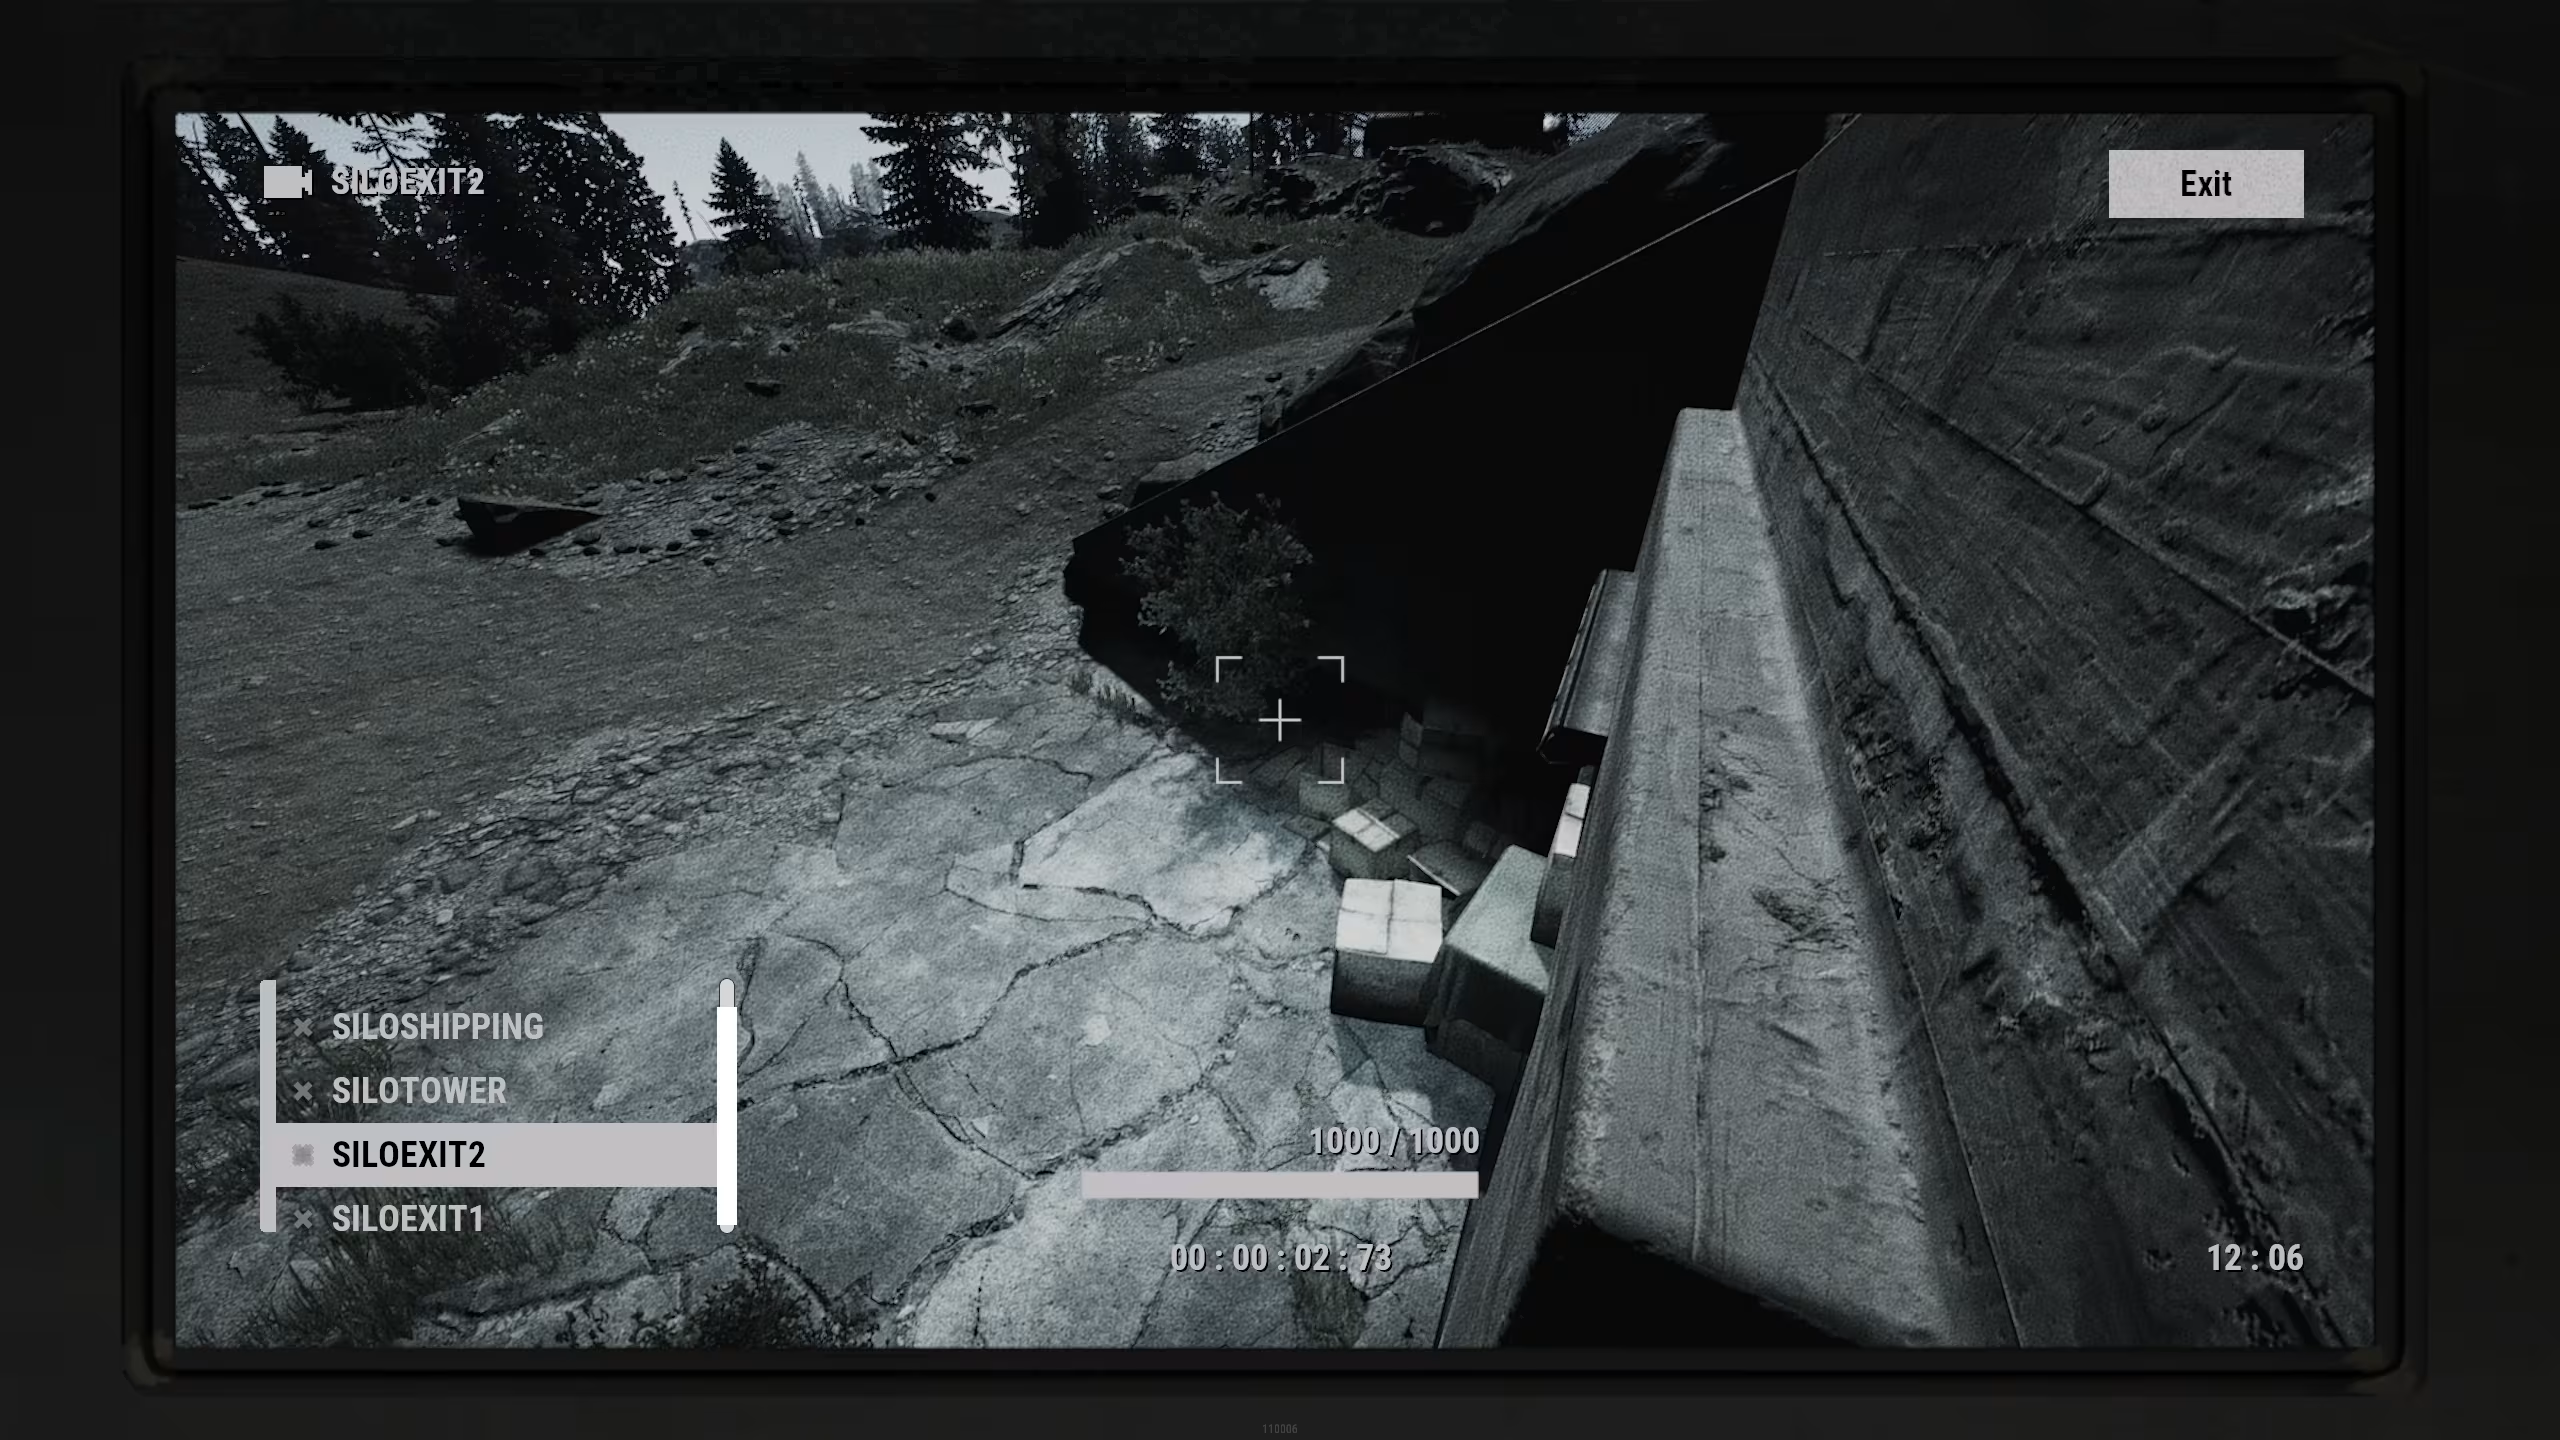
When you enter the room, you will see a computer desk with 5 ready-made commands for the cameras that will show you the exit from the outside, as well as some underground parts of the silo. To the right of the doorway there will be a red button, by clicking on which you will open the door to the exit from the silo. The main thing is to be careful, as the exit is often undermining by other players, and the cameras have blind spots.
Result
The launch shaft is a very profitable place. It may not be the easiest monument to pass, but the loot that is there pays off all the efforts.